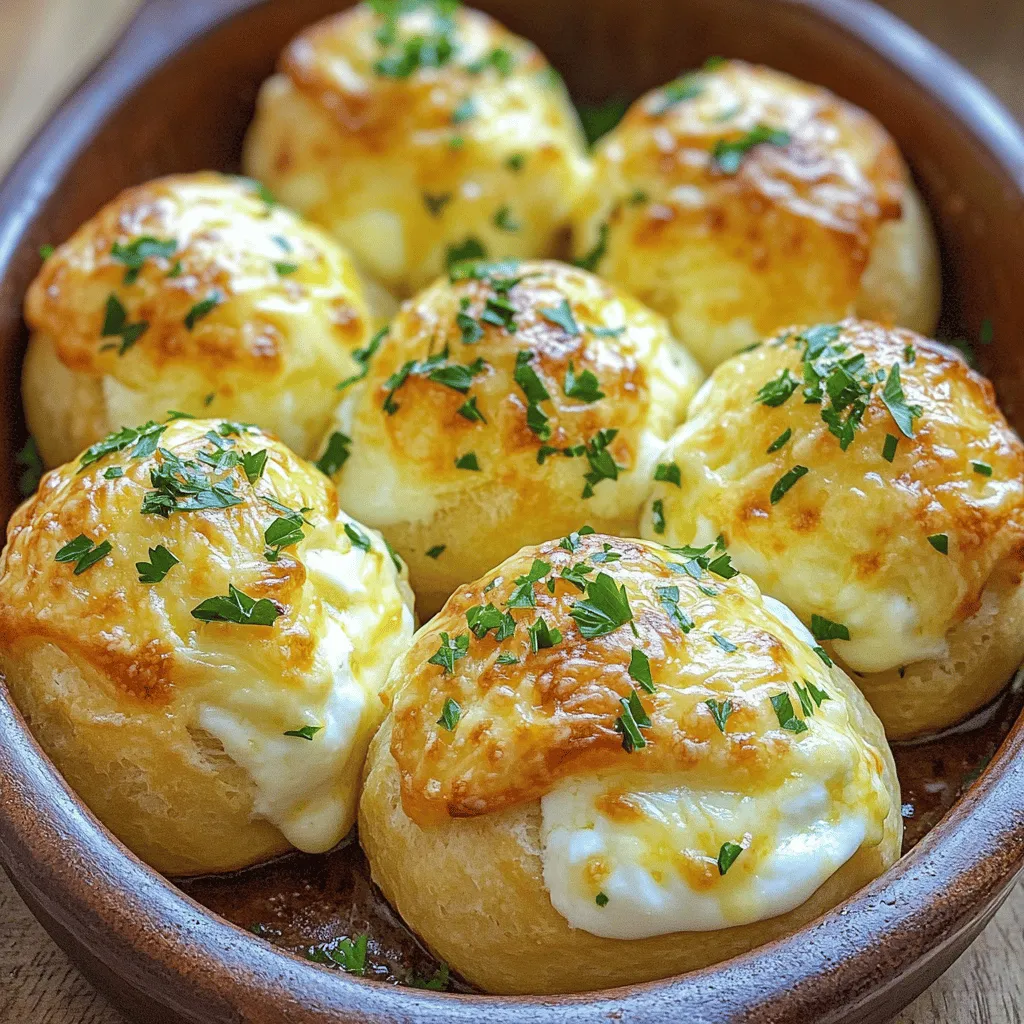
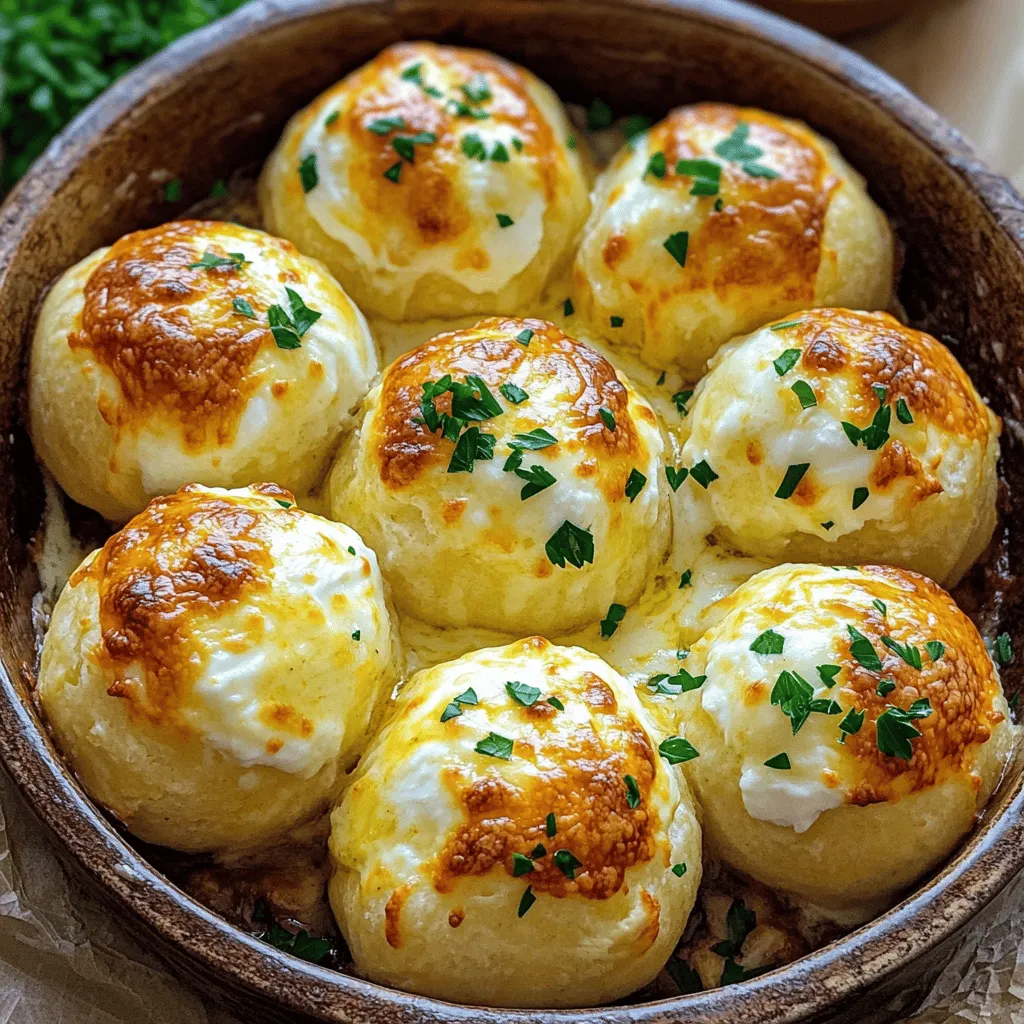
Get ready to indulge in a warm, cheesy treat with my Garlic Butter Cheese Bombs! These fluffy bites are stuffed with gooey cheese and garlic, making them the perfect appetizer or snack. In this easy guide, I’ll show you how to whip up these delightful bites using simple ingredients readily available in your kitchen. Get your taste buds ready for a delicious culinary adventure!
Ingredients
List of Main Ingredients
– 1 can refrigerated biscuit dough
– 1 cup shredded mozzarella cheese
– 1/2 cup cream cheese, softened
– 4 cloves garlic, minced
– 1/4 cup unsalted butter, melted
– 2 tablespoons fresh parsley, chopped
– 1 teaspoon Italian seasoning
– 1/2 teaspoon salt
– 1/4 teaspoon black pepper
You need these key ingredients to make the best Garlic Butter Cheese Bombs. The refrigerated biscuit dough gives a nice, flaky base. The mozzarella and cream cheese create a creamy, cheesy filling that melts beautifully. Garlic adds a strong, savory punch. The melted butter, parsley, and Italian seasoning bring all the flavors together.
Optional Ingredients for Extra Flavor
– Various types of cheese (e.g., cheddar, gouda)
– Spices for added kick (e.g., red pepper flakes)
If you want to mix it up, try different cheeses. Cheddar or gouda can add a unique flavor. For those who like heat, sprinkle in some red pepper flakes. These optional ingredients let you customize your cheese bombs for any taste.
For the full recipe, check the detailed instructions later.
Step-by-Step Instructions
Preparation of the Dough and Filling
1. Preheat your oven to 375°F (190°C). This step warms the oven for a nice bake.
2. Line a baking sheet with parchment paper. This keeps the bombs from sticking.
3. In a mixing bowl, combine the shredded mozzarella, softened cream cheese, minced garlic, Italian seasoning, salt, and black pepper.
4. Mix well to create a cheesy filling. This mixture makes the bombs rich and flavorful.
Assembling the Garlic Butter Cheese Bombs
1. Roll out each biscuit from the can.
2. Flatten it a bit in your palm. This makes it easier to fill.
3. Place a generous teaspoon of the cheese filling in the center of each biscuit.
4. Fold the edges of the biscuit over the filling.
5. Seal it completely by rolling it into a ball. This keeps the cheesy goodness inside.
Baking Instructions
1. In a separate bowl, mix the melted butter with the chopped parsley. This adds a nice flavor.
2. Dip each cheese bomb into the garlic butter mixture. Make sure they are well-coated.
3. Place them seam side down on the prepared baking sheet.
4. Bake in the preheated oven for about 15-20 minutes. Check for a golden brown color.
5. Once baked, brush the bombs with any remaining garlic butter.
6. Let them rest for a few minutes before serving. This helps with the cheesy pull.
For the full details, check the Full Recipe.
Tips & Tricks
Tips for Perfect Garlic Butter Cheese Bombs
Getting the perfect garlic butter cheese bombs takes care and precision. First, measure your ingredients carefully. Each component plays a key role in the flavor and texture. If you use too much or too little, it can change the outcome.
Next, make sure to seal the dough properly. This step is crucial because if it leaks, the cheesy filling can escape during baking. When you fold the edges over the filling, pinch them tightly. This helps keep the gooey goodness inside.
Serving Suggestions
For the best experience, serve these cheese bombs warm. When they are fresh from the oven, they provide a delightful cheesy pull. Pair them with a simple marinara sauce or a creamy ranch dip. These dips bring out the rich flavors and add a nice touch.
Enjoy them best at room temperature or warm. This way, you can fully enjoy the flavors and textures. If you let them cool too much, the cheese may not stretch like it should. Remember, warmth equals flavor!
Variations
Different Cheese Options
You can change the cheese in your garlic butter cheese bombs for a fun twist. Instead of mozzarella, try using cheddar or gouda. Both add a nice sharpness and depth of flavor. For a lighter taste, use ricotta. It pairs well with garlic and herbs. Another great choice is herb-infused cream cheese. It gives your bombs a boost of flavor right from the start.
Spicy Versions
If you like some heat, add jalapeños or chili flakes to the cheese mix. This will give your cheese bombs a nice kick. You can also use spicy cheeses like pepper jack. It melts well and adds a zesty flavor. Experimenting with different spices can make each batch unique and exciting.
Low-Carb or Gluten-Free Options
For those watching carbs, use low-carb biscuit dough. It works just as well and tastes great. You can find these options at many grocery stores. To make your cheese bombs gluten-free, look for gluten-free biscuit mixes. These are easy to use and will keep the flavor. Just be sure to check the labels for any hidden gluten.
For the full recipe, you can follow the instructions I’ve shared above. Enjoy making your garlic butter cheese bombs!
Storage Info
How to Store Leftovers
After enjoying your garlic butter cheese bombs, store any leftovers in the fridge. Place them in an airtight container. This keeps them fresh for up to three days. Make sure they cool down to room temperature first. You can also wrap them tightly in plastic wrap to seal in moisture.
Reheating Instructions
When it’s time to enjoy your leftovers, reheating them carefully is key. The oven is the best choice for reheating. Preheat your oven to 350°F (175°C). Place the cheese bombs on a baking sheet. Warm them for about 10-15 minutes until heated through. This method keeps the texture nice and crispy.
If you’re short on time, use the microwave. Place them on a microwave-safe plate. Heat for about 30-60 seconds. Keep an eye on them to avoid sogginess. Enjoy your cheesy delight just like fresh!
FAQs
How long do Garlic Butter Cheese Bombs stay fresh?
Garlic Butter Cheese Bombs stay fresh in the fridge for about three days. Keep them in an airtight container. For longer storage, you can freeze them. Wrap each bomb in plastic wrap and place them in a freezer bag. They will stay good for up to three months. Thaw them in the fridge before baking.
Can I make these ahead of time?
Yes, you can make these ahead. Prepare the cheese filling and fill the biscuits. Then, store them in the fridge for up to 24 hours. Cover them well with plastic wrap. When you are ready to bake, just pull them out and follow the baking steps. If you freeze them, bake them from frozen but add a few extra minutes to the bake time.
Can I use other types of biscuits besides refrigerated dough?
You can use other types of biscuits, like homemade dough or frozen dough. Homemade dough gives you a fresh taste but takes more time. Frozen dough is quick and easy. The flavor and texture will vary. Refrigerated dough is soft and fluffy. Homemade versions may be more flaky and rich.
What are the best ways to serve Garlic Butter Cheese Bombs?
You can serve Garlic Butter Cheese Bombs warm, straight from the oven. They pair well with marinara sauce for dipping. Try serving them with a fresh salad or soup for a full meal. For beverages, a light beer or sparkling water works well. You can also serve them at parties as a fun snack.
Making garlic butter cheese bombs is simple and fun. You learned the ingredients, steps, and tips to make them perfect. I shared different variations, so you can customize your bomb to your taste. Store leftovers properly to keep them fresh. These bombs are a hit for any meal or snack. Enjoy experimenting with flavors and impressing your friends. Your next delicious treat is just a bake away!
