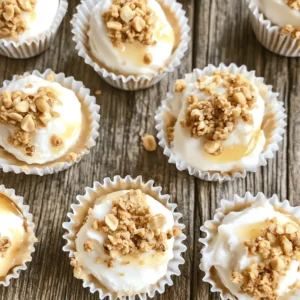
Looking for a tasty and healthy treat? Frozen Greek Yogurt Peanut Butter Bites are your answer! These bites are creamy, rich, and packed with protein. In just a few easy steps, you can make these snacks for any occasion. I’ll share essential tips, ingredient options, and storage methods. Get ready to indulge in a guilt-free delight that you can enjoy anytime! Let’s dive into this delicious recipe together!
Ingredients
Detailed Ingredient List
To make Frozen Greek Yogurt Peanut Butter Bites, gather these simple ingredients:
– 1 cup plain Greek yogurt
– 1/2 cup creamy peanut butter
– 2 tablespoons honey or maple syrup
– 1 teaspoon vanilla extract
– 1/4 teaspoon sea salt
– 1/2 cup granola or chopped nuts (for coating)
– Mini muffin liners (optional)
Each ingredient plays a key role in the taste and texture of the bites. The Greek yogurt gives a creamy base. The peanut butter adds rich flavor. Honey or maple syrup provides sweetness without being too much.
Substitutions and Alternatives
You can swap ingredients based on your taste. For a dairy-free option, use coconut yogurt. Almond butter is a great choice if you want something different from peanut butter. You can also use agave syrup instead of honey. If you don’t have granola, try crushed cookies or seeds for coating.
Importance of Ingredient Quality
Using high-quality ingredients makes a big difference. Fresh Greek yogurt gives a smooth texture. Choose natural peanut butter without added sugar. Good honey or maple syrup improves flavor. When your ingredients are fresh, your bites taste better. Always prioritize quality to ensure a delicious treat.
For the complete recipe, refer to the Full Recipe section.
Step-by-Step Instructions
Preparation Process
To start, gather your ingredients. You need plain Greek yogurt, creamy peanut butter, honey or maple syrup, vanilla extract, sea salt, and granola or chopped nuts. First, take a mixing bowl. Add the Greek yogurt and peanut butter. Then, mix in honey (or maple syrup), vanilla extract, and sea salt. Stir until the mixture is smooth and creamy. This base will give your bites a rich flavor.
Next, take a mini muffin tin. If you want, line it with mini muffin liners. This step helps with easy removal. If you do not have liners, silicone molds work great too. Now, take a spoon. Scoop about one tablespoon of the yogurt mix into each muffin liner or mold. Fill them about three-quarters full.
Freezing Techniques
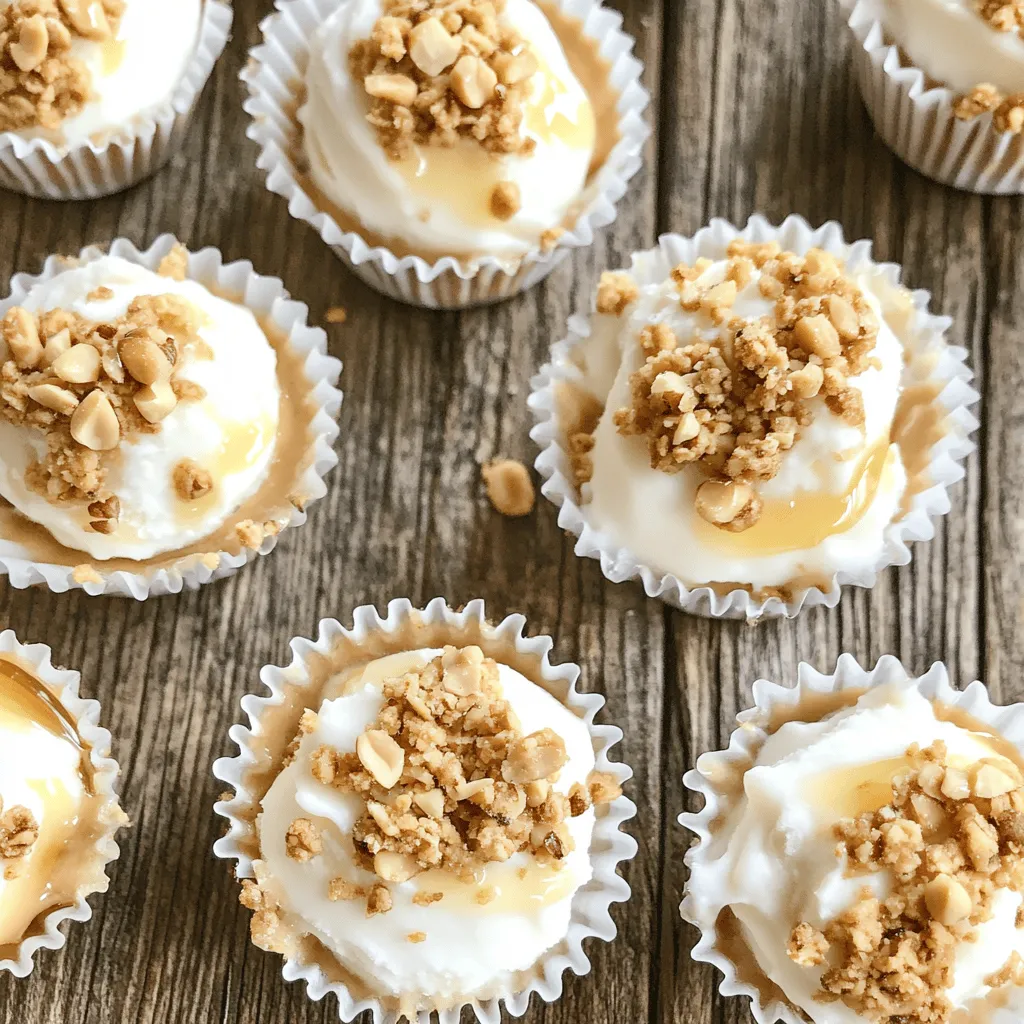
After filling the molds, gently tap the muffin tin on the counter. This helps remove air bubbles and levels out the mix. Now, it’s time to coat your bites. Place granola or chopped nuts in a small bowl. Take each filled liner or mold and roll it in the granola or nuts. This step adds a nice crunch and flavor.
Once coated, place the muffin tin or molds in your freezer. Make sure they freeze for at least three hours. This time allows the bites to become solid. Check to see if they are firm before removing them. If they are, you can take them out.
Tips for Even Coating
For even coating, ensure that the granola or nuts are finely chopped. This helps them stick better. You can also press the granola or nuts into the yogurt mix gently. This technique helps the coating stay in place while freezing. If you want to change it up, you can use different coatings like shredded coconut or chocolate chips. Just make sure the layers are even for the best bite!
Once you have mastered the steps, you can enjoy these Frozen Greek Yogurt Peanut Butter Bites. You can find the full recipe for a quick reference.
Tips & Tricks
How to Customize Your Bites
You can change your Frozen Greek Yogurt Peanut Butter Bites easily. Add your favorite flavors to the mix. Want a fruity twist? Toss in some mashed bananas or chopped strawberries. Need extra sweetness? Add more honey or maple syrup. For a chocolate kick, mix in cocoa powder or mini chocolate chips. You can also swap peanut butter for almond or cashew butter for a new taste. The options are endless!
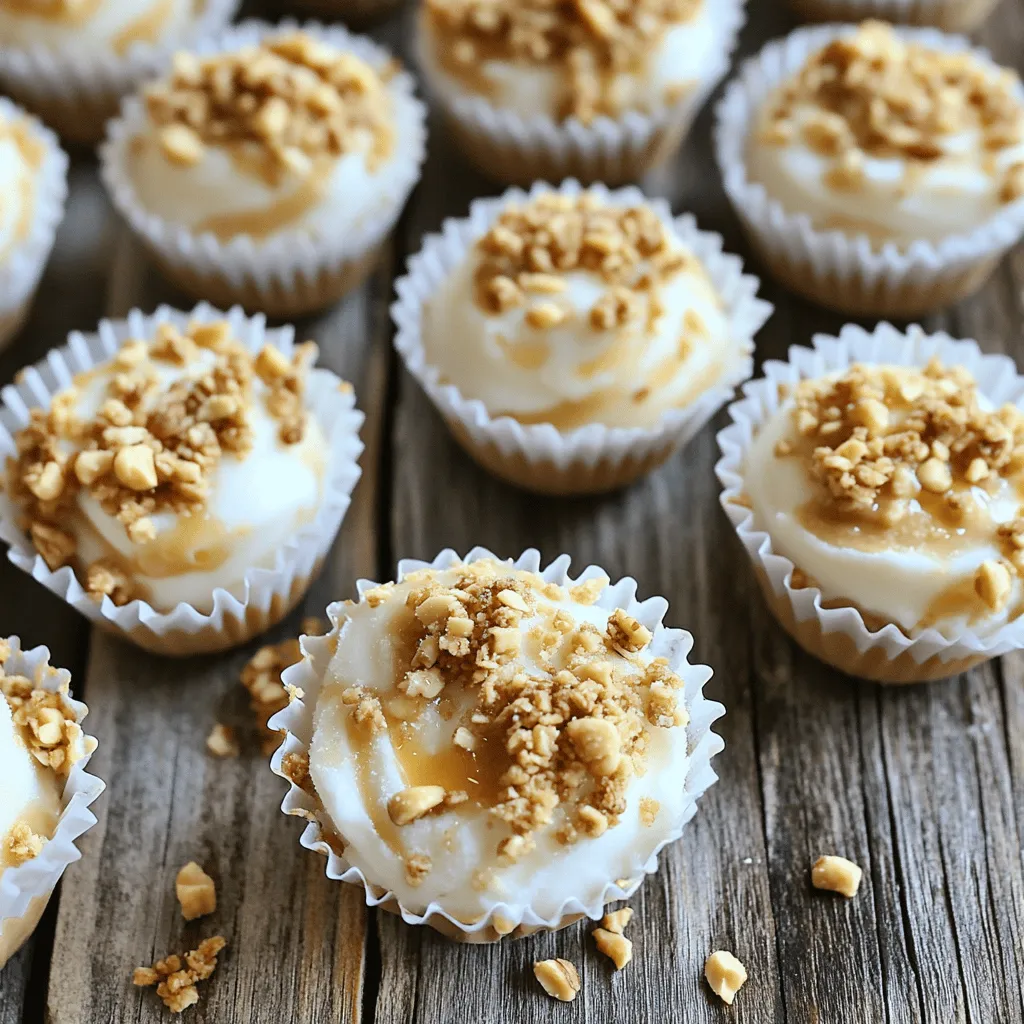
Serving Suggestions
Serve these bites as a fun snack or a healthy dessert. They work great for kids and adults alike. You can plate them with fresh fruit or a drizzle of honey. For a party, arrange them on a colorful platter for a vibrant look. They also make a perfect addition to a picnic or lunchbox. Just remember to keep them cold until serving.
Common Mistakes to Avoid
Don’t overfill the muffin liners. Filling them too much makes them spill over while freezing. Make sure to mix the yogurt and peanut butter well. A lumpy mix can lead to uneven bites. Also, don’t skip the coating step. Rolling them in granola or nuts adds crunch and flavor. Finally, be patient. Let them freeze fully before serving. Enjoying them too soon might lead to a gooey mess!
Variations
Flavor Additions (Fruits, Spices)
You can boost your Frozen Greek Yogurt Peanut Butter Bites with fun flavors. Fresh fruits like bananas or strawberries work great. Just chop them small and mix them in the yogurt blend. You can also add spices like cinnamon or nutmeg for a warm touch. These flavors make each bite a little surprise.
Different Coating Options (Coconut, Chocolate)
Coating is where you can get really creative. Besides granola or nuts, try shredded coconut for a tropical twist. Or, melt some dark chocolate and dip the bites in it for a treat. You can even drizzle chocolate on top for added flair. Each coating gives the bites a new look and taste.
Vegan Alternatives
If you want a vegan version, swap the Greek yogurt with non-dairy yogurt. Almond or coconut yogurt works well. For the peanut butter, use a nut butter that fits your diet. Maple syrup can replace honey to keep it plant-based. These changes still keep the bites creamy and delicious while being vegan-friendly.
For more details on making these bites, check the Full Recipe.
Storage Info
Best Practices for Freezing
To keep your Frozen Greek Yogurt Peanut Butter Bites fresh, use an airtight container. Place a layer of parchment paper between layers to avoid sticking. Ensure the container is sealed tightly to prevent ice crystals. This keeps the bites creamy and tasty.
How Long Can They Last?
These bites can last up to a month in the freezer. After that, they may lose flavor and texture. Always check for any signs of freezer burn before eating them. If they look dry or have ice crystals, it may be time to toss them.
Thawing Tips
Thawing is simple. Take out the bites and let them sit at room temperature for about 5-10 minutes. This makes them easy to eat. You can also pop them in the microwave for a few seconds if you want them soft quickly. Enjoy them right after thawing for the best taste!
FAQs
Can I use non-dairy yogurt?
Yes, you can use non-dairy yogurt. Almond, coconut, or soy yogurt works well. Just pick a plain flavor. This keeps your bites creamy and tasty. The texture might differ, but they will still be delicious.
What other nut butters can be used?
You can swap peanut butter for almond, cashew, or sunflower seed butter. Each nut butter adds its own unique flavor. Almond butter gives a nice nutty taste, while sunflower seed butter is great for nut-free diets. Choose what you love or have on hand.
How to make Frozen Greek Yogurt Peanut Butter Bites without a muffin tin?
If you don’t have a muffin tin, use silicone molds or ice cube trays. They work just as well. Simply spoon the mixture into any small container you have. Just remember to coat them in granola or nuts. It adds a great crunch. You can still enjoy these tasty bites without the right tools. Check out the Full Recipe for more tips!
In this blog post, we explored the key ingredients, step-by-step instructions, and helpful tips for making delicious Frozen Greek Yogurt Peanut Butter Bites. We discussed ingredient quality and offered substitutions for various diets. Customization options let you create unique flavors and coatings. Remember to follow proper storage guidelines to keep your treats fresh.
With these tools, you can make tasty, easy snacks that everyone will love. Now, get started and enjoy your homemade bites!