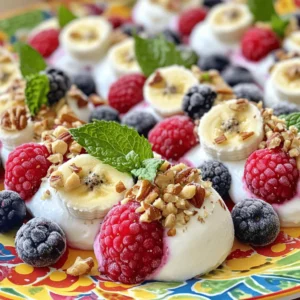
Are you looking for a fun and healthy snack? These Easy Frozen Yogurt Bites are the perfect treat! With just a few simple ingredients, you can whip up delicious bites that are great for kids and adults alike. Packed with flavor and nutrients, they’re a quick solution for your snack cravings. Let’s dive into this easy recipe and explore how to make these tasty frozen delights that you won’t be able to resist!
Ingredients
To make easy frozen yogurt bites, you need just a few simple ingredients. Each item adds flavor and texture, making your snack fun and delicious.
List of Ingredients
– 2 cups plain Greek yogurt
– 1 tablespoon honey or maple syrup
– 1/2 teaspoon vanilla extract
– 1 cup mixed berries
– 1/2 banana, sliced
– 1/4 cup chopped nuts
– A pinch of sea salt
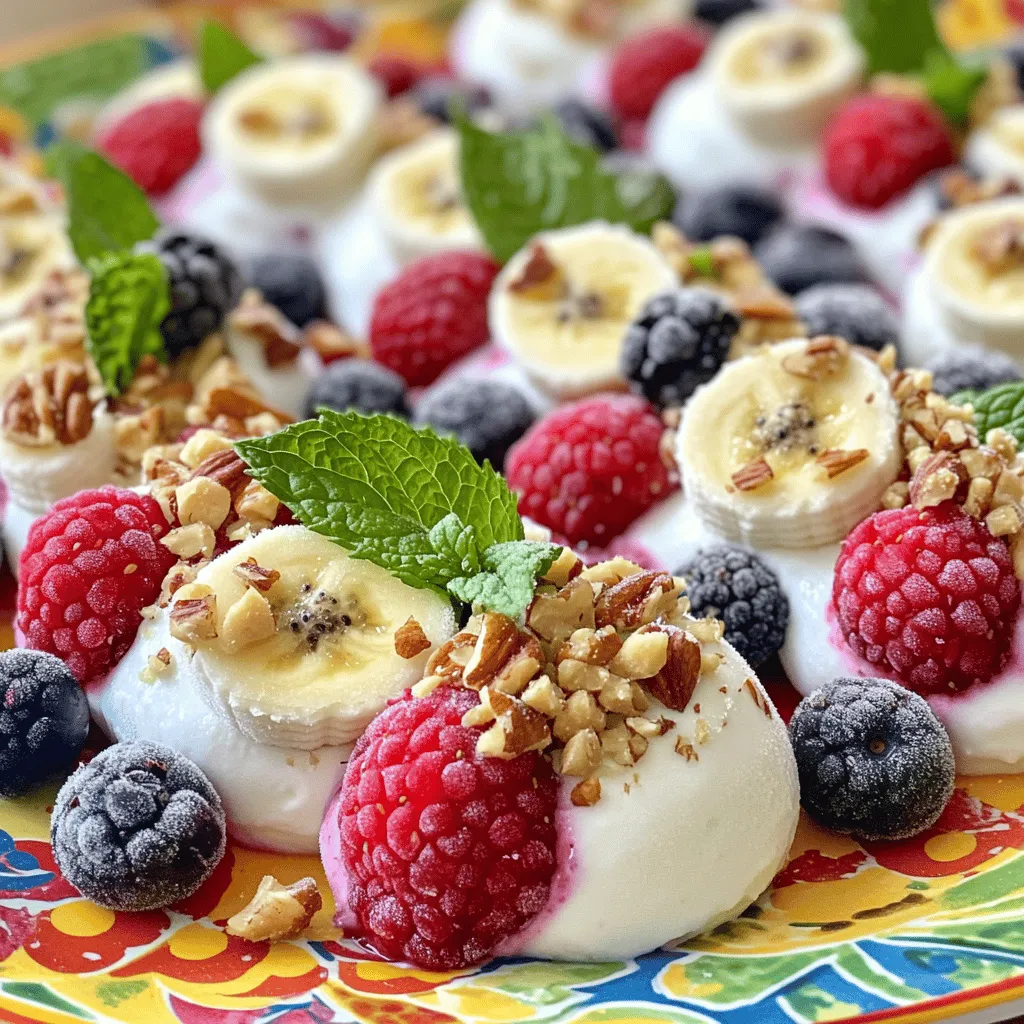
Using plain Greek yogurt gives these bites a creamy base. I love adding honey or maple syrup for sweetness. Vanilla extract adds a nice touch, too. The mixed berries bring color and flavor, while banana adds natural sweetness. Chopped nuts give a crunchy texture. A pinch of sea salt enhances all the flavors, making each bite pop.
This list of ingredients makes it easy to customize your bites. You can swap fruits or nuts based on your taste. Try using your favorite berries or a different nut. The possibilities are endless!
For the full recipe, check the section above.
Step-by-Step Instructions
Preparation Overview
To start, you need to mix the yogurt, honey, vanilla, and salt. Use a medium bowl for this. Stir until the mixture is smooth and creamy. This simple step sets the base for your tasty bites. Next, line your muffin tin or silicone molds. If you use silicone molds, you can skip this step. Lining helps with easy removal later.
Filling the Cups
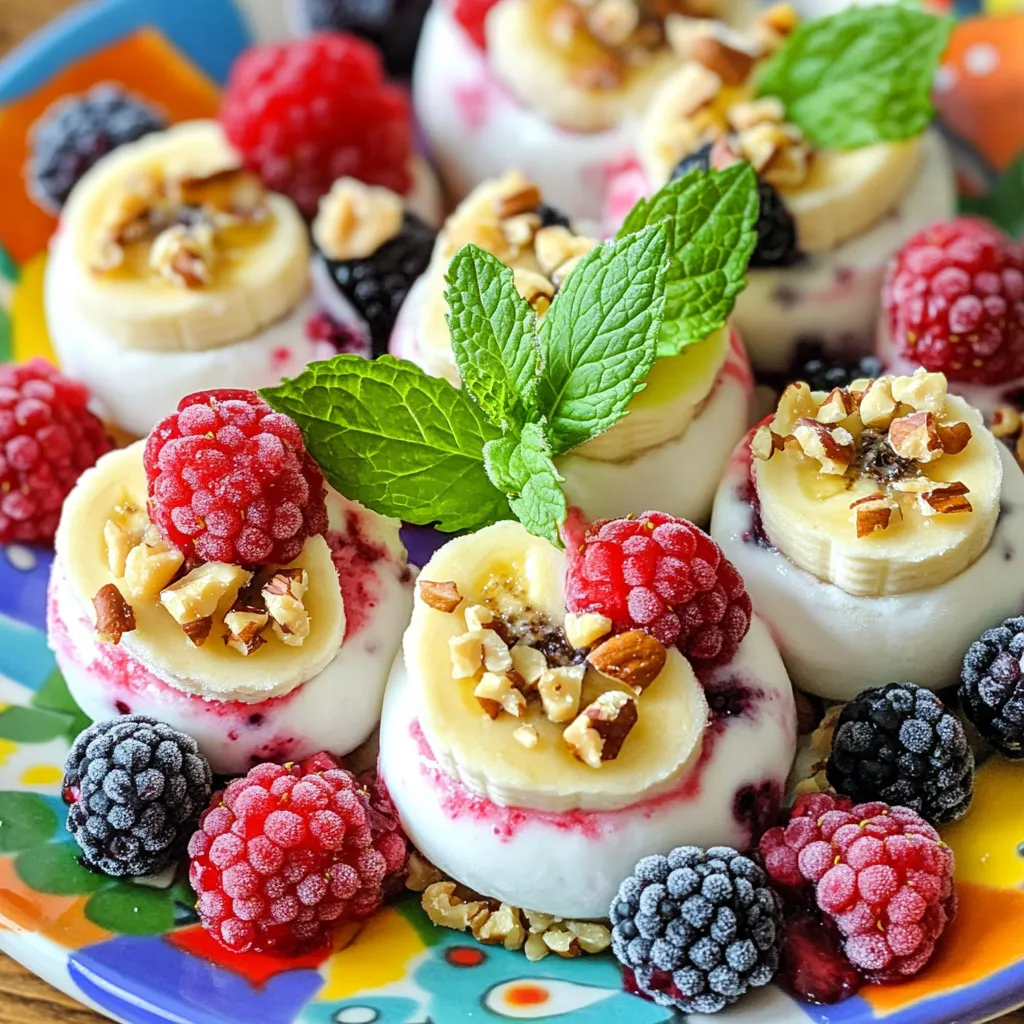
Now, take a spoon and put a dollop of the yogurt mixture into each cup. Fill them about halfway. This gives you space for the fun stuff! Add your favorite fruits like mixed berries and banana slices. Press them gently into the yogurt. This makes sure they stay in place. Finally, sprinkle some chopped nuts on top. They add a great crunch and flavor.
Freezing Process
Once your cups are filled, cover the fruits and nuts with more yogurt mixture. This seals everything in and makes a lovely bite. Now, it’s time to freeze. Place the muffin tin or molds in the freezer. Let them freeze for at least 2-3 hours until solid. When they are ready, remove the bites from the molds. If they stick, run warm water over the outside to help release them easily. Enjoy these refreshing treats! For the full recipe, check out the detailed instructions above.
Tips & Tricks
Perfecting Texture and Flavor
To make your frozen yogurt bites truly shine, adjust the sweetness. You can use honey for a nice touch. If you prefer a vegan option, maple syrup works great too. Both options add flavor and balance the tartness of yogurt.
Using full-fat Greek yogurt is key for creaminess. It gives your bites a rich texture that feels great in your mouth. Low-fat yogurt can be watery and less satisfying. Stick with the full-fat version for a delightful treat.
Presentation Tips
Serving your yogurt bites well makes them even more fun. Try using a colorful platter; it catches the eye. Arrange the bites in a circle or a fun shape to make them pop.
Garnishing adds a special touch. Fresh mint leaves brighten the plate and add color. You can also sprinkle a few berries on top for extra flair. It makes the bites look fancy and inviting.
Variations
Flavor Options
You can mix up your frozen yogurt bites in fun ways. One easy option is to use different fruits. Try mango, peach, or kiwi for a tropical twist. Each fruit brings its own taste and color. You can also use flavored yogurts. A strawberry or blueberry yogurt adds a rich flavor. This simple change makes your bites even tastier.
Topping Ideas
Toppings can make your yogurt bites more exciting. Adding mixed seeds or granola gives a nice crunch. You can use sunflower seeds, pumpkin seeds, or your favorite granola blend. These toppings add texture and a boost of nutrition. Another option is to sprinkle on chocolate chips or coconut flakes. Both choices add sweetness and fun. You can play around with different toppings to find what you love best. The key is to make each bite as unique as you want!
Storage Info
Freezing and Longevity
To store your frozen yogurt bites, place them in a sealed container. This keeps them fresh and prevents freezer burn. I recommend using a container that is airtight. You can also use resealable freezer bags. Just make sure to squeeze out the air before sealing.
When you thaw the yogurt bites, they might lose some texture. To help keep them firm, let them sit at room temperature for just a few minutes. This will help maintain their shape. If you prefer a softer treat, you can let them thaw longer. Just know that they might get a bit messy.
Best Containers to Use
For the best results, use glass or high-quality plastic containers. They help keep the yogurt bites fresh. Look for containers with a tight-sealing lid. This prevents air from getting in and keeps the flavors strong.
Silicone molds are also great for easy storage. You can pop the bites out without any hassle. They are flexible and make removal a breeze. Plus, you can stack them easily in your freezer. For long-term storage, always label your containers with the date. This way, you will know when to enjoy them by.
FAQs
How can I customize my yogurt bites?
You can easily swap out fruits and nuts to fit your taste. Use any fruit you love. Try mango, kiwi, or peaches. For nuts, almonds, walnuts, or even seeds work well. You can mix and match to create new flavors each time. This way, you can enjoy a different snack every day!
Can I use non-dairy yogurt?
Yes, you can use non-dairy yogurt! Look for almond, coconut, or soy yogurt. These options are great for vegan or lactose-free diets. Just ensure they have a similar texture to Greek yogurt for best results. This keeps your yogurt bites creamy and tasty.
How long do these bites last in the freezer?
These yogurt bites last up to a month in the freezer. To keep them fresh, store them in a sealed container. Make sure to label the container with the date you made them. This way, you’ll know when to enjoy them!
Is it possible to make these yogurt bites ahead of time?
Yes, you can make these yogurt bites ahead of time! Prepare them a few days or even a week before you need them. Just freeze them and take them out when you’re ready to eat. They make a perfect snack or dessert for any occasion. For the full recipe, check it out here!
You learned how to make tasty yogurt bites with simple steps. You can mix Greek yogurt, fruits, and nuts for a healthy snack. Remember to freeze them for a few hours to enjoy later. Experiment with different flavors and toppings to find what you love. These yogurt bites are easy to customize, store, and serve. So grab your ingredients and start creating delicious treats!