Get ready to indulge in a fun and delicious treat! This Cookies and Cream Cake Jar is the perfect festive dessert. With layers of moist chocolate cake and whipped cream, it’s sure to impress at any gathering. I’ll guide you step-by-step with easy-to-follow instructions and helpful tips. Whether you want a special dessert for a holiday or a sweet snack, this cake jar delivers. Let’s dive in and create something delightful!
Ingredients
To make a delicious Cookies and Cream Cake Jar, you will need the following ingredients:
– 1 cup crushed chocolate sandwich cookies (like Oreos)
– 1 cup all-purpose flour
– 1 teaspoon baking powder
– 1/2 teaspoon baking soda
– 1/4 teaspoon salt
– 1/2 cup unsalted butter, softened
– 1 cup granulated sugar
– 2 large eggs
– 1 teaspoon vanilla extract
– 1/2 cup buttermilk
– 1 cup whipped cream (store-bought or homemade)
– Additional crushed cookies for topping
Gathering these ingredients is the first step to your sweet creation. Each ingredient plays a role in the final taste and texture. For instance, the crushed chocolate cookies add a rich, chocolatey flavor, while the buttermilk helps keep the cake moist.
Using high-quality cookies will enhance the taste. If you want a twist, you can mix in some nutty flavors or chocolate chips. Remember to have fun with this! The process of creating your cake jar should be enjoyable. You can check out the full recipe for more details on how to layer and present this dessert.
Step-by-Step Instructions
Preparation Steps
– Preheat your oven to 350°F (175°C) and prepare the cake pan.
– In a bowl, mix the flour, baking powder, baking soda, and salt. Set it aside.
– In a large mixing bowl, cream the softened butter and sugar until light. Add the eggs and vanilla extract, mixing well.
Baking Instructions
– Combine the dry and wet ingredients, folding in the crushed cookies gently.
– Pour the batter into the prepared pan and bake it for 25-30 minutes.
– Cool the cake properly for about 10 minutes before crumbling it into pieces.
Layering for the Cake Jars
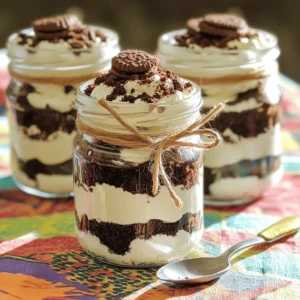
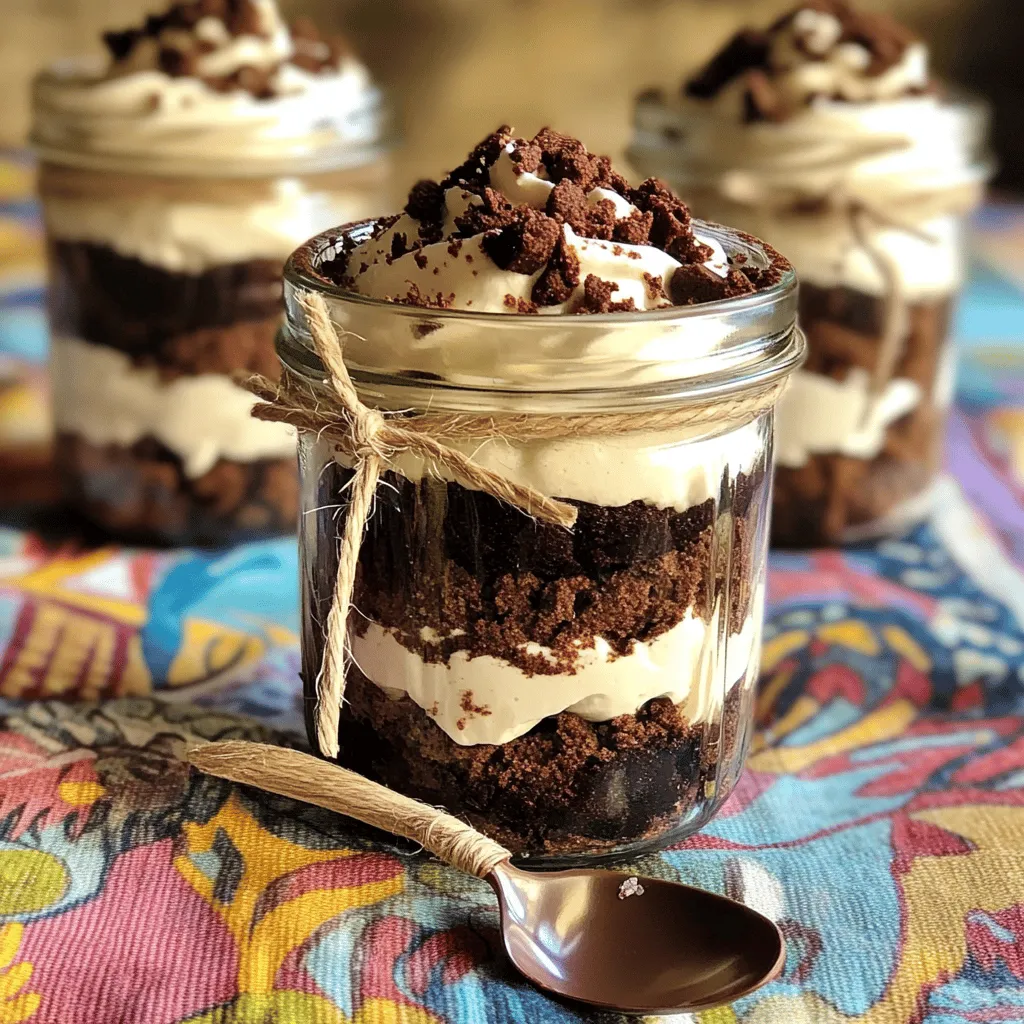
– In clean jars, create layers of crumbled cake and whipped cream. Start with cake, then whipped cream, and repeat.
– Finish each jar with crushed cookies and refrigerate them before serving.
Make sure to follow the Full Recipe for precise ingredient amounts and timings!
Tips & Tricks
Baking Tips
To know when your cake is done, insert a toothpick into the center. If it comes out clean, the cake is ready. Watch the edges; they should pull away slightly from the pan. For even layers in jars, use a measuring cup to scoop crumbled cake. This helps create uniform layers.
Whipped Cream Suggestions
You can use homemade or store-bought whipped cream. Homemade gives a fresh taste, while store-bought saves time. To achieve perfect whipped cream texture, chill your bowl and beaters before mixing. Whip until soft peaks form, but don’t overbeat.
Presentation Tips
For garnishing the cake jars, top each with crushed cookies and a dollop of whipped cream. You can add chocolate shavings or sprinkles for extra flair. For serving at parties, tie a small spoon with twine around each jar. Set them on a wooden board or a colorful tablecloth for a fun look.
Variations
Flavor Alternatives
You can change the flavor of your Cookies and Cream Cake Jar easily. One fun option is to swap chocolate cookies with vanilla cookies. This gives a lighter taste and a nice look. You can also layer in fruit, like strawberries or raspberries. The fruit adds a fresh burst of flavor that pairs well with the creamy layers.
Dietary Modifications
Need to eat gluten-free? You can use almond flour or coconut flour instead of regular flour. This keeps the cake tasty and light. If you want a vegan version, try using plant-based butter and almond milk. Replace eggs with flaxseeds or applesauce. These swaps let everyone enjoy this dessert delight.
For the complete recipe, check out the Full Recipe section.
Storage Info
Storing Cake Jars
To keep your Cookies and Cream Cake Jars fresh, store them in the refrigerator. Use airtight containers to prevent air from drying out the layers. If you made several jars, you can stack them, but make sure they are sealed well. These jars can stay good for up to five days in the fridge. For best taste, consume them within three days. This way, the flavors remain strong and delicious.
Freezing Cake Components
Yes, you can freeze both the cake and whipped cream. To freeze the cake, crumble it and place it in a sealed bag. For whipped cream, spoon it into an airtight container. Both can last up to three months in the freezer. When you’re ready to enjoy, take them out and let them thaw in the fridge overnight. This helps them regain their texture. Once thawed, layer them back into jars and serve. Enjoy your treat with fresh flavors!
FAQs
Common Questions
How long do Cookies and Cream Cake Jars last in the fridge?
These cake jars last about 3 to 5 days in the fridge. Make sure to cover them well to keep them fresh.
Can I make this recipe ahead of time?
Yes! You can make the cake and whipped cream a day before. Assemble the jars when you are ready to serve.
What can I substitute for buttermilk?
You can use regular milk with a splash of vinegar. Let it sit for about 5 minutes. This will mimic buttermilk well.
How do I make sure my cake remains moist?
Use room temperature ingredients. Do not overbake the cake, and let it cool completely before crumbling.
Where can I buy pre-made cookies and cream cake jars?
You can find them at many bakeries or dessert shops. Some grocery stores also offer them in the bakery section.
This blog covered everything you need to make Cookies and Cream Cake Jars. You learned about ingredients, how to prep and bake, and layering tips. I shared storage methods and fun variations to try.
Now, you can make your own delicious cake jars with confidence. Enjoy the process, and have fun sharing them with friends and family. Baking can spark joy and creativity, so let your imagination shine!