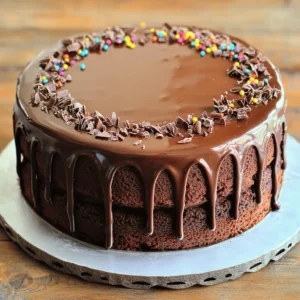
Welcome to the ultimate treat for chocolate lovers: the Chocolate Drip Cake! This guide will help you create a rich, moist cake topped with a glossy, tempting ganache. I’ll walk you through every step, from gathering key ingredients to perfecting the drip effect. Whether you’re a baking novice or a seasoned pro, you’ll find tips and tricks to impress your guests. Let’s dive into this delicious adventure together!
Ingredients for Chocolate Drip Cake
Key Ingredients
To make a Chocolate Drip Cake, you need some key ingredients. Each one plays a big role in the flavor and texture.
– 2 cups all-purpose flour
– ¾ cup unsweetened cocoa powder
– 1 cup semi-sweet chocolate chips
All-purpose flour helps the cake rise and gives it a nice texture. Unsweetened cocoa powder adds a rich chocolate flavor. The semi-sweet chocolate chips bring sweetness and melt beautifully in the ganache.
Optional Ingredients
You can add some fun touches to your cake with optional ingredients. These extras can enhance both flavor and appearance.
– Chocolate shavings or sprinkles
– Flavoring variations (vanilla extract, almond extract)
Chocolate shavings or sprinkles give your cake a festive look. You can also add vanilla or almond extract for extra flavor. These small changes make a big difference in taste.
Tools Needed
Having the right tools makes baking easier and more fun! Here’s what you’ll need:
– Measuring cups and spoons
– Mixing bowls
– 9-inch round cake pans
Measuring cups and spoons help you get the right amounts. Mixing bowls make it easy to combine your ingredients. A 9-inch round cake pan is perfect for baking the layers of your cake.
For the full recipe, check out the details above. Happy baking!
Step-by-Step Instructions
Baking the Cake
Preheat the oven and prepare the pans: Start by preheating your oven to 350°F (175°C). This step is crucial to get that perfect rise. Grease and flour two 9-inch round cake pans. This helps the cake come out easily.
Mixing dry and wet ingredients: In a large bowl, sift together the flour, sugar, cocoa powder, baking powder, baking soda, and salt. This ensures there are no lumps. In another bowl, mix the eggs, milk, vegetable oil, and vanilla extract. Beat them for about 2 minutes. Then, carefully stir in the boiling water. Your batter will be thin, but that’s okay!
Adding the Ganache
Preparing the chocolate ganache: In a saucepan, heat the heavy cream until it just starts to boil. Remove it from heat and add the chocolate chips. Let it sit for 5 minutes. Then, stir until smooth and glossy. This ganache will make your cake shine!
Layering the cake: Once the cakes are fully cooled, place one layer on a serving plate. Spread a nice layer of ganache on top. Place the second layer on top of this. Pop it in the fridge for about 30 minutes. This helps the layers hold firm.
Final Assembly
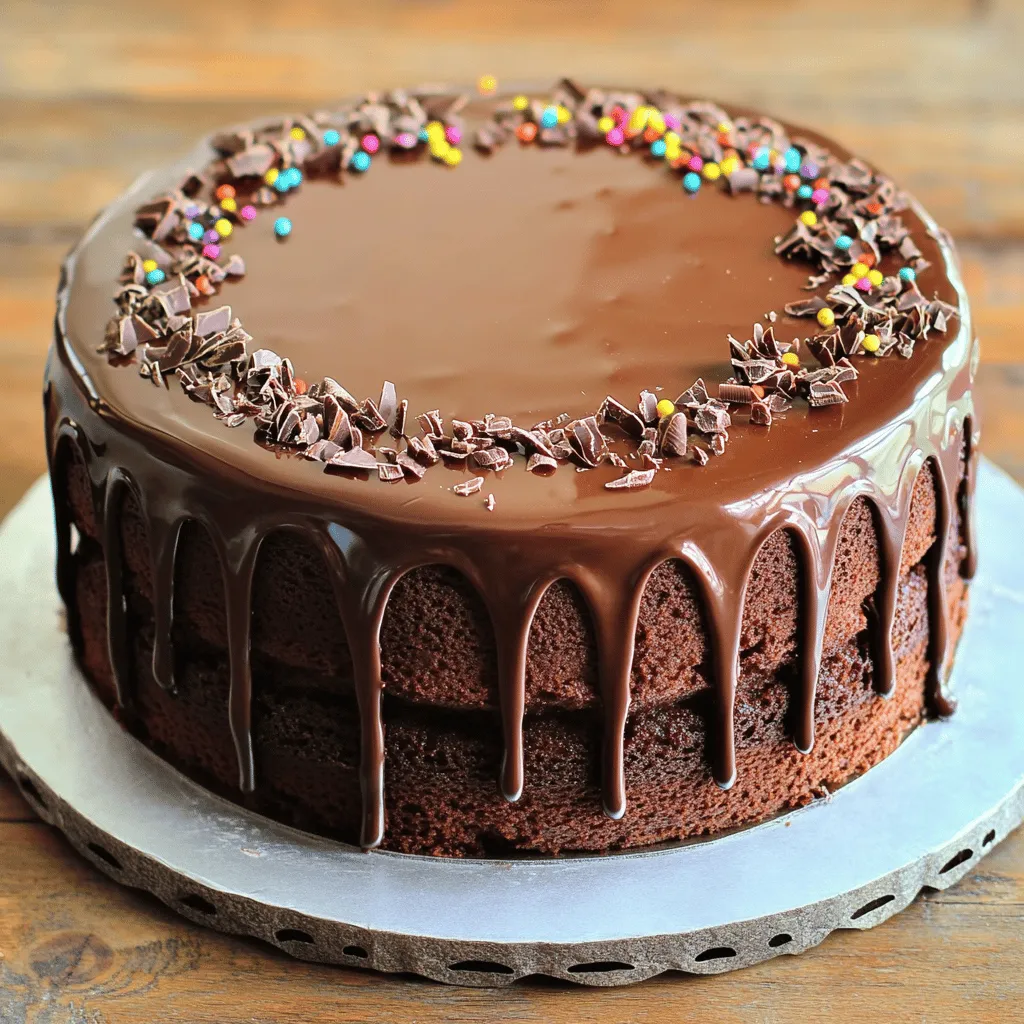
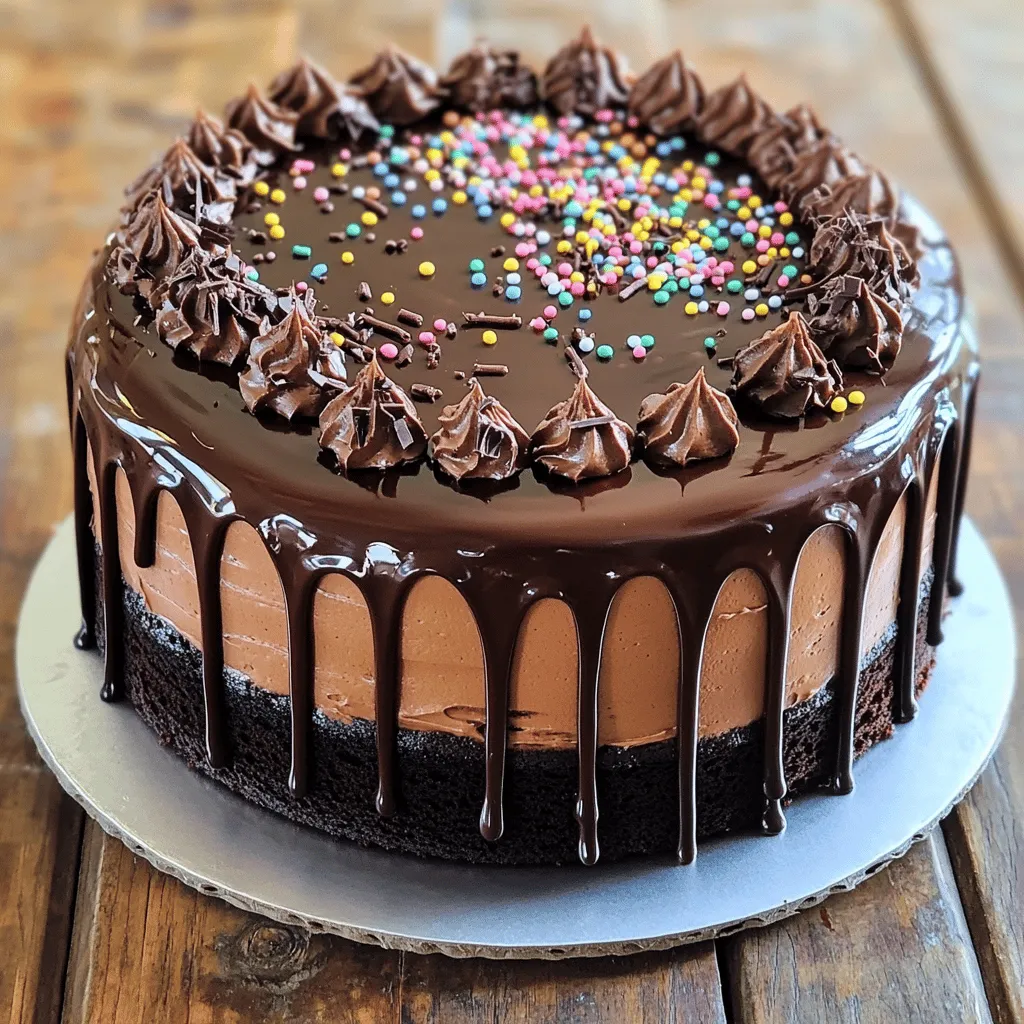
Dripping the ganache: Now, it’s time for the fun part! Pour the remaining ganache over the top of the cake. Watch it drip down the sides. Use a spatula to spread it evenly if you want.
Decorating with sprinkles: After the ganache sets, decorate the top with chocolate shavings or sprinkles. This adds a nice touch and makes your cake look extra special. Enjoy your creation!
Tips & Tricks for Perfecting Your Cake
Achieving the Ideal Chocolate Drip
To get the perfect drip, you need the right ganache consistency. Aim for a smooth and glossy texture. The ganache should flow but not be too runny. If it’s too thick, warm it gently. If too thin, let it sit for a few minutes to thicken.
Timing is key for the drip effect. Pour the ganache on the cake when it’s slightly cooled but still pourable. This helps it drip down the sides nicely without running off entirely.
Baking Tips
How do you test if your cake is done? Use a toothpick. Insert it into the center of the cake. If it comes out clean, the cake is ready. If it has batter on it, bake a little longer.
Cooling your cakes correctly matters, too. After baking, let them cool in the pan for about 10 minutes. Then, flip them onto a wire rack to cool completely. This prevents sogginess and helps keep the cake fluffy.
Presentation Tips
Decorating your cake can be fun! Try adding chocolate shavings or colorful sprinkles. They add texture and make your cake look festive.
For serving, slice the cake with a sharp knife. Wipe the knife between cuts for clean slices. You can serve it with a scoop of ice cream or a dollop of whipped cream for an extra treat.
For the complete recipe, check out the Full Recipe.
Variations of Chocolate Drip Cake
Flavor Variations
You can make your chocolate drip cake truly your own. Adding fruit like raspberries or strawberries gives a fresh taste. Nuts, such as walnuts or pecans, add crunch and flavor.
You can also experiment with different types of chocolate. Use dark chocolate for a richer taste. Milk chocolate makes the cake sweeter. White chocolate adds a creamy touch and a unique look.
Design Variations
Designing your cake can be fun. For special events, try themed decorations. You could use edible flowers for a spring look or holiday shapes for Christmas.
Layering techniques can also change how your cake looks. Try stacking different flavors or colors. This will make each slice exciting.
Dietary Alternatives
If you need gluten-free options, use almond flour or gluten-free flour blends. Many people enjoy these alternatives without losing flavor.
For vegan substitutions, swap eggs with flaxseed meal or applesauce. Use plant-based milk and dairy-free chocolate chips. This ensures everyone can enjoy your tasty creation.
Feel free to check out the Full Recipe for more ideas on how to make your chocolate drip cake special!
Storage Info
How to Store Leftovers
To keep your chocolate drip cake fresh, let it cool completely first. Wrap it in plastic wrap or foil. This helps keep the cake moist. Use an airtight container for best results. It prevents air from drying out your cake. You can also use a cake dome if you have one. This offers a great way to store while keeping it visible.
Freezing Tips
You can freeze your chocolate drip cake for later. First, slice the cake into pieces. Wrap each slice in plastic wrap tightly. Then place all slices in a freezer bag. Make sure to remove as much air as you can. To thaw, take out a slice and leave it in the fridge overnight. It will be ready to enjoy the next day!
Shelf Life
A chocolate drip cake stays fresh for about 3 to 5 days when stored properly. If you freeze it, it can last for up to 3 months. Just make sure to use it within that time for the best taste. After thawing, enjoy it within 2 to 3 days for the best flavor.
FAQs about Chocolate Drip Cake
What can I use instead of semi-sweet chocolate chips?
You can try dark chocolate chips for a richer taste. Milk chocolate chips offer a sweeter flavor. White chocolate chips work too, but the ganache will be less chocolatey. If you’re looking for a healthier option, use cocoa powder mixed with a bit of coconut oil.
You can swap out the heavy cream with coconut cream for a dairy-free version. For a vegan option, use dairy-free chocolate and coconut cream.
Can I make the cake in advance?
Yes, you can prepare the cake ahead of time. Bake it a day before and let it cool. Wrap the cakes in plastic wrap and keep them in the fridge. This helps the flavors develop.
Frosting works best later, once the cake is cooled. If you frost too soon, it might melt. Wait until the ganache is ready and the cake is chilled.
How do I fix a ganache that’s too thick?
If your ganache is too thick, add a splash of warm cream. Stir until it reaches the right consistency. You can also heat it gently over low heat, stirring often.
To ensure a smooth drizzle, let the ganache cool slightly before pouring. A warm ganache drips better than a cold one. Enjoy your perfect Chocolate Drip Cake with these tips! For a detailed recipe, check the Full Recipe.
You now have all the steps and tips to make a great chocolate drip cake. Start with the key ingredients like flour and cocoa powder. Follow the baking steps carefully for the best results. Remember the tips for perfect ganache and presentation. Don’t hesitate to experiment with flavors or decorations. This cake is fun to make and share. Enjoy the process, and your sweet creations will impress everyone. Happy baking!