Dinner
![To make garlic ginger green beans, you will need: - 1 pound fresh green beans, trimmed - 3 tablespoons olive oil - 4 cloves garlic, minced - 1 tablespoon fresh ginger, minced - 1 tablespoon soy sauce (or tamari for gluten-free) - 1 teaspoon sesame oil - 1 teaspoon red pepper flakes (adjust based on heat preference) - Salt and pepper to taste - 2 tablespoons toasted sesame seeds (for garnish) - Fresh cilantro or green onions (for garnish) If you don’t have some ingredients on hand, here are a few swaps: - Olive oil can be replaced with avocado oil or vegetable oil. - Soy sauce can be substituted with coconut aminos for a low-sodium option. - Fresh ginger can be swapped with ground ginger in a pinch, but use less. - If you want less heat, skip the red pepper flakes or use paprika instead. When selecting green beans, look for these traits: - Choose bright green beans without brown spots or blemishes. - The beans should feel firm and snap easily. - Avoid limp or dull-looking beans, as they may not be fresh. - If possible, buy organic green beans to ensure better quality and taste. Using quality ingredients will make your garlic ginger green beans shine. Check out the Full Recipe to get all the details! First, we need fresh green beans. Trim the ends and rinse them. Next, bring a pot of salted water to a boil. Add the green beans and blanch them for 2 to 3 minutes. They should be bright green and tender-crisp. Drain the green beans and move them to an ice bath. This stops the cooking and keeps them crunchy. After a minute, drain them again and set them aside. Now it’s time to heat things up. In a large skillet or wok, pour in 3 tablespoons of olive oil. Turn the heat to medium-high. Once the oil is hot, add 4 minced cloves of garlic and 1 tablespoon of minced ginger. Sauté these for about 30 seconds to 1 minute. You want them fragrant but not burned. The smell will be amazing! Add the blanched green beans to the skillet. Toss them for about 3 to 5 minutes. We want them heated through and slightly tender. Now, drizzle 1 tablespoon of soy sauce and 1 teaspoon of sesame oil over the green beans. Sprinkle in 1 teaspoon of red pepper flakes, plus salt and pepper to taste. Toss everything together. Make sure the green beans are well-coated with the flavors. It’s time to serve! Transfer the green beans to a serving dish. For a finishing touch, sprinkle 2 tablespoons of toasted sesame seeds on top. You can also add fresh cilantro or sliced green onions for garnish. These green beans pair well with rice or grilled meats. Enjoy your delicious garlic ginger green beans! For the full recipe, check out the earlier section. To boost the taste, try adding a squeeze of lemon juice. This adds a bright note. You can also toss in sliced bell peppers for color and crunch. Another option is to mix in sliced mushrooms for a rich, earthy flavor. If you like nuts, add chopped almonds or cashews for a nice crunch. These additions make the dish even better. One mistake is overcooking the green beans. They should be bright green and crisp. Another error is skipping the ice bath after blanching. This keeps them vibrant and crunchy. Avoid using too much soy sauce, as it can make the dish too salty. Lastly, don't forget to taste as you cook. Adjust the seasoning to suit your taste. To cook green beans just right, start with fresh beans. Look for ones that are bright and firm. Blanch them in boiling water for 2-3 minutes. Then, quickly transfer them to an ice bath. This halts the cooking process and locks in color. When stir-frying, keep the heat high and stir often. This ensures that they cook evenly and stay crisp. For the best results, follow the Full Recipe carefully. Enjoy your tasty green beans! {{image_2}} You can easily add protein to garlic ginger green beans. Tofu or chicken works great. For tofu, use firm or extra-firm. Cut it into cubes and sauté it in the skillet before adding the garlic and ginger. This way, the tofu gets crispy and has flavor. If using chicken, cut it into bite-sized pieces. Cook the chicken until it is no longer pink, then add the garlic and ginger. This makes your dish heartier and more filling. Feel free to mix in other vegetables too. Carrots, bell peppers, or broccoli can add color and crunch. Slice the carrots thinly so they cook quickly. Bell peppers can be cut into strips for a nice texture. Broccoli florets can be blanched with the green beans. Just remember to adjust cooking time based on the veggies you choose. This not only adds variety but also boosts the dish's nutrition. You can control the heat in this dish easily. If you like it mild, skip the red pepper flakes or use less. On the other hand, if you want it spicy, add more flakes or even a dash of hot sauce. You could also try fresh chili peppers for a different flavor. Adjusting spice levels lets you cater the dish to your taste. This makes garlic ginger green beans a versatile side for any meal. Try these variations to keep your cooking exciting and fresh. For the full recipe, check out the details above. Store leftover garlic ginger green beans in an airtight container. Place them in the fridge. They will last for about 3 days. Make sure they cool down before sealing. This keeps them fresh and tasty. To reheat, use a skillet on medium heat. Add a splash of olive oil. Heat for about 3-4 minutes, stirring often. This helps retain the crunch. You can also use the microwave. Heat for 30 seconds, stir, then heat again if needed. You can freeze garlic ginger green beans for longer storage. First, blanch them for 2 minutes. Drain and cool them in ice water. After that, dry them thoroughly. Place in freezer bags and remove excess air. They can stay fresh for up to 3 months. When ready to use, thaw in the fridge overnight. Then reheat as usual. For the full recipe, check out the details above. I like to use fresh green beans. They taste better and have a nice crunch. Look for beans that are bright green and firm. Avoid beans with brown spots or wrinkles. You can use haricots verts for a more delicate flavor. Yes, you can make garlic ginger green beans ahead. Cook the beans and store them in the fridge for up to three days. When you are ready to serve, just heat them up in a skillet. This keeps them fresh and tasty. Absolutely! You can use tamari for a gluten-free option. If you want a soy-free choice, try coconut aminos. They add a nice umami flavor while keeping it vegetarian. This dish has roots in Asian cuisine, where garlic and ginger are popular. It combines simple and fresh flavors. Many cultures use green beans in stir-fries, making it a versatile dish worldwide. To spice it up, add more red pepper flakes. You can also use fresh chili peppers for an extra kick. If you like heat, try adding sriracha or chili oil when serving. Yes, you can use frozen green beans. They are quick and easy to prepare. Just thaw them and skip the blanching step. However, fresh beans will give you a better texture and flavor. For the best results, follow the [Full Recipe]. In this blog post, we explored the essential ingredients, preparation steps, and tips for cooking garlic ginger green beans. We discussed how to enhance flavors, avoid mistakes, and use different variations. Finally, I shared smart ways to store and reheat leftovers. The right approach can make your green beans shine. Try these ideas, and enjoy a tasty dish that impresses everyone at your table. Your cooking will become more fun and rewarding!](https://toastedrecipes.com/wp-content/uploads/2025/07/4c2c7d0a-5ff6-4521-a217-69b1c6b4c062.webp)
Garlic Ginger Green Beans Quick and Flavorful Dish
Looking for a quick and delicious way to enjoy your veggies? Garlic Ginger Green Beans are just what you need! This simple dish combines fresh
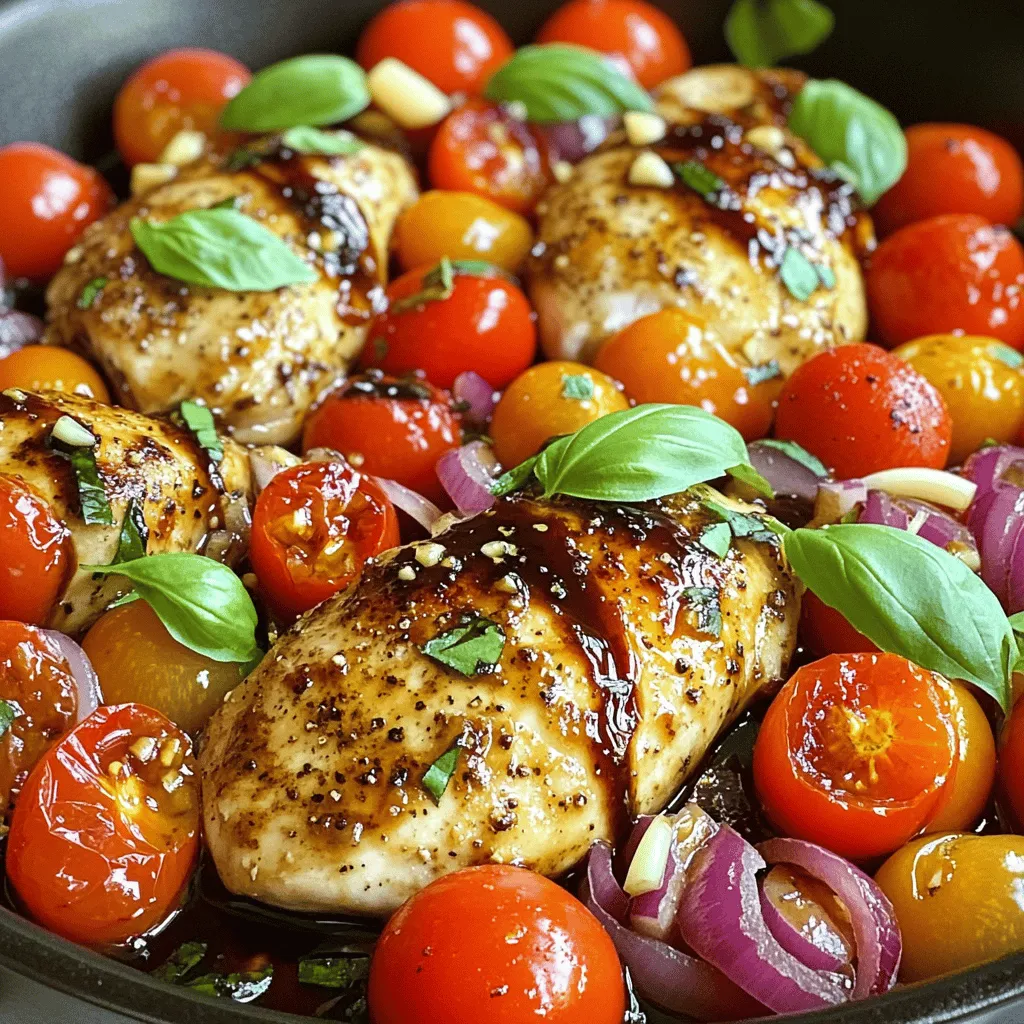
One Pan Balsamic Chicken Easy and Flavorful Recipe
Craving a tasty dinner that’s quick and easy? Look no further! My One Pan Balsamic Chicken is packed with flavor and simplicity. You can make

Cajun Garlic Butter Chicken Flavorful and Simple Dish
Looking for a dish that’s both simple and packed with flavor? Cajun Garlic Butter Chicken is your answer! This recipe combines juicy chicken with zesty
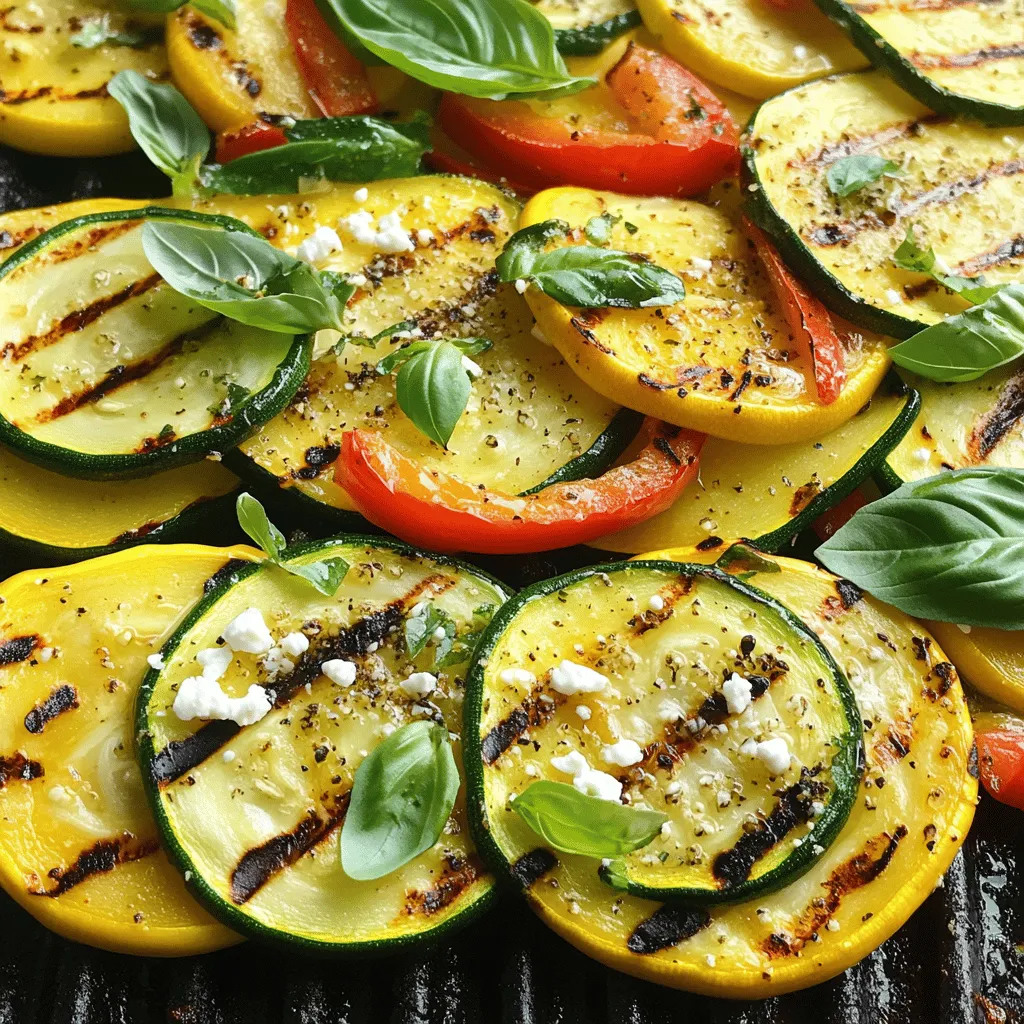
Grilled Zucchini and Squash Fresh Flavorful Treat
Welcome to my kitchen! Today, we’re diving into a fresh, flavorful treat: Grilled Zucchini and Squash. This dish is packed with vibrant colors and simple
. The detailed steps will guide you to make the perfect baked zucchini and mushrooms. This blog post covered a delicious and healthy dish made with zucchini, mushrooms, and more. We explored ingredient options and substitutions, ensuring everyone can enjoy this meal. The preparation steps guide you through slicing, mixing, and baking. I shared tips to elevate the flavor and avoid common mistakes. Remember, you can customize the recipe with proteins or different spices. Follow the storage and reheating advice for leftovers. And if you want the full recipe, look for the link. Enjoy cooking and experimenting!](https://toastedrecipes.com/wp-content/uploads/2025/07/60318619-b543-4542-b865-00a9c0967ca8.webp)
Easy Baked Zucchini and Mushrooms Flavorful Delight
Looking for an easy and tasty side dish? My Easy Baked Zucchini and Mushrooms recipe is a hit! With fresh zucchini, mushrooms, and vibrant spices,
![- 4 boneless, skinless chicken breasts - 1 can (10.5 oz) cream of chicken soup - 1 cup sour cream - 1 cup shredded cheddar cheese - 1 cup broccoli florets (fresh or frozen) - 1 teaspoon garlic powder - 1 teaspoon onion powder - 1 tablespoon olive oil - Salt and pepper to taste - 1 cup seasoned breadcrumbs Baked chicken with cream of chicken soup is a simple yet tasty dish. I love how the cream of chicken soup gives the chicken a rich, creamy flavor. Using sour cream adds a nice tang, too. For the main ingredients, I always use fresh, boneless chicken breasts. They cook evenly and are so tender. The cream of chicken soup is the star here. It brings everything together. Sour cream helps make the sauce smooth and creamy. When it comes to additional ingredients, I like to add broccoli florets. They add a pop of color and nutrition. Shredded cheddar cheese is a must for that cheesy goodness. The garlic powder gives a subtle flavor that really enhances the dish. For seasoning, I keep it simple. Onion powder adds depth. Olive oil keeps the chicken moist. Salt and pepper bring out all the flavors. Finally, seasoned breadcrumbs give the dish a nice crunch on top. If you want the full recipe, check out the link provided. You’ll find all the steps to create this delicious meal. - Preheat your oven to 375°F (190°C). - Grease a 9x13-inch baking dish. This will help the chicken not stick. - In a large bowl, combine the cream of chicken soup, sour cream, garlic powder, onion powder, salt, and pepper. - Mix well until smooth. This creamy sauce is key to the flavor. - Place the chicken breasts in the greased baking dish and drizzle with olive oil. - Pour the creamy mixture over the chicken. Make sure to coat each piece evenly. - Scatter broccoli florets on top. This adds color and nutrition. - Sprinkle shredded cheddar cheese over the broccoli and chicken. Finally, add seasoned breadcrumbs on top for texture. - Cover the dish with aluminum foil and bake for 30 minutes. - After 30 minutes, remove the foil and continue baking for another 15-20 minutes. - Your chicken is done when it reaches an internal temperature of 165°F and the top is golden brown and bubbly. - Let it rest for 5 minutes before serving to keep it juicy. For more details, check the Full Recipe. To get that golden brown top, you need to bake your dish just right. After covering your chicken with foil, bake for 30 minutes. Then, remove the foil and let it bake for another 15 to 20 minutes. This step helps the breadcrumbs turn crispy and the cheese to bubble. Using fresh broccoli gives a better texture than frozen. Fresh broccoli stays slightly crunchy, which adds a nice contrast to the creamy chicken. If you only have frozen broccoli, it will work too. Just make sure to thaw and drain it well before adding it to the dish. You can save time by preparing your ingredients in advance. Chop the broccoli the day before and store it in the fridge. Also, mix the creamy sauce ahead of time. This way, you can pull everything together faster when you are ready to cook. Using pre-cooked chicken cuts down your prep time even more. You can shred or cube the chicken and mix it into the creamy sauce. This makes the dish come together in no time. To boost the flavor, try adding more spices. A pinch of paprika or a sprinkle of Italian seasoning can make a big difference. You can also use fresh herbs like thyme or parsley for a pop of freshness. Adding more vegetables can increase nutrition. Think about adding sliced carrots or bell peppers. They blend well with the dish and add color. You can even mix in some spinach for extra greens. For the full recipe, check out the full recipe section! {{image_2}} You can switch up the protein in this dish. Instead of chicken breasts, try thighs or drumsticks. Dark meat adds a richer flavor and stays juicy. It also cooks well with the creamy sauce. If you want a vegetarian option, consider plant-based proteins. Use chickpeas or tofu for a hearty twist. They soak up the flavors from the cream of chicken soup nicely. While cream of chicken soup is great, you can explore other sauces. Cream of mushroom or cream of celery soup work well. Each brings a unique taste to the dish. Adding herbs can boost the flavor even more. Try rosemary for a fresh touch or thyme for warmth. These herbs enhance the creamy sauce, making it even more delightful. Pair your chicken bake with tasty side dishes. Steamed rice is a classic choice. It absorbs the creamy sauce well. You can also serve it with crusty bread to soak up all the goodness. If you have leftovers, get creative! Shred the chicken and add it to salads or wraps. This dish is perfect for meal prepping, making weeknight dinners easier. For the full recipe, check out the [Full Recipe]. To freeze leftover baked chicken, let it cool first. Then, cut the chicken into pieces. Place the chicken in airtight containers or freezer bags. Squeeze out the air to prevent freezer burn. Label the containers with the date. I recommend using glass containers or heavy-duty freezer bags for best results. Store the baked chicken in the fridge within two hours of cooking. Use an airtight container to keep it fresh. Properly stored, it lasts about 3 to 4 days. Enjoy it cold in salads or reheat it for a warm meal. To reheat the chicken bake, use the oven or microwave. For the oven, preheat to 350°F (175°C). Cover the dish with foil to keep moisture in. Heat for about 20 minutes or until warm. In the microwave, place a piece on a microwave-safe plate. Heat in 1-minute intervals until hot. To keep the chicken juicy, avoid overheating. Enjoy the creamy goodness just like before! Yes, but cooking times may vary. Skin-on chicken adds flavor and moisture. Just remember to check the chicken's doneness carefully. If you use skin-on chicken, it might need a few extra minutes in the oven. Alternatives include homemade white sauce or another creamy soup. You can mix milk with flour and butter to make your own. Other creamy soups, like cream of mushroom, also work well. Just pick a flavor you enjoy. Check for an internal temperature of 165°F (75°C). Use a meat thermometer to check the thickest part of the chicken. If it reaches that temperature, it’s safe to eat. Juices should run clear, and the meat should not be pink. Yes, it stores well and can be easily reheated. After cooking, let it cool down before storing. You can keep it in the fridge for up to four days. When you're ready to eat, simply reheat in the oven or microwave. This makes it perfect for busy weeknights! This chicken bake is easy and tasty. We explored its main ingredients, from chicken to creamy sauces. Then, we covered step-by-step instructions for a perfect bake. I shared tips for great texture and time-saving options. You learned about flavor twists and how to store leftovers, too. In summary, this dish offers comfort and convenience. Enjoy making it for family or meal prep. Happy cooking!](https://toastedrecipes.com/wp-content/uploads/2025/07/cc364195-a51b-44d2-99bd-2a3a17f43e40.webp)
Best Baked Chicken with Cream of Chicken Soup Flavor
Are you ready to elevate your chicken game? This Best Baked Chicken with Cream of Chicken Soup recipe combines juicy chicken breasts with a creamy,
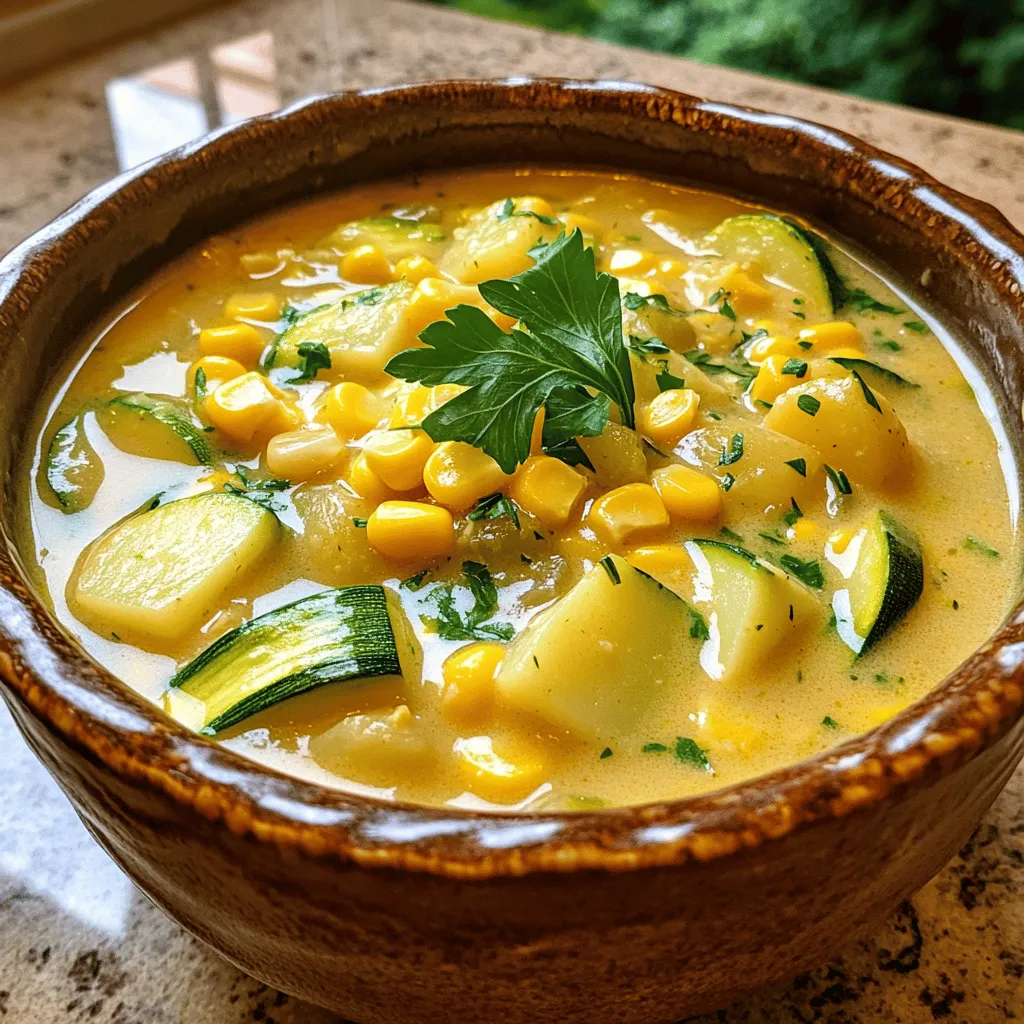
Corn and Zucchini Chowder Simple Comfort Food Recipe
There’s nothing quite like a warm bowl of chowder to brighten your day. In this post, I’ll share my simple recipe for Corn and Zucchini

Trisha Yearwood’s Squash Casserole Flavorful Delight
Are you ready to impress your family at dinner? Trisha Yearwood’s Squash Casserole is a flavorful delight that brings comfort and taste to your table.
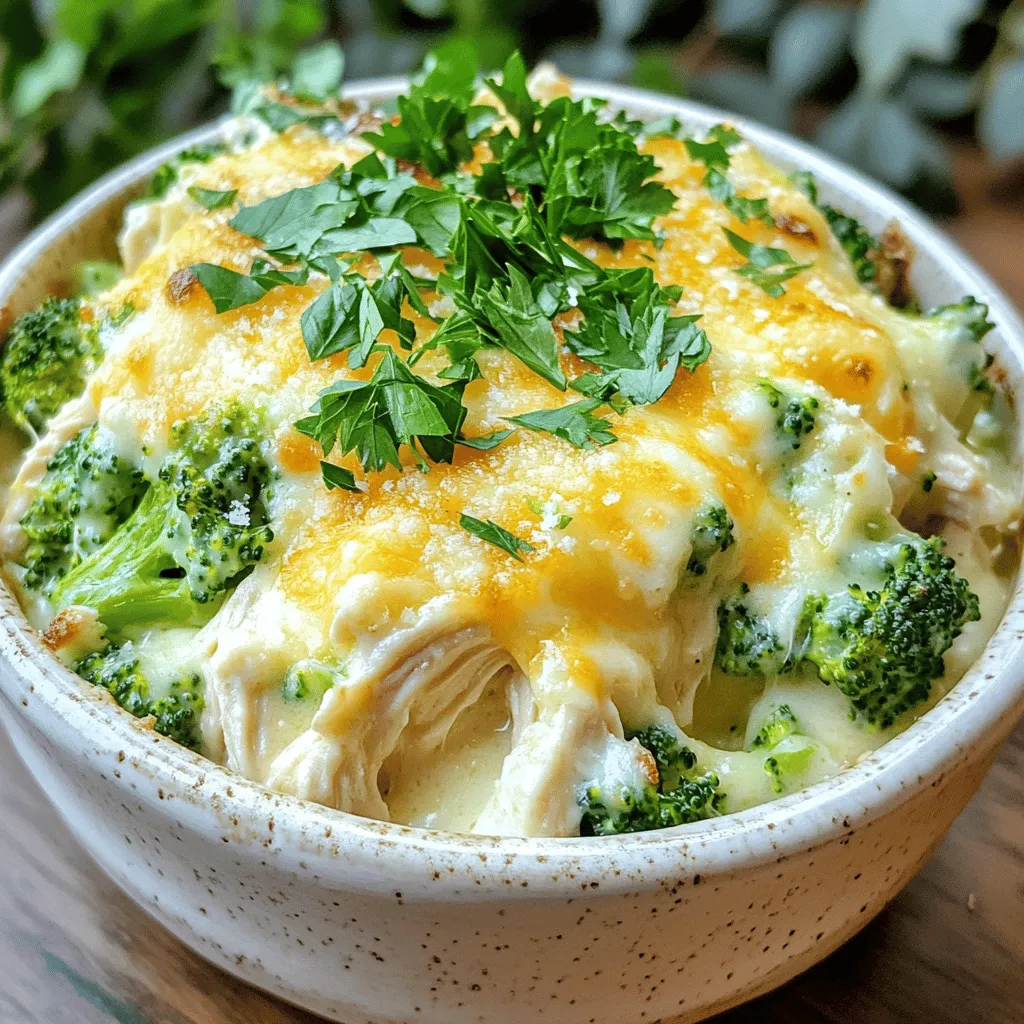
Keto Chicken Alfredo Bake Creamy Low-Carb Delight
Craving a creamy, low-carb treat? Let me introduce you to your new favorite dish: Keto Chicken Alfredo Bake. This recipe is packed with flavor and
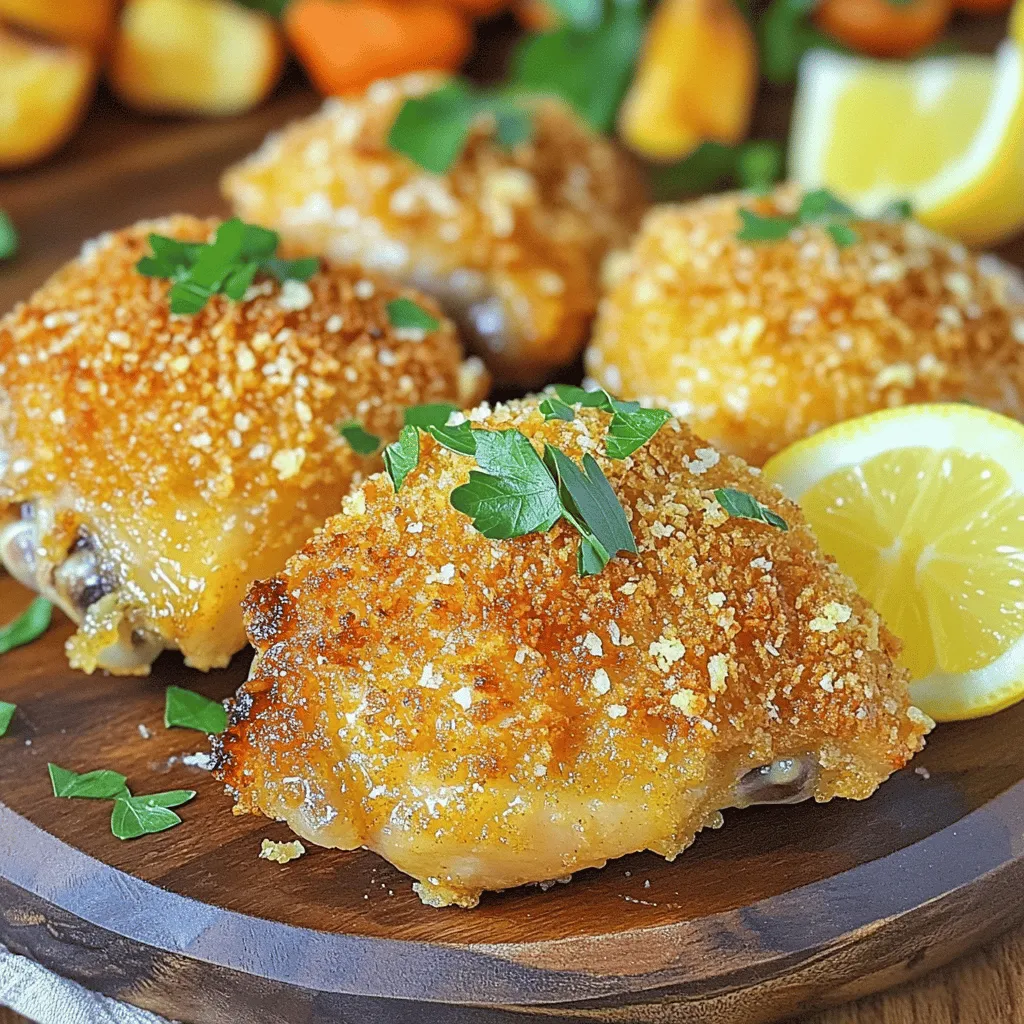
Crispy Lemon Garlic Chicken Flavorful and Easy Dish
If you’re craving a dish that’s big on flavor yet easy to make, this Crispy Lemon Garlic Chicken is for you! With juicy chicken thighs,