Desserts
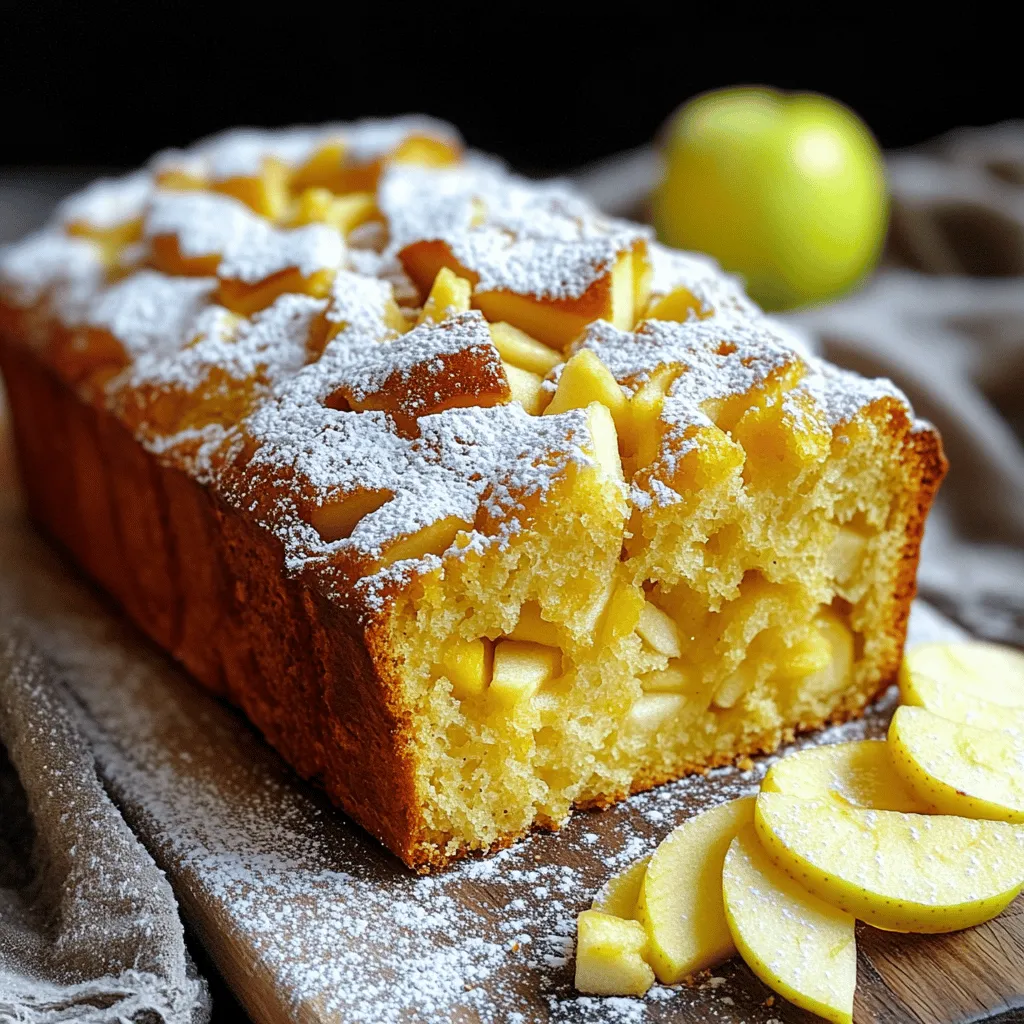
Country Apple Fritter Bread Delightful and Easy Recipe
Are you ready to savor the warmth of homemade Country Apple Fritter Bread? This delightful recipe combines tender, spice-kissed apples with a soft, sweet bread
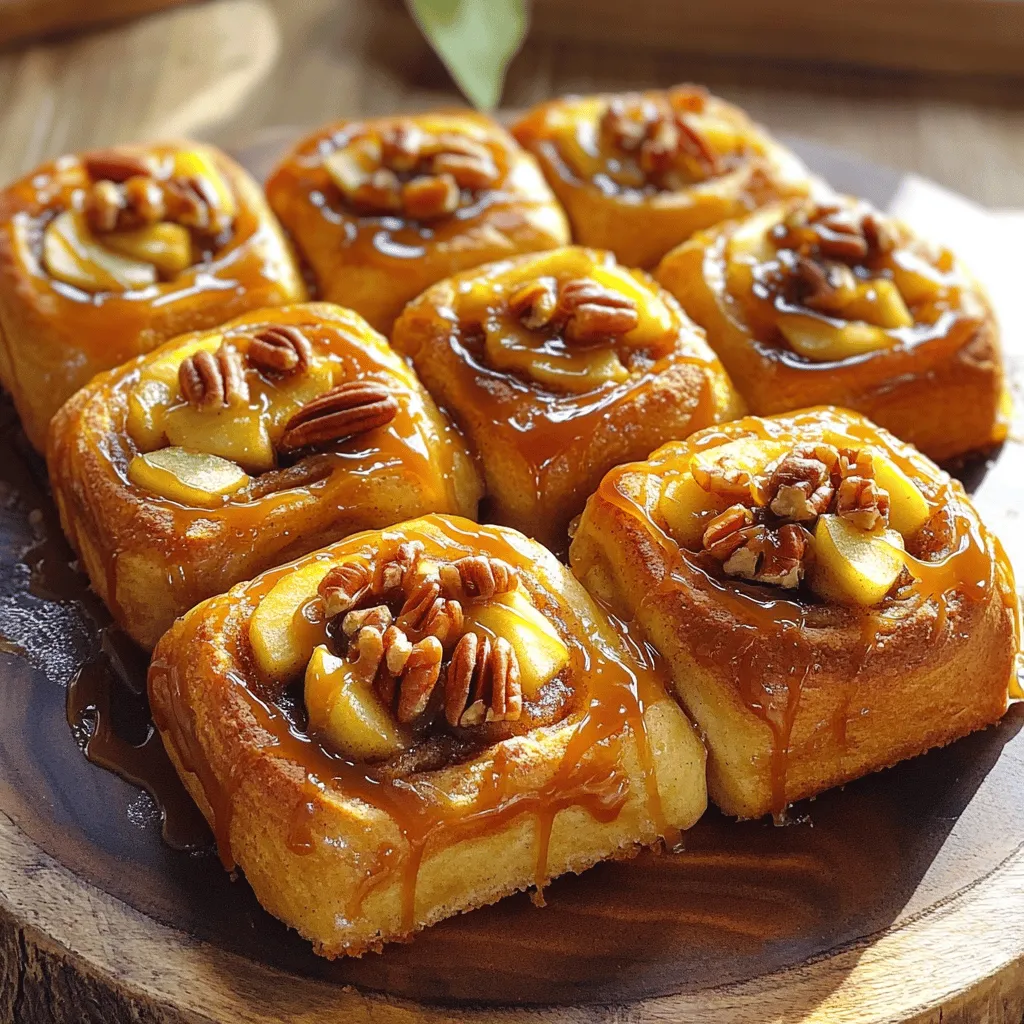
Apple Cinnamon Sticky Buns Irresistible Morning Treat
Start your mornings with Apple Cinnamon Sticky Buns that are simply irresistible. These sweet, gooey treats are perfect for your breakfast table. I’ll guide you
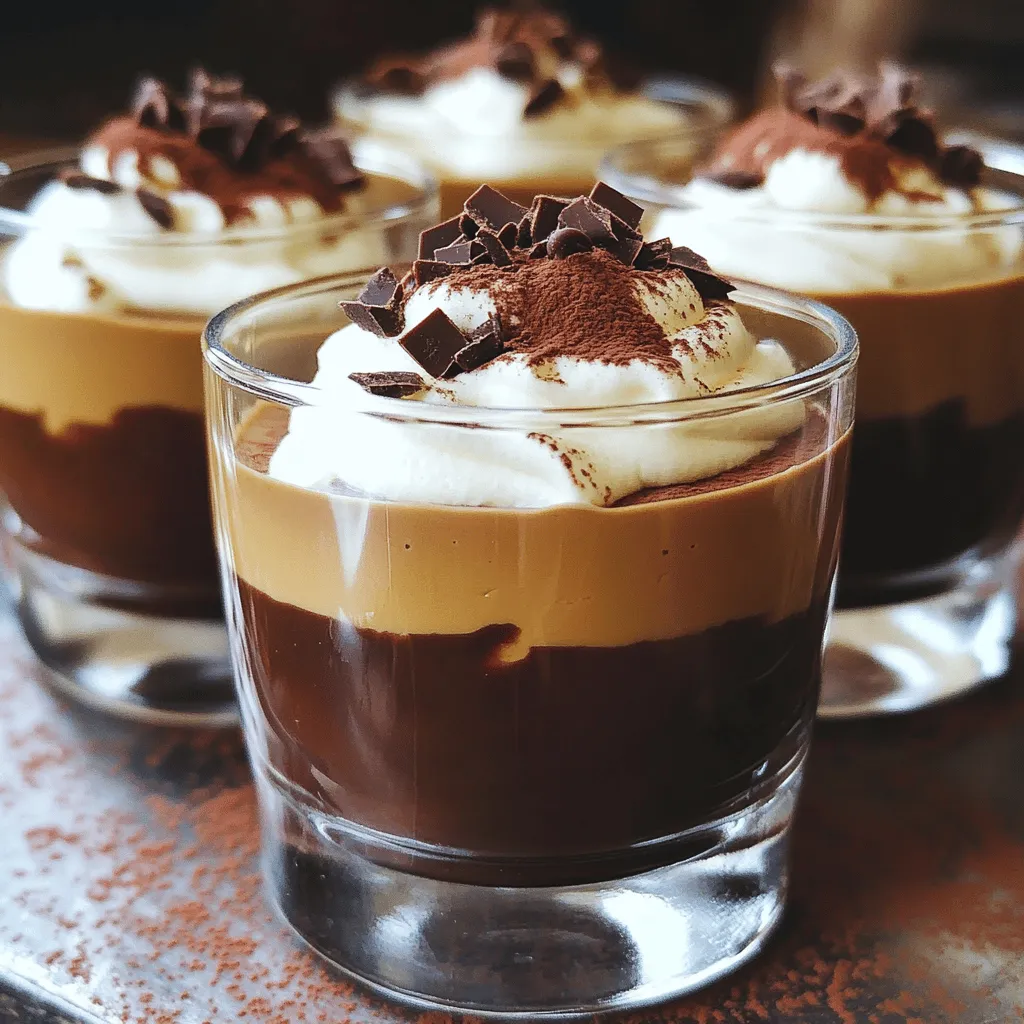
Velvety Coffee Mousse Decadent and Simple Delight
Are you ready to indulge in a dessert that’s rich, creamy, and surprisingly simple? In this post, I’ll share my favorite velvety coffee mousse recipe.
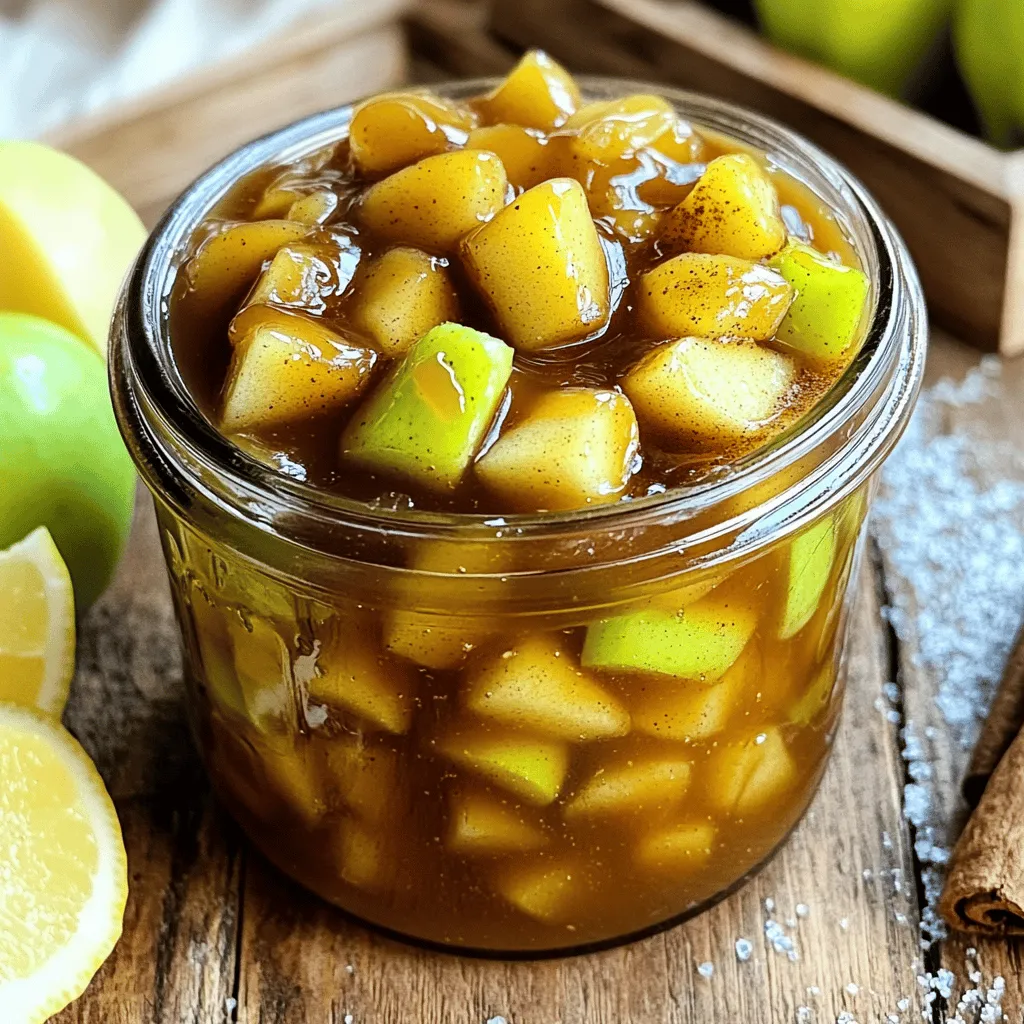
Easy Caramel Apple Jam Simple and Tasty Recipe
Are you ready to savor the sweet taste of fall? This Easy Caramel Apple Jam recipe is your ticket to homemade goodness. With just a
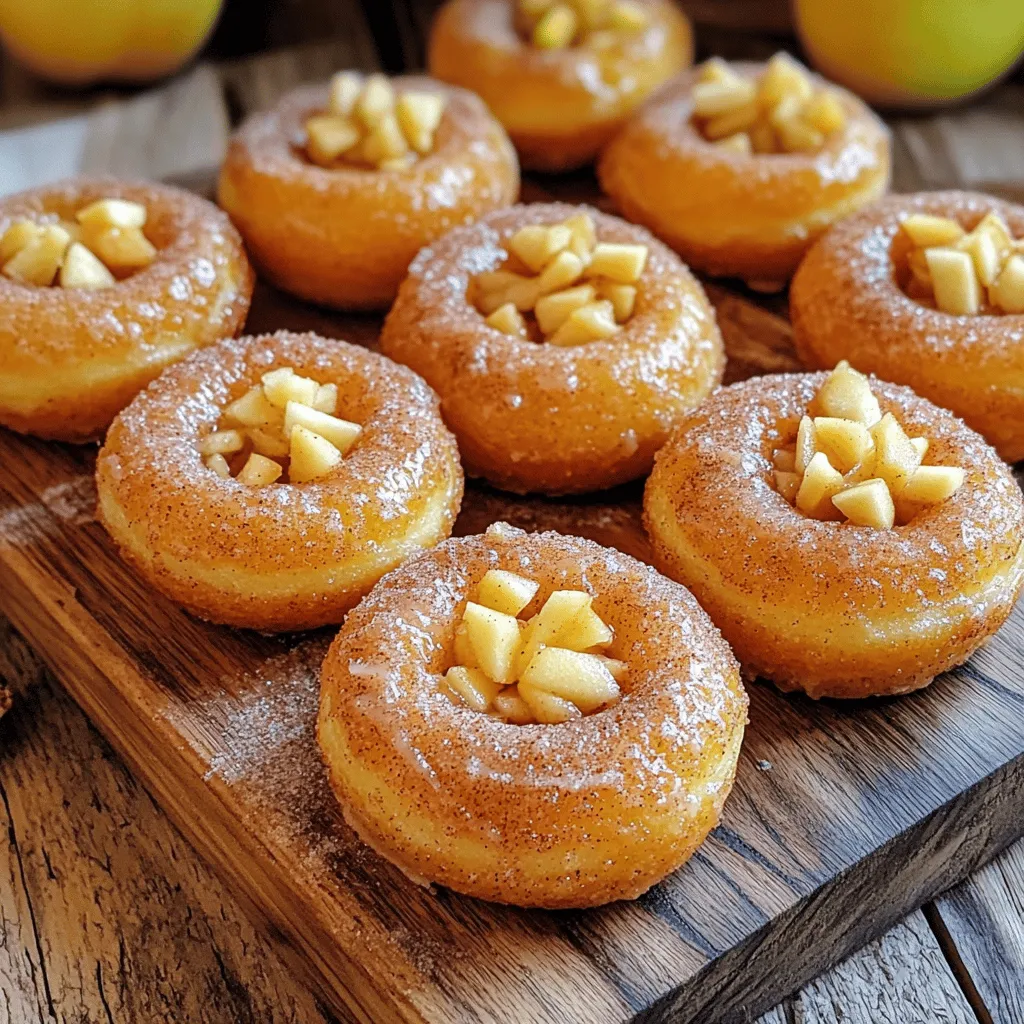
Baked Apple Donuts Irresistible and Easy Recipe
Craving something warm and sweet? Baked apple donuts are the answer! They are easy to make and packed with flavor. In this post, I’ll share
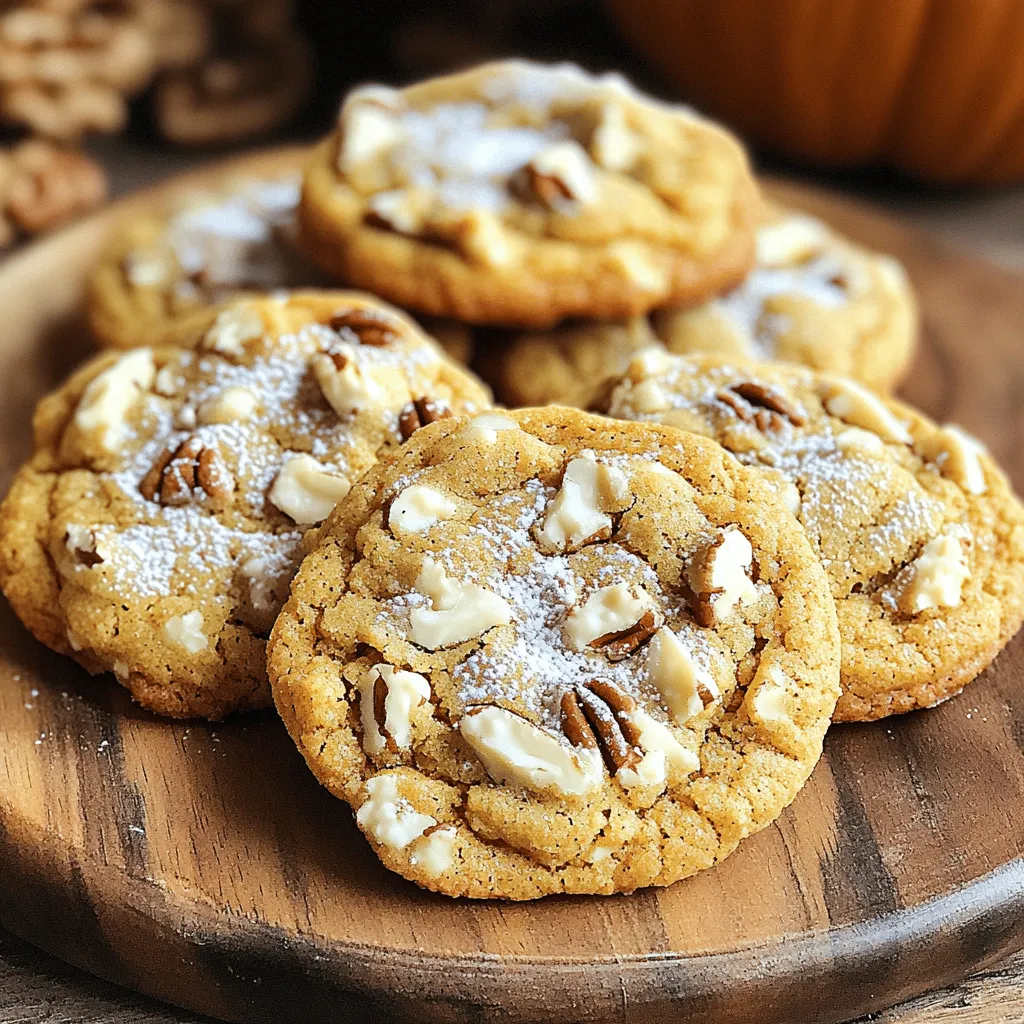
Pumpkin Cookie Recipe Savory and Easy to Make
If you love fall flavors, you’ll adore this pumpkin cookie recipe. It’s savory and super easy to make, perfect for all skill levels. You can
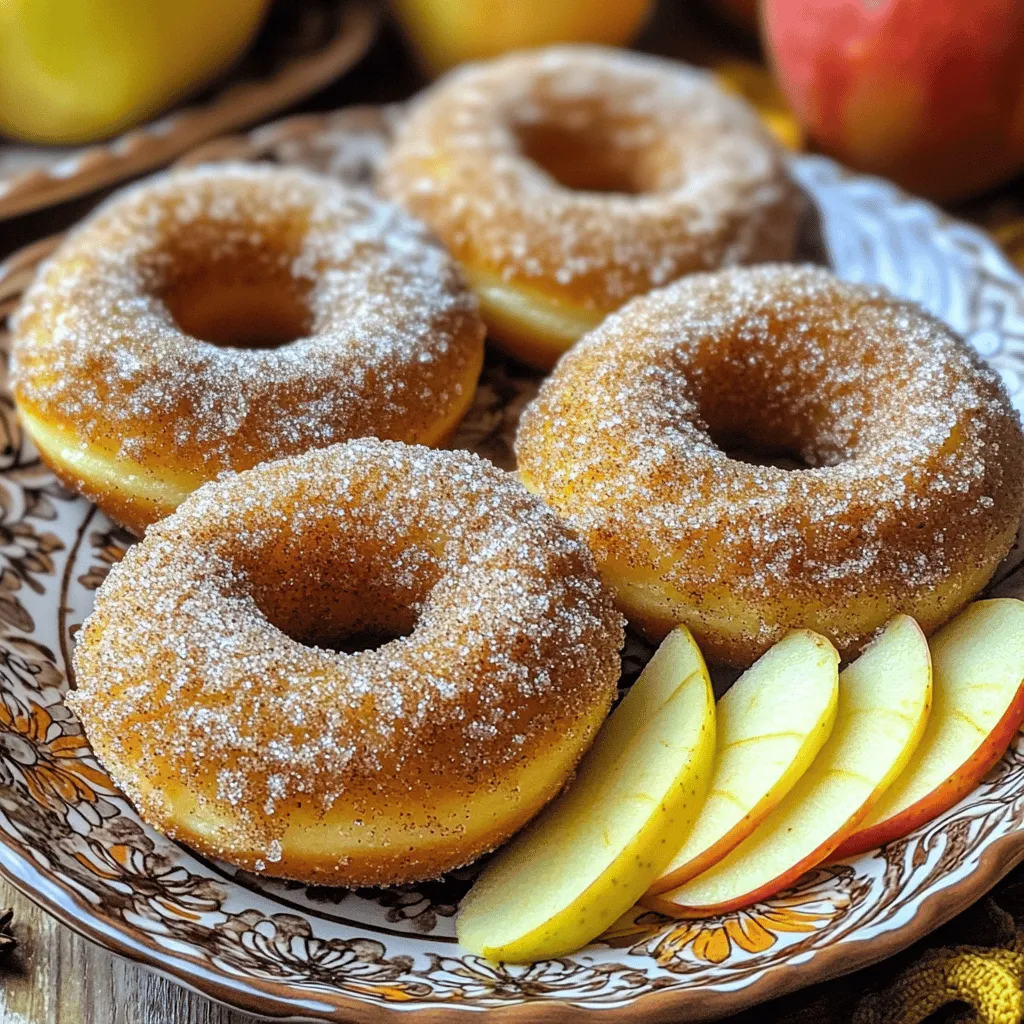
Apple Cider Donuts Tasty Fall Treat Recipe
Fall is here, and that means it’s time for apple cider donuts! These soft, sweet treats are a true taste of autumn. In this post,
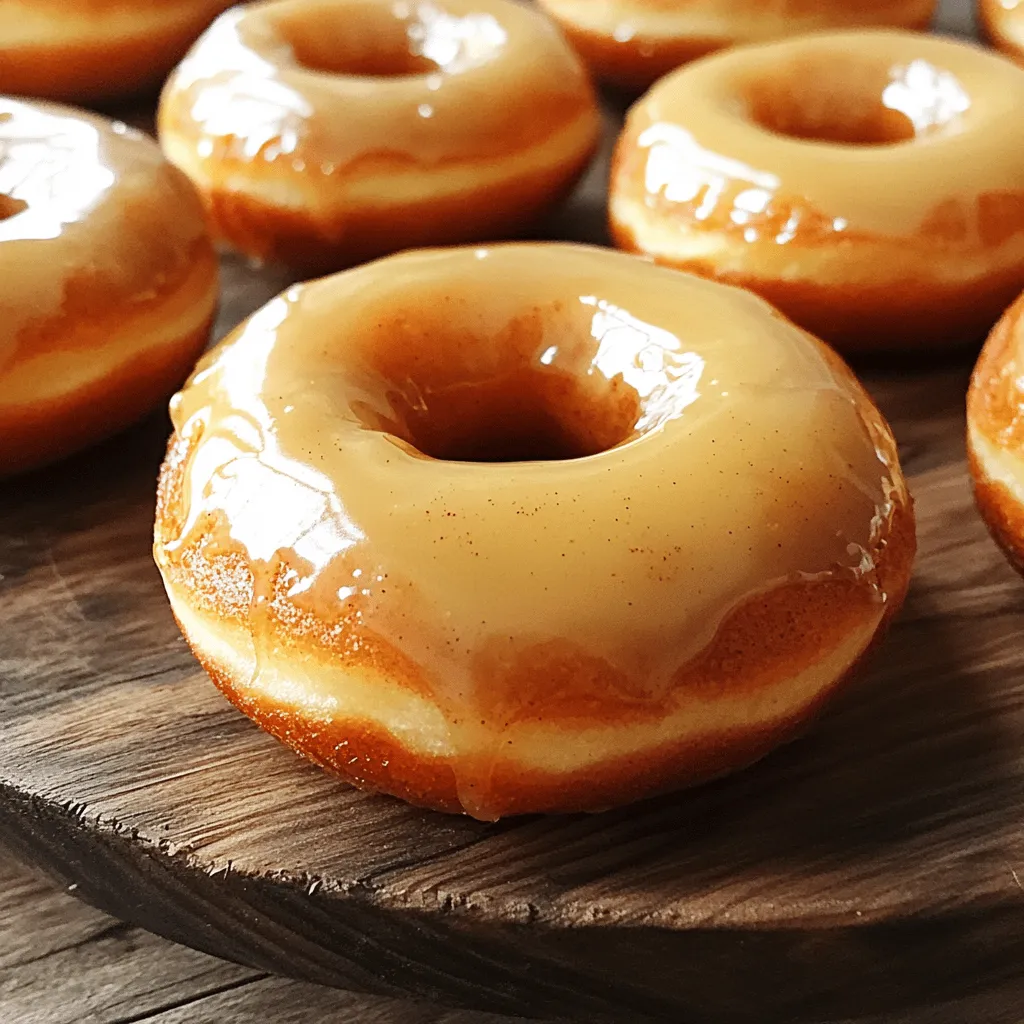
Maple Glazed Donuts Irresistible Homemade Delight
If you love sweet treats, you’re in for a treat! Homemade maple glazed donuts are a delightful way to satisfy your cravings. In this guide,
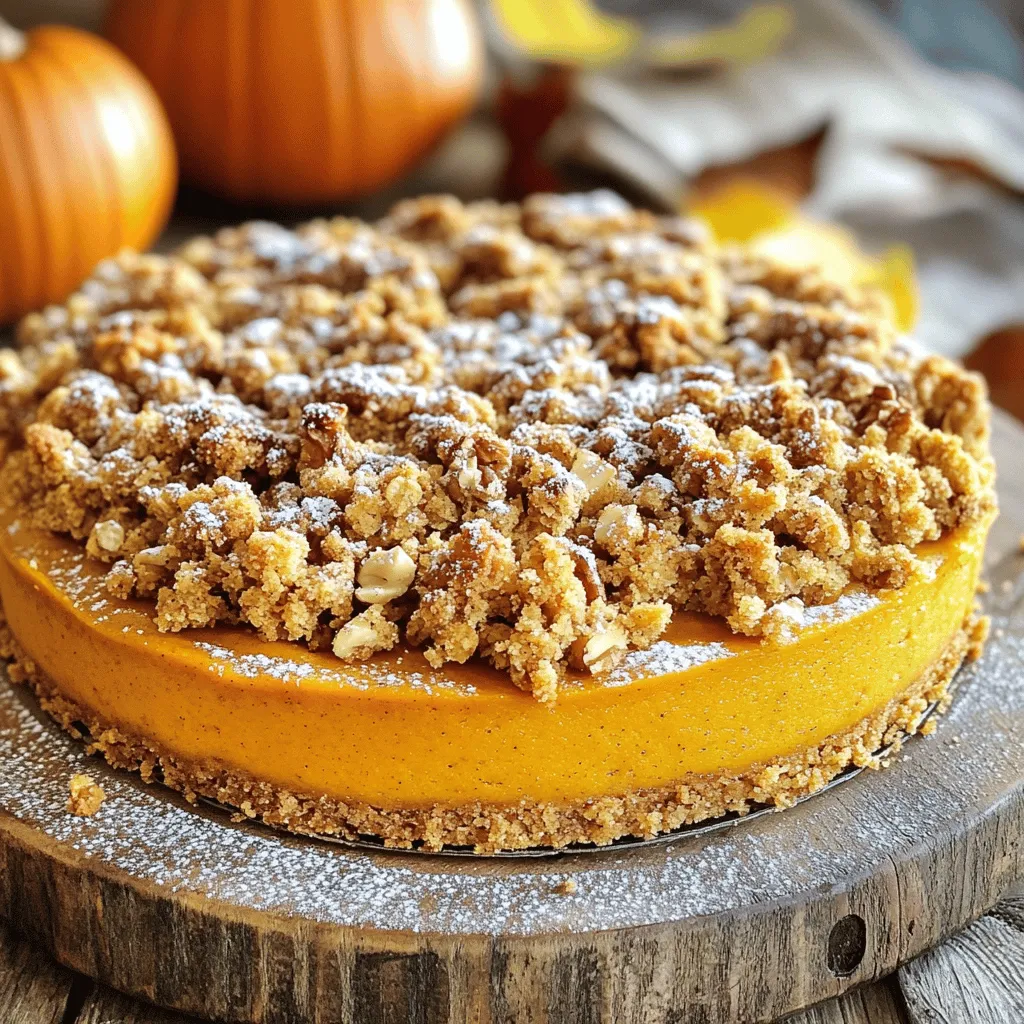
Pumpkin Crumb Cake Moist and Flavorful Dessert Recipe
Are you ready to bake a cozy treat? I’m excited to share my Pumpkin Crumb Cake recipe! This dessert is moist, flavorful, and perfect for
. First, gather all your ingredients. You need pumpkin puree, almond butter, maple syrup, and cocoa powder. Prepare your baking pan by greasing it or lining it with parchment paper. Preheat your oven to 350°F (175°C). This step helps the brownies bake evenly. 1. In a large bowl, mix the pumpkin puree and almond butter. Stir until smooth. 2. Add the maple syrup next. Mix well so all the ingredients combine nicely. 3. Now, slowly sift in the cocoa powder. Stir as you add it to avoid lumps. 4. Make sure the batter is smooth. Pour it into your prepared pan. Spread it evenly with a spatula. 5. Bake the brownies for 25-30 minutes. Check them with a toothpick. If it comes out mostly clean, they are done. 6. Let the brownies cool in the pan for about 10 minutes. Then, move them to a wire rack to cool completely. 7. Slice the cooled brownies into squares. They are now ready to serve. - Use a toothpick to test for doneness. A few moist crumbs are fine. - Don't overbake; this can make your brownies dry. - Let them cool before cutting. This helps them hold their shape. - For a special touch, dust the top with cocoa powder or powdered sugar. Serve with vegan whipped cream or non-dairy ice cream for extra delight. For the full recipe, refer to the beginning of the article. When making Vegan 4-Ingredient Pumpkin Brownies, avoid overmixing the batter. If you mix too much, your brownies may turn out tough. Another mistake is using too much cocoa powder. Stick to the one cup to keep the flavor balanced. Also, don’t forget to check the baking time. Overbaking will dry them out, while underbaking may leave them gooey. To get a great texture, use smooth almond butter. Chunky nut butter can create lumps. Make sure your pumpkin puree is well stirred and free of water. This helps your brownies stay moist without being too wet. For a fudgy outcome, let the brownies cool completely before slicing. This lets them set properly. You can serve these brownies in many fun ways. Try dusting the top with cocoa powder or powdered sugar for a nice look. Pair them with vegan whipped cream or a scoop of non-dairy ice cream for a special treat. For added crunch, sprinkle chopped nuts on top before baking. These simple ideas will make your brownies even more delightful! {{image_2}} You can boost the flavor of your brownies by adding nuts or chocolate chips. Try mixing in 1/2 cup of chopped walnuts or pecans for a crunchy texture. If you love chocolate, add 1/2 cup of dairy-free chocolate chips. Both options make the brownies richer and more exciting. While maple syrup is great, you can use other sweeteners. Agave syrup works well if you want a milder taste. You could also try coconut sugar for a caramel-like flavor. Just remember to adjust the amount based on sweetness. This keeps your brownies delicious without being too sweet. Almond butter is my go-to, but feel free to experiment. Peanut butter adds a fun twist with its strong taste. Sunflower seed butter is perfect for nut-free options, keeping the recipe safe for schools. Each nut or seed butter gives a unique flavor and texture to the brownies. Mixing it up can make your baking adventures even more fun! For the full recipe, check out the full recipe section above. To keep your brownies fresh, store them in an airtight container. This helps them stay moist and tasty. Place parchment paper between layers to prevent sticking. Keep them at room temperature for up to four days. For longer storage, try refrigerating them. Just remember to wrap them well to avoid drying out. You can also freeze these brownies for later. First, let them cool completely. Then, cut them into squares. Wrap each square tightly in plastic wrap. Place them in a freezer-safe bag or container. They stay good for up to three months. When you're ready to eat, just thaw them at room temperature. To enjoy your brownies warm, preheat the oven to 350°F (175°C). Place the brownies on a baking sheet. Heat them for about 5 to 10 minutes. You can also microwave them for 10 to 15 seconds. This makes them soft and delicious again. Enjoy them warm, maybe with a scoop of vegan ice cream! For the complete recipe, check out the Full Recipe. Yes, you can make these brownies gluten-free. The main ingredient that could contain gluten is the cocoa powder. Make sure you choose a gluten-free brand. Almond butter and pumpkin puree are gluten-free as well. If you prefer, you can use gluten-free flour to thicken the mix. However, with the four ingredients listed, you won’t need any flour. The brownies will be moist and fudgy! These brownies stay fresh for about five days when stored correctly. Keep them in an airtight container at room temperature. If you want them to last longer, you can freeze them. They freeze well for up to three months. Just wrap each brownie in plastic wrap and place them in a zip-top bag before freezing. To reduce the sweetness, you can cut back on the maple syrup. Try using three-quarters of a cup instead of a full cup. You can also add a pinch of salt to balance the flavors. Another option is to mix in a bit of unsweetened cocoa powder. This will enhance the chocolate flavor without adding more sweetness. Enjoy experimenting with the taste! These Vegan 4-Ingredient Pumpkin Brownies are easy and healthy. We explored each ingredient and its benefits. I shared tips for perfect texture and common mistakes to avoid. You can also try tasty variations and learn how to store them well. Remember, these brownies can adapt to your taste and needs. Experiment, enjoy the process, and savor every bite. Happy baking!](https://toastedrecipes.com/wp-content/uploads/2025/07/1018b86e-f1a2-46df-bcf1-17094cae43ac.webp)
Vegan 4-Ingredient Pumpkin Brownies Simple Delight
Craving a sweet treat that’s simple, healthy, and vegan? Let’s dive into my Vegan 4-Ingredient Pumpkin Brownies! With just four easy ingredients, you can whip