Appetizers
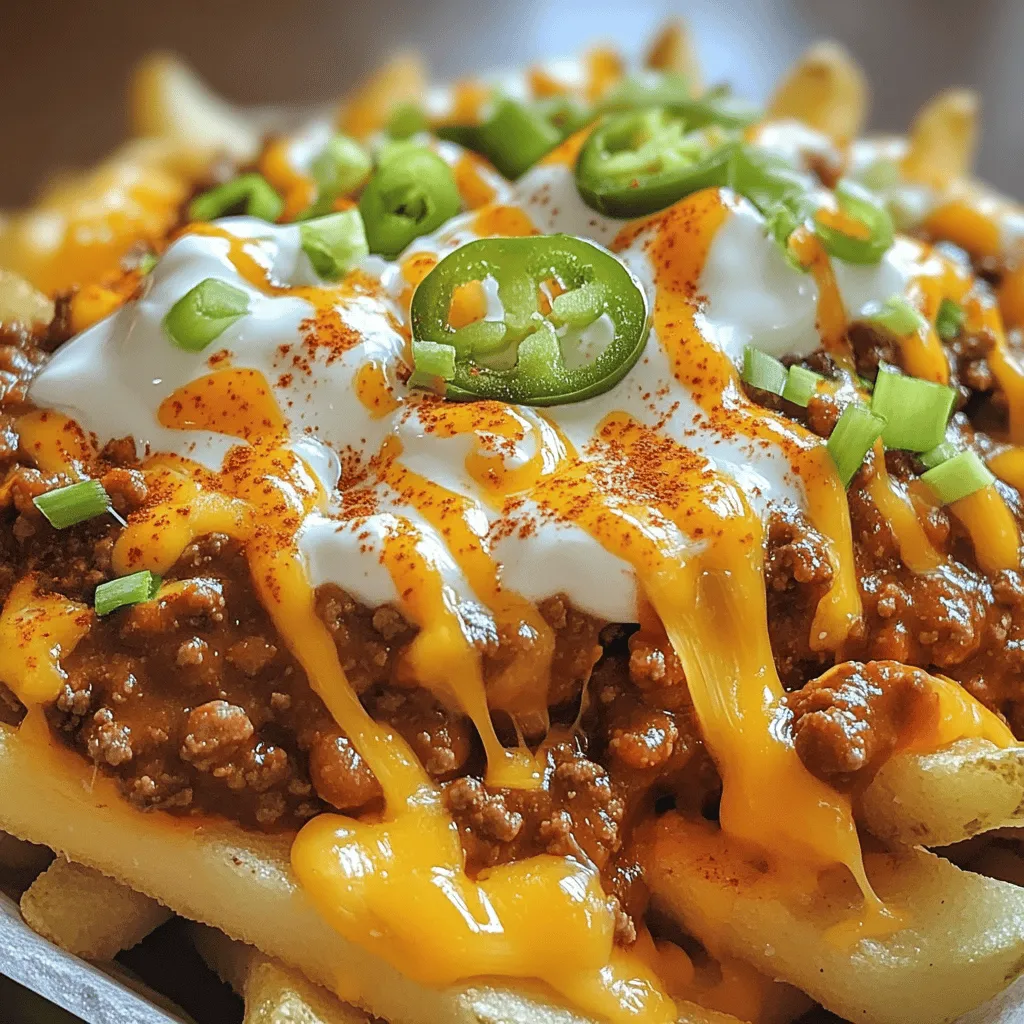
Chili Cheese Fries Irresistible Comfort Food Delight
Craving a warm and cheesy treat? Chili cheese fries may just be the ultimate comfort food! This dish combines crispy fries, hearty chili, and gooey
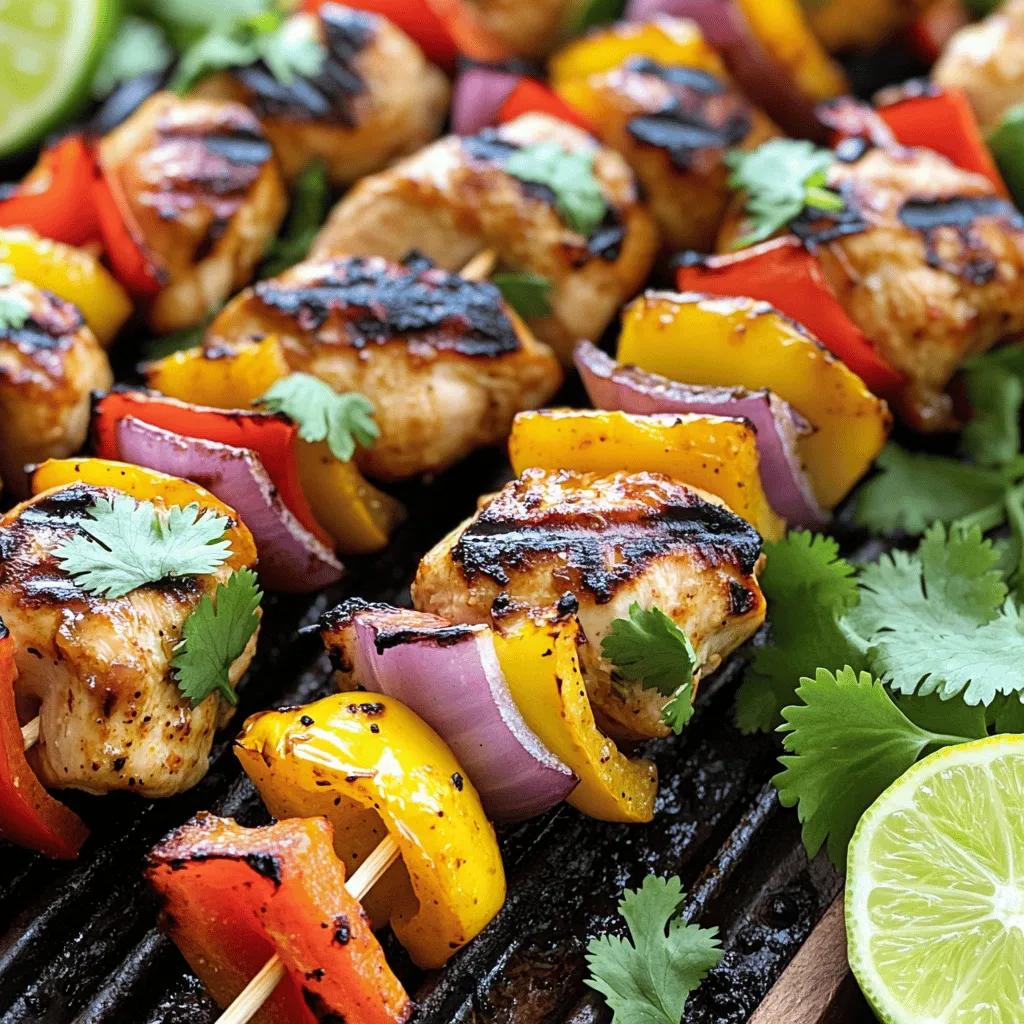
Pinchos Puerto Rican Chicken Skewers Easy Grilling Recipe
Are you ready to fire up the grill? Pinchos, or Puerto Rican chicken skewers, are a must-try! This easy grilling recipe is perfect for a
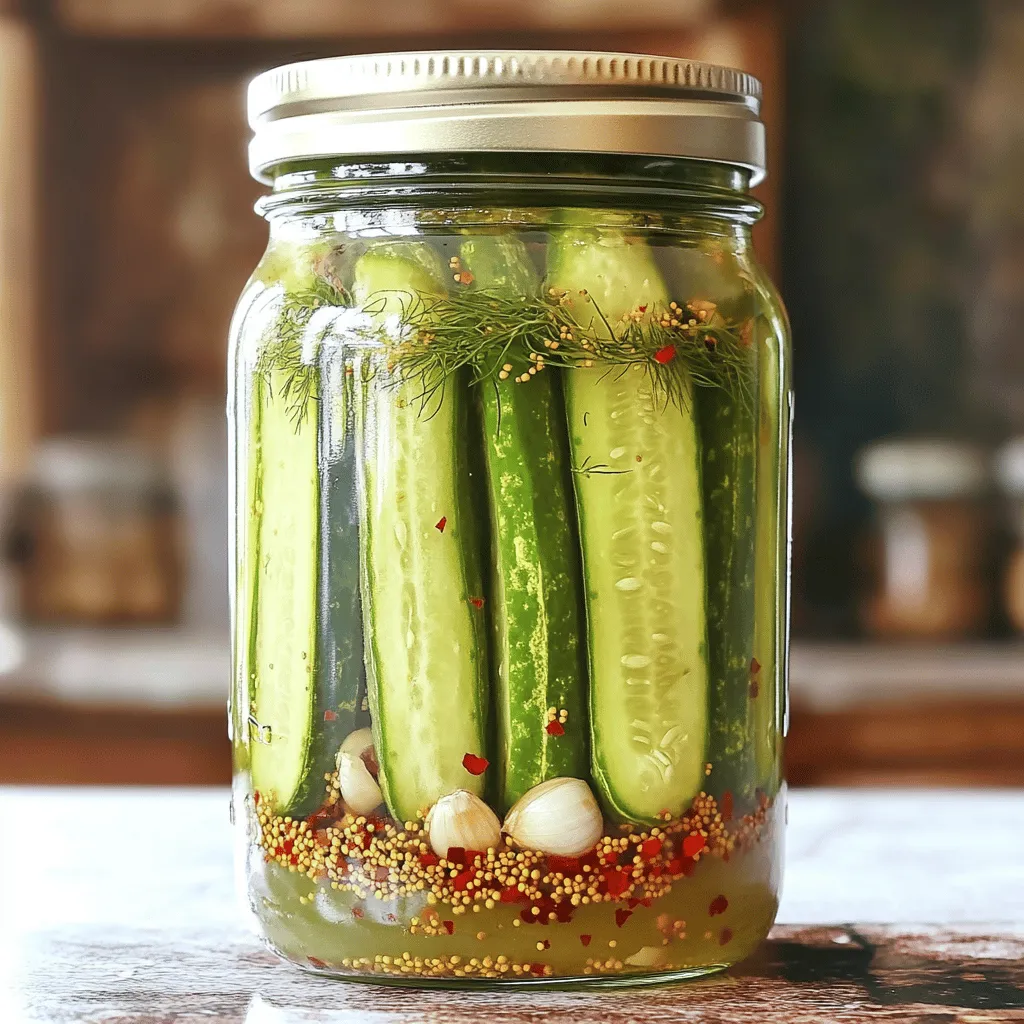
Garlic Dill Pickles Crunchy and Flavorful Recipe
Are you ready to crunch into a world of flavor? In this post, I’ll show you how to make Garlic Dill Pickles that are both
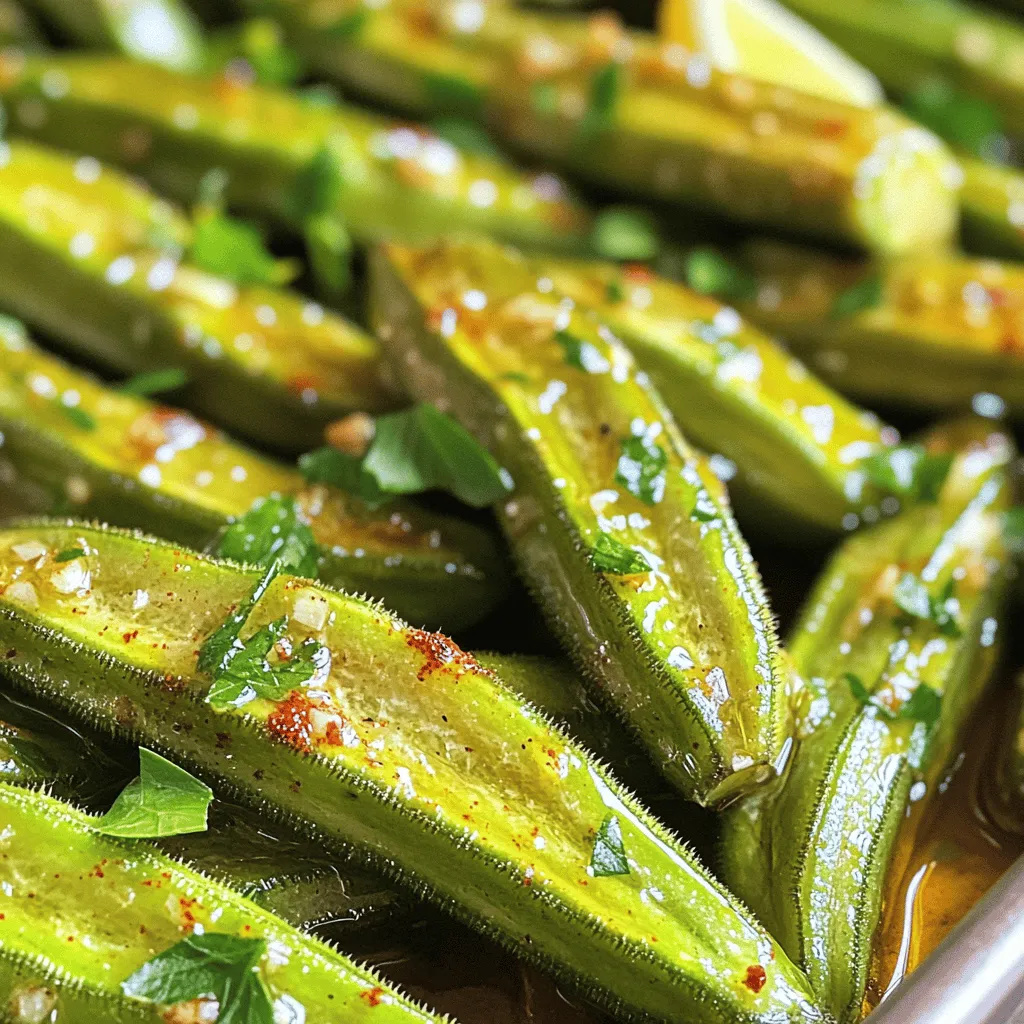
Easy Roasted Okra Flavorful and Simple Recipe
Are you ready to discover a new favorite side dish? This Easy Roasted Okra recipe is flavorful, simple, and perfect for any meal. I’ll show
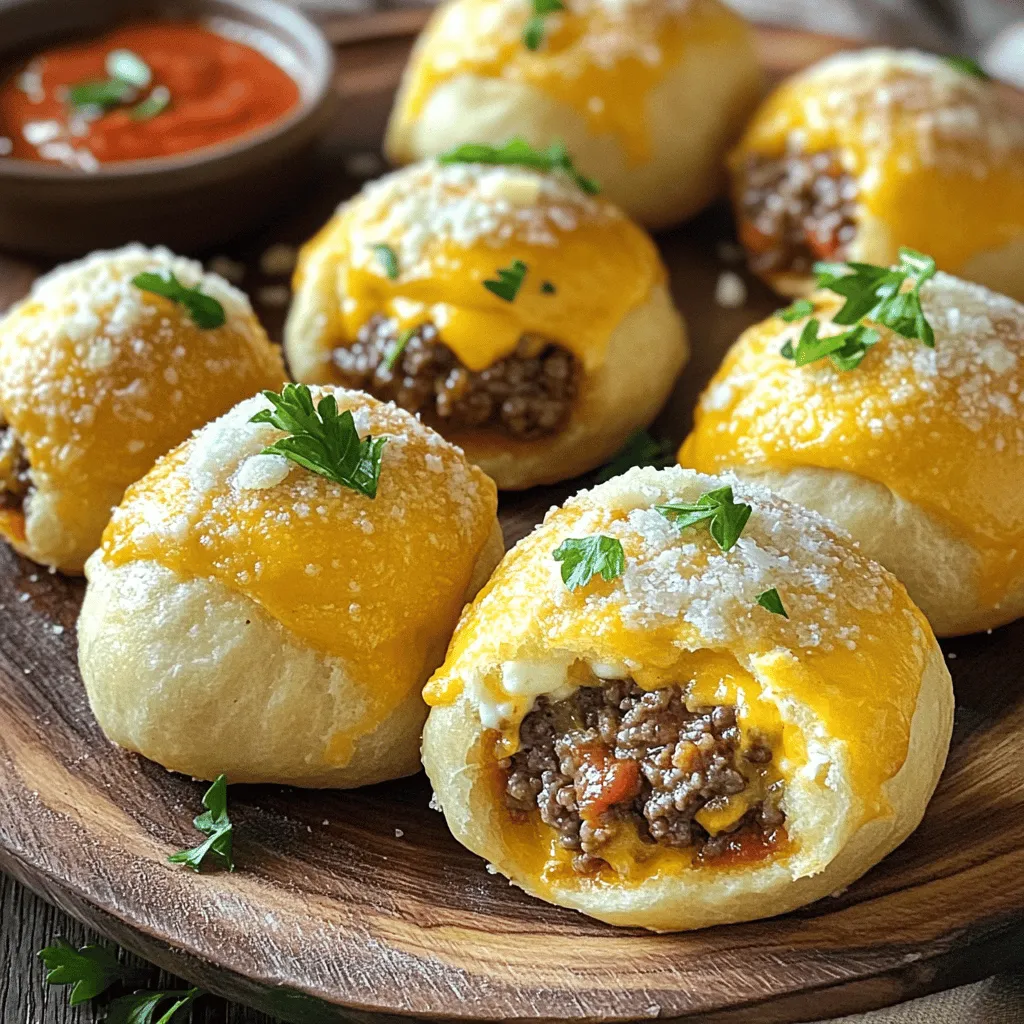
Garlic Parmesan Cheeseburger Bombs Irresistible Snack
Craving a snack that packs a punch? Try these Garlic Parmesan Cheeseburger Bombs! They combine juicy ground beef, rich cheeses, and a hint of garlic
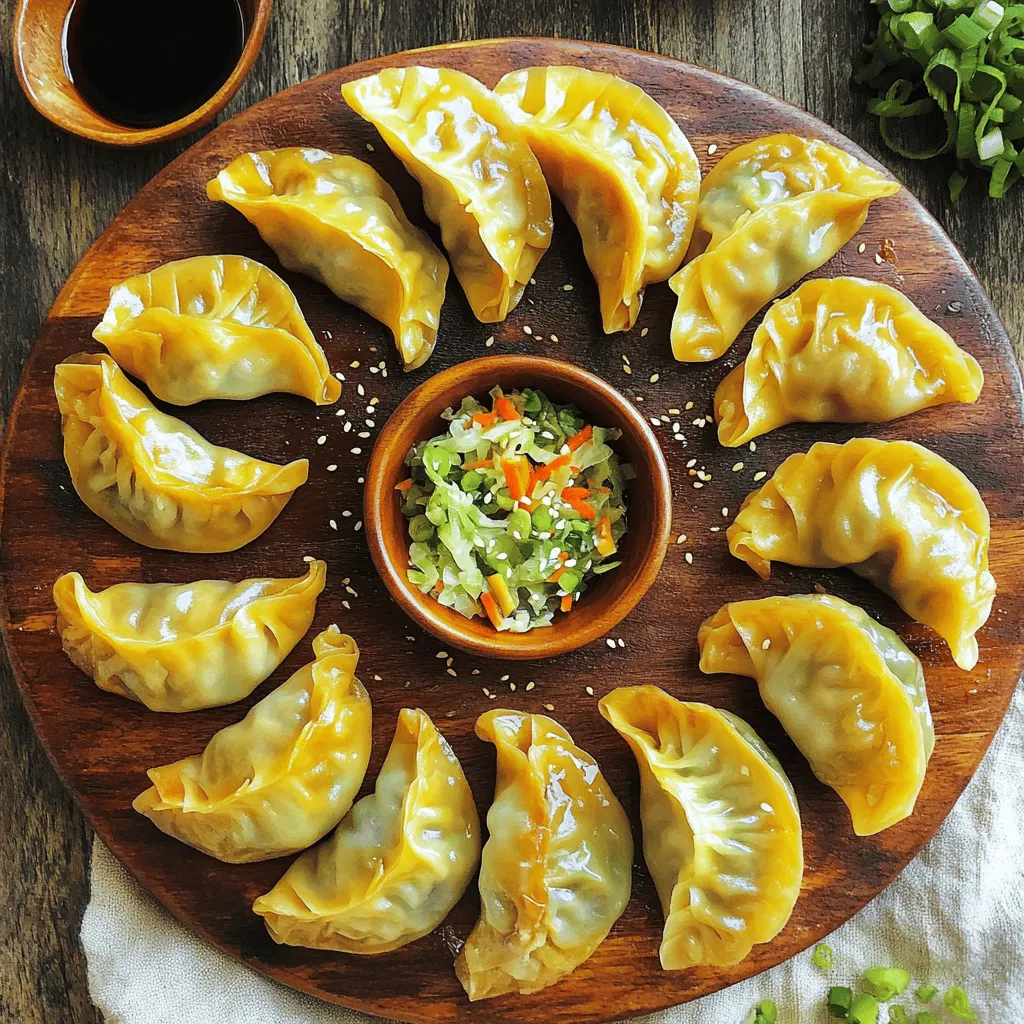
Pan-Fried Chicken Dumplings Easy and Flavorful Recipe
Are you ready to elevate your dinner game with a dish that’s both easy and delicious? In this article, I’ll show you how to make
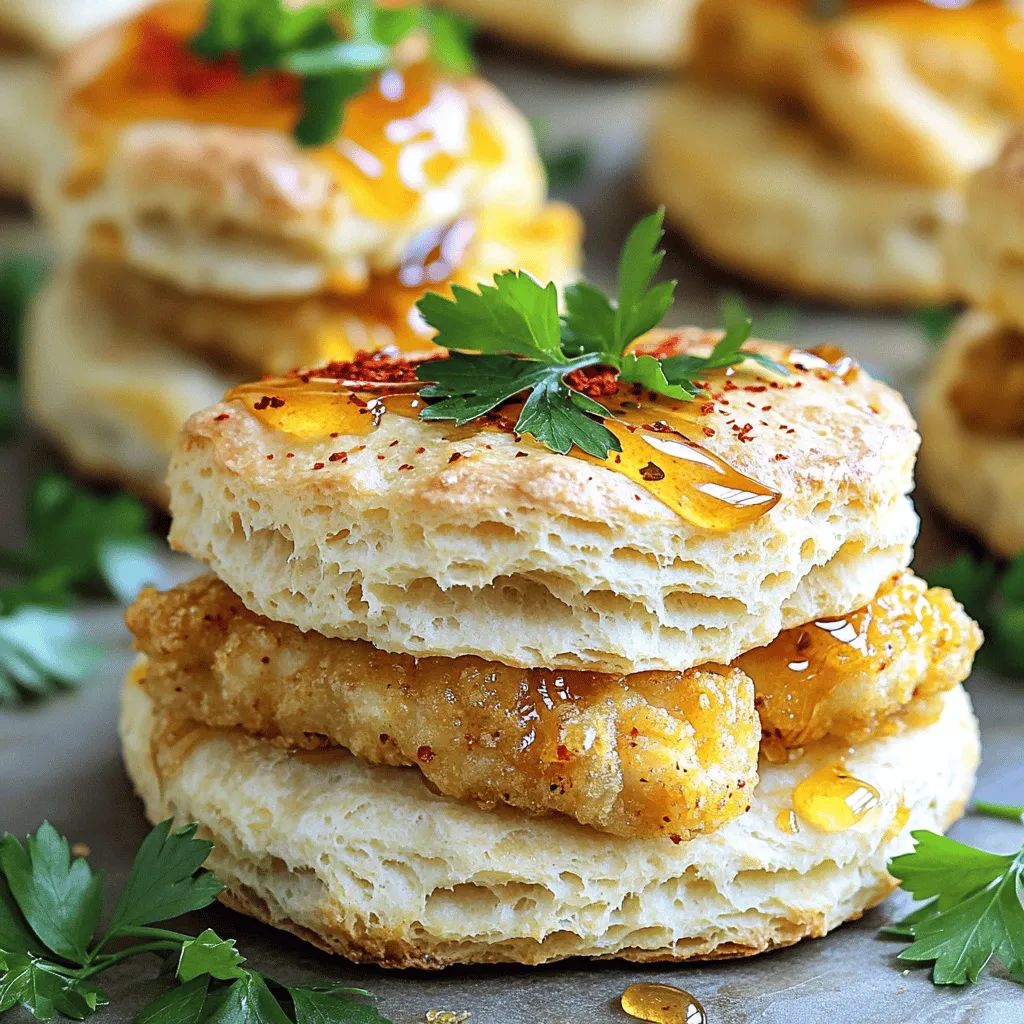
Hot Honey Chicken Biscuits Tasty Comfort Food Delight
If you’re craving a dish that combines the crunch of fried chicken with a sweet and spicy twist, you’ll love Hot Honey Chicken Biscuits. This
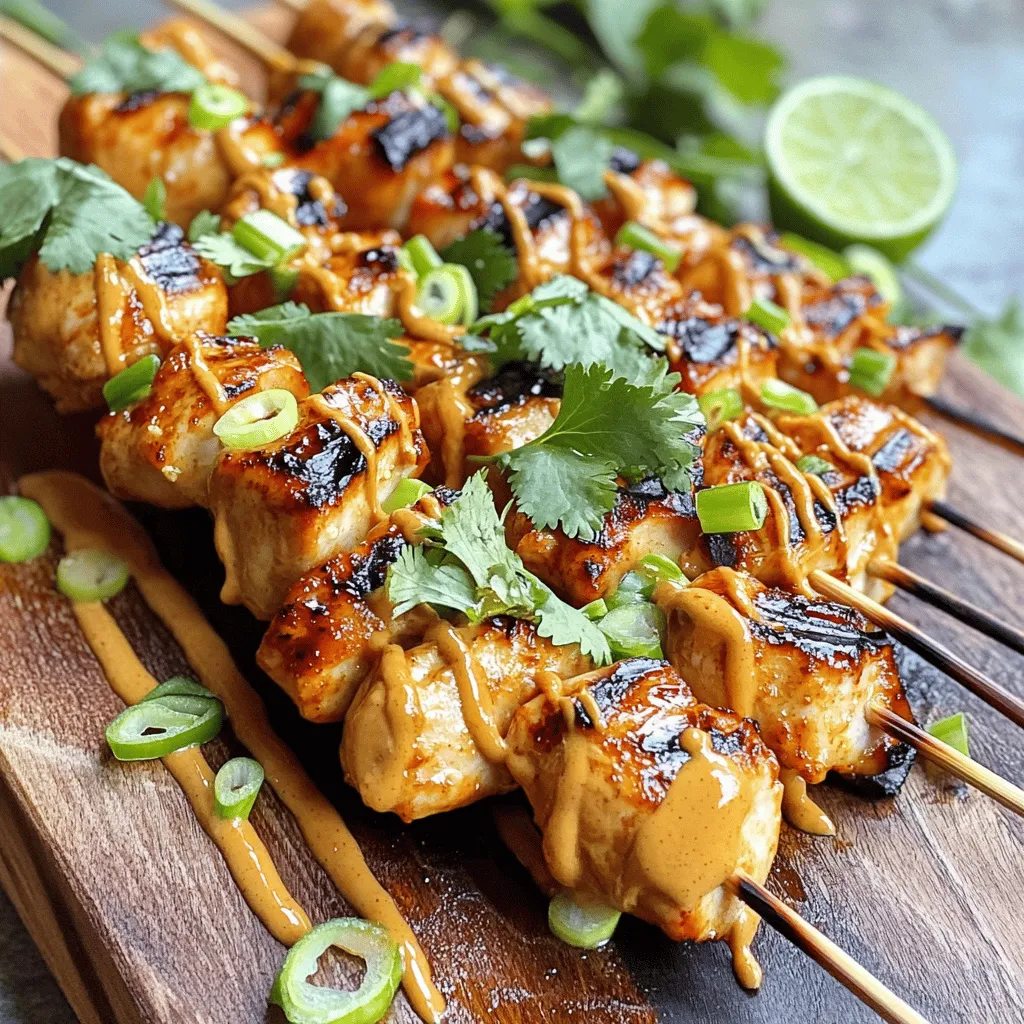
Bang Bang Chicken Skewers Perfectly Grilled Delight
Are you ready to fire up the grill for a fun and tasty meal? My Bang Bang Chicken Skewers are a game-changer. With juicy chicken,
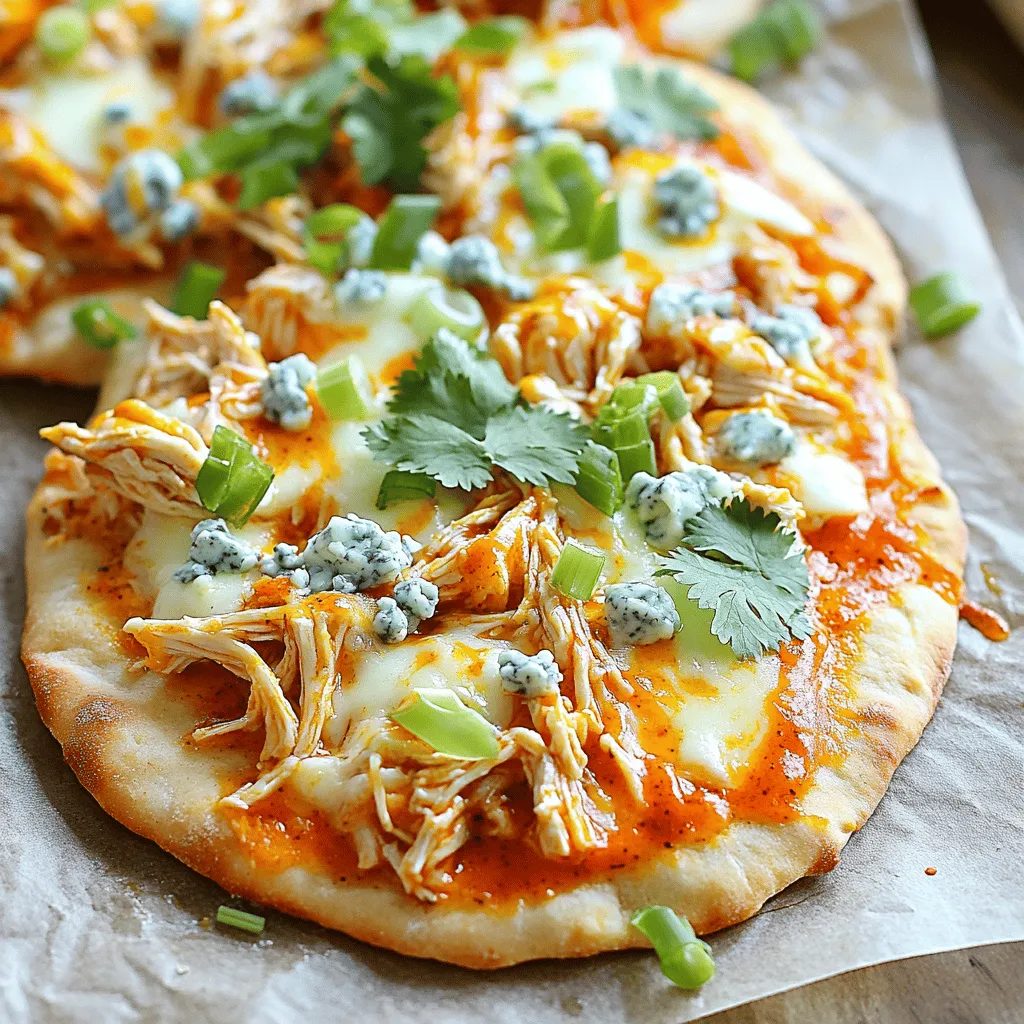
Easy Buffalo Chicken Flatbread Tasty Weeknight Meal
Craving a simple yet delicious meal? Try my Easy Buffalo Chicken Flatbread! This crowd-pleaser brings the heat and flavor of buffalo chicken right to your
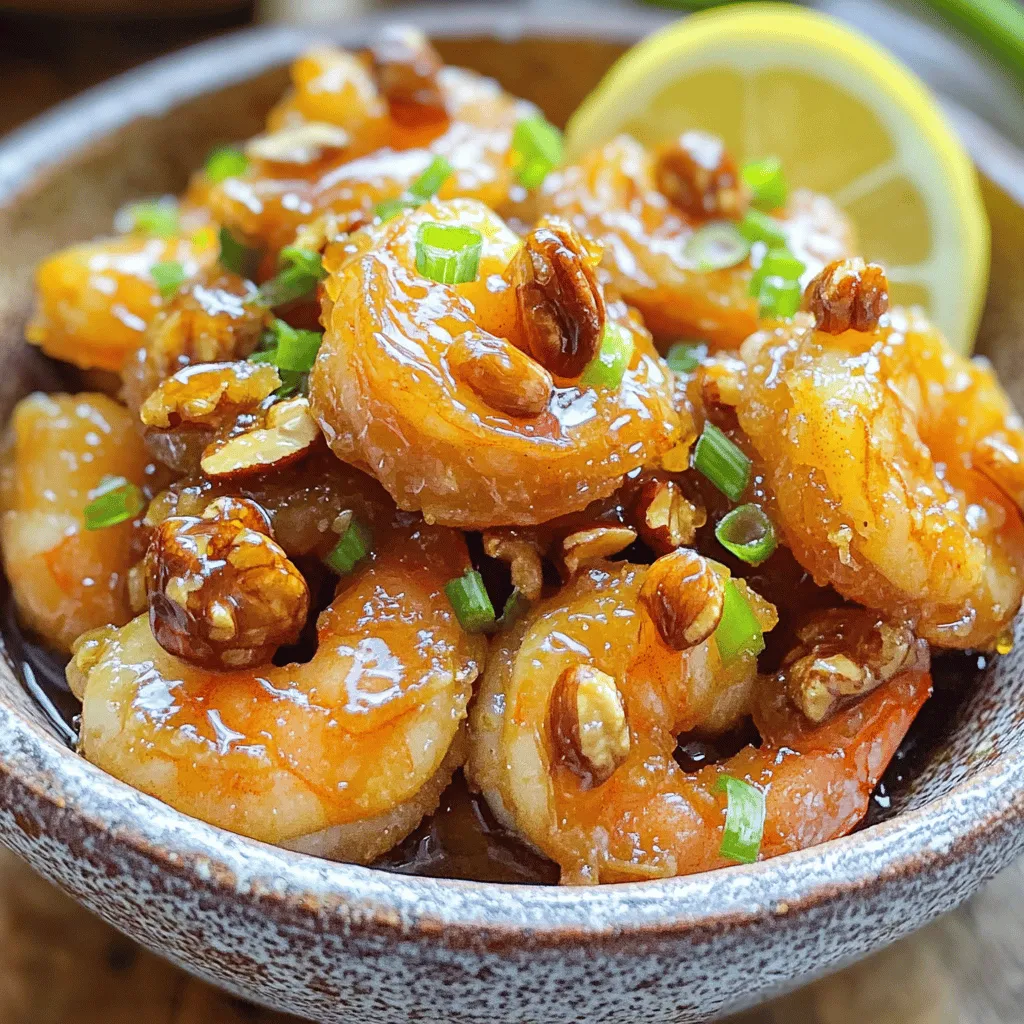
Honey Walnut Shrimp Flavorful and Simple Recipe Guide
Are you ready to dive into the sweet and savory world of Honey Walnut Shrimp? This simple recipe guide will show you how to make