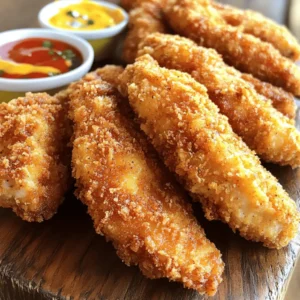
Looking for a crispy and flavorful meal that will impress your family? Try my buttermilk chicken tenders! These tender strips are marinated for deep taste, then coated for a crunchy finish. They’re simple to make and perfect for dipping. Plus, I’ll share tips to keep them juicy and suggestions for tasty sides. Get ready to enjoy a delicious meal that everyone will love!
Ingredients
Main Ingredients
– 1 lb chicken breast, cut into strips
– 1 cup buttermilk
– 1 teaspoon garlic powder
– 1 teaspoon onion powder
– 1 teaspoon paprika
– 1 teaspoon salt
– 1/2 teaspoon black pepper
The main ingredients create a great flavor base. Buttermilk makes the chicken juicy and tender. The spices add depth and warmth. Garlic and onion powder give a savory kick. Paprika adds color and a slight smokiness. Salt and pepper enhance all the flavors.
Breading Components
– 1 cup all-purpose flour
– 1 cup breadcrumbs (Panko for extra crunch)
– Oil for frying
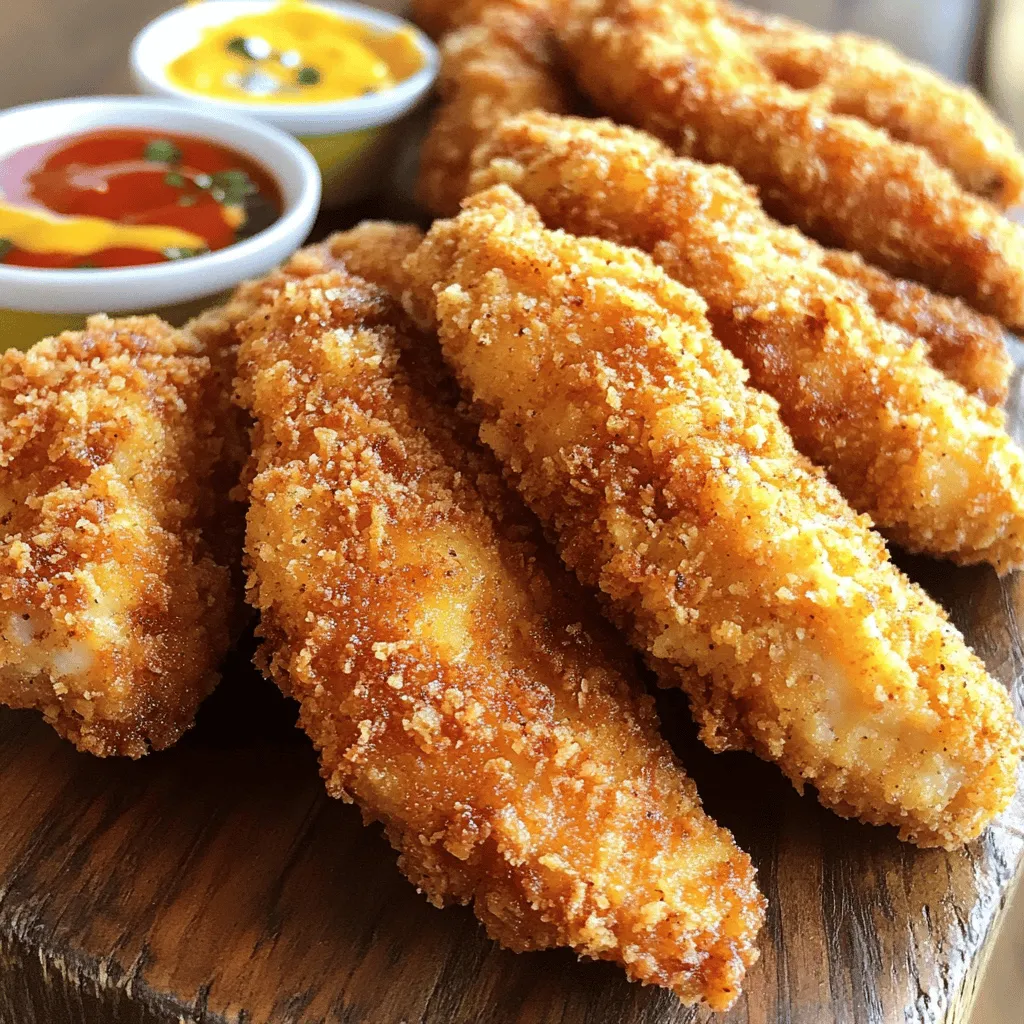
The breading components provide that crave-worthy crunch. All-purpose flour helps the coating stick to the chicken. Panko breadcrumbs give an extra crispy texture. Frying in oil ensures that golden brown finish we all love.
Optional Ingredients
– Dipping sauces suggestions
Consider pairing your chicken tenders with tasty dips. Honey mustard, ranch, or barbecue sauces work well. You could also try spicy ketchup or garlic aioli for a twist. Dipping sauces make the meal fun and interactive. Enjoy experimenting with different flavors! Explore the full recipe for more details on how to make these delicious buttermilk chicken tenders.
Step-by-Step Instructions
Marinating the Chicken
First, I combine buttermilk with garlic powder, onion powder, paprika, salt, and pepper in a large bowl. This mix creates a flavorful marinade. Next, I add the chicken strips, making sure they are fully submerged. I cover the bowl and refrigerate it for at least two hours. For the best taste, I often let it marinate overnight.
Preparing the Breading Station
While the chicken soaks, I set up my breading station. In one shallow dish, I pour flour. In another dish, I mix breadcrumbs with dried oregano. After that, I take the marinated chicken out. I let excess liquid drip off to avoid a soggy coating.
Cooking the Chicken Tenders
I heat about half an inch of oil in a large skillet over medium-high heat. To check if the oil is ready, I drop in a breadcrumb. If it sizzles, I know it’s time to fry. I add the breaded chicken strips in batches, ensuring not to crowd the pan. I fry each side for about four to five minutes or until golden brown. The chicken should reach an internal temperature of 165°F. After cooking, I place them on a paper towel-lined plate to soak up any extra oil.
For the full recipe, refer to the detailed instructions above.
Tips & Tricks
Achieving the Perfect Crunch
To get that perfect crunch, use Panko breadcrumbs. They are lighter and airier than regular breadcrumbs. This helps make the chicken tenders crispy and golden.
I also recommend a double coating technique. First, coat the chicken strips in flour. Then, dip them back in buttermilk. Finally, cover them in Panko. This method locks in moisture and adds extra crunch.
Ensuring Juiciness
Marination time is key. I suggest marinating the chicken for at least two hours. For the best flavor, let it sit overnight. This helps the chicken soak in all the tasty buttermilk spices.
Cooking temperature matters too. Heat the oil to medium-high. This ensures the chicken cooks evenly and stays juicy. Aim for an internal temperature of 165°F to ensure it’s fully cooked.
Serving Suggestions
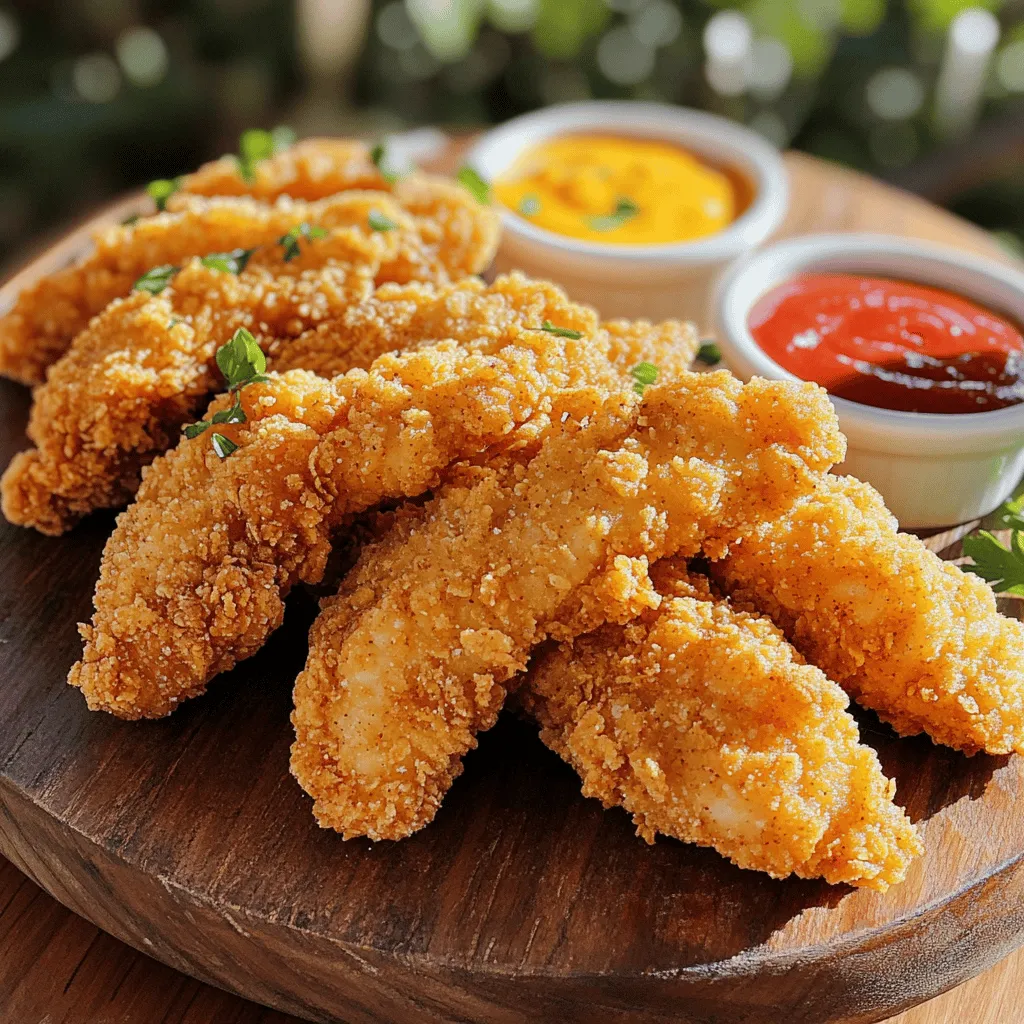
When it comes to dips, honey mustard and ranch are my favorites. They pair well with the tender and crispy chicken. You can also try barbecue sauce for a smoky touch.
For side dishes, I love serving these tenders with sweet potato fries or a fresh salad. They add a nice balance to the meal. You can find the Full Recipe above to guide you through the cooking process!
Variations
Spicy Buttermilk Chicken Tenders
To create spicy buttermilk chicken tenders, heat matters. You can add spices like cayenne pepper or chili powder to the marinade. This gives your chicken a nice kick. For sauces, try sriracha mayo or spicy honey. Both pair well with the crispy tenders. You can mix and match to find your perfect heat level.
Baked Buttermilk Chicken Tenders
If you prefer a healthier option, try baking the chicken tenders. Preheat your oven to 425°F. Arrange the coated chicken on a baking sheet lined with parchment paper. Bake for about 20-25 minutes, flipping halfway. You can substitute the oil with cooking spray for fewer calories. This method keeps the tenders crispy and delicious.
Gluten-Free Version
For a gluten-free twist, swap all-purpose flour with almond flour or rice flour. Use gluten-free breadcrumbs instead of regular ones. Keep an eye on the cooking time, as gluten-free options may cook faster. Check for a golden color and an internal temperature of 165°F. This way, everyone can enjoy these tasty tenders.
For the full recipe, check out the section above.
Storage Info
Refrigeration Guidelines
To store leftover chicken tenders, place them in an airtight container. This helps keep them fresh and tasty. You can store them in the fridge for up to 3 days. When reheating, use an oven or air fryer. This method keeps the chicken crispy. Avoid using a microwave as it makes the tenders soggy.
Freezing Tips
You can freeze chicken tenders before or after cooking. If freezing before cooking, coat and bread the chicken. Place them on a baking sheet and freeze until solid. Then transfer to a freezer bag. For cooked tenders, let them cool first. Wrap each piece in plastic wrap and place in a freezer bag.
To thaw, move them to the fridge overnight. You can also use the microwave for a quick thaw. Just be careful not to fully cook them in the microwave.
Shelf Life
In the fridge, chicken tenders last about 3 days. In the freezer, they can last up to 2 months. Always check for signs of spoilage before eating. If they smell off or look strange, it’s best to toss them. Keeping track of how long they have been stored helps ensure you enjoy them at their best.
FAQs
Can I use regular milk instead of buttermilk?
You can use regular milk if you don’t have buttermilk. To get a similar taste, add 1 tablespoon of lemon juice or vinegar to 1 cup of milk. Let it sit for 5-10 minutes. This method helps create acidity, which gives the chicken a tender bite. However, regular milk lacks the thick texture and tanginess of buttermilk. Your chicken may turn out less rich in flavor.
How do I know when chicken is fully cooked?
To check if chicken is fully cooked, use a meat thermometer. The safe internal temperature for chicken is 165°F. Insert the thermometer into the thickest part of the chicken to get an accurate reading. If you don’t have a thermometer, look for clear juices when you cut into the chicken. The meat should no longer be pink, and the juices should run clear.
What sides go well with buttermilk chicken tenders?
Many sides pair well with buttermilk chicken tenders. Family-friendly options include:
– French fries
– Coleslaw
– Macaroni and cheese
If you prefer healthy alternatives, try:
– Steamed broccoli
– Mixed green salad
– Sweet potato fries
These sides enhance your meal and provide balance to the crispy chicken tenders. Want more ideas? Check out the full recipe for additional tips!
In this blog post, we explored making delicious buttermilk chicken tenders. We covered the key ingredients, from chicken and buttermilk to spices. You learned step-by-step instructions for marinating, breading, and frying. We shared tips for achieving a crispy texture and keeping the chicken juicy. You can try different variations, like spicy or baked tenders. Finally, we discussed storage tips to maintain freshness. Now, you have all the tools to create tasty chicken tenders at home. Enjoy your cooking and impress your friends and family with this easy recipe!