Cream and Berry-Filled Pastry Balls Delightful Treat
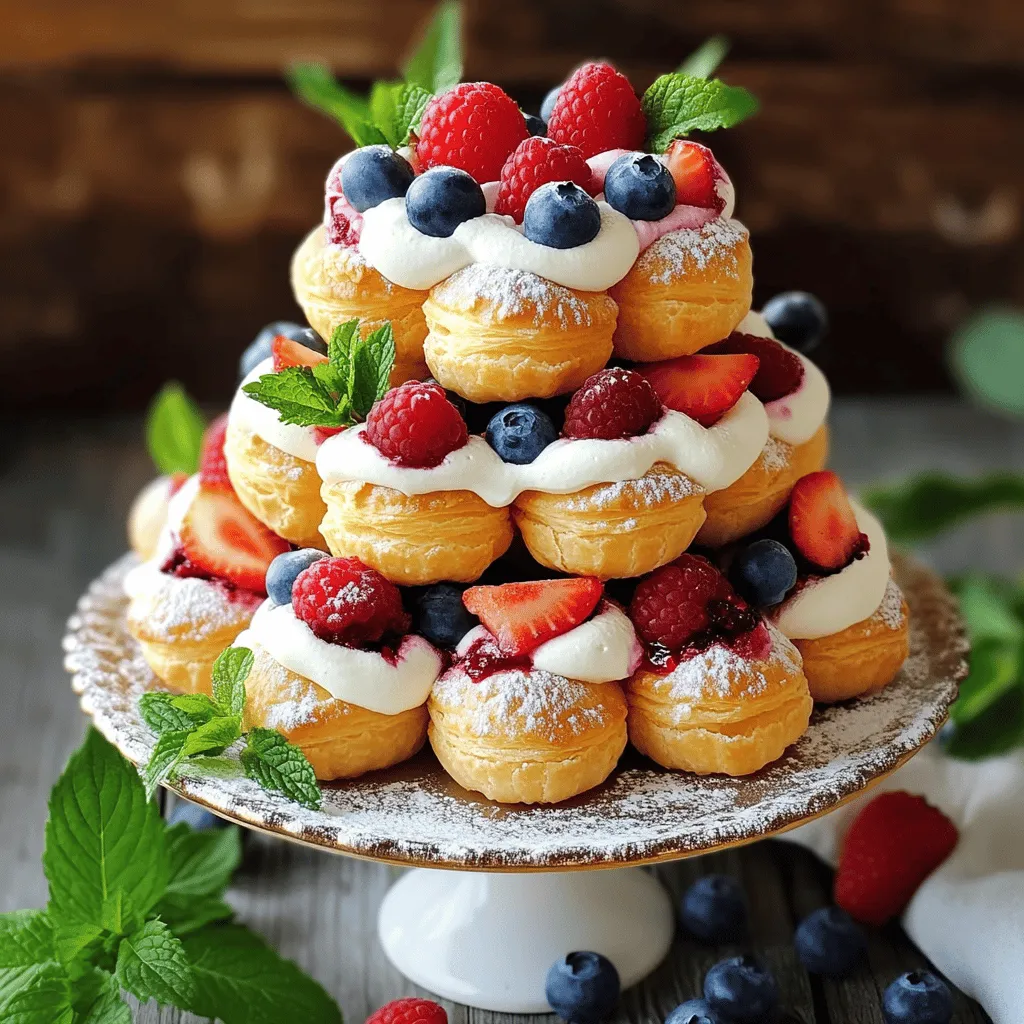
Are you ready to impress your friends and family with a delicious treat? In this post, I’ll guide you step-by-step in making cream and berry-filled pastry balls. These delightful bites …


![- 1 cup creamy peanut butter - 1/2 cup unsalted butter, softened - 1/2 cup granulated sugar - 1/2 cup brown sugar, packed - 1 large egg - 1 teaspoon vanilla extract These essential ingredients form the base of our Peanut Butter Cup Stuffed Cookies. Creamy peanut butter gives a rich flavor, while unsalted butter keeps the cookies soft. Granulated and brown sugars add the perfect sweetness and moisture. The egg helps bind everything, and vanilla extract adds a lovely aroma. - 1 1/2 cups all-purpose flour - 1/2 teaspoon baking soda - 1/4 teaspoon salt The dry ingredients play a vital role in structure. All-purpose flour creates the cookie's body. Baking soda helps them rise, making them light and fluffy. A pinch of salt enhances all the flavors. - 1 cup mini chocolate peanut butter cups, unwrapped - Sea salt for sprinkling (optional) The star of the show is the mini chocolate peanut butter cups. These sweet bites melt in the center, bringing joy to every bite. A sprinkle of sea salt on top adds a nice touch, balancing the sweetness and enhancing flavor. For the complete recipe, check out the Full Recipe section. - Preheat your oven to 350°F (175°C). Line a baking sheet with parchment paper. - In a large bowl, mix creamy peanut butter, softened butter, granulated sugar, and brown sugar. Use an electric mixer on medium speed until smooth. - Add one large egg and one teaspoon of vanilla extract to the mixture. Beat until well mixed. - In a separate bowl, whisk together 1 1/2 cups of all-purpose flour, 1/2 teaspoon of baking soda, and 1/4 teaspoon of salt. Gradually add this dry mix to your wet ingredients. Stir until just combined. - Cover the dough with plastic wrap and chill it in the fridge for about 30 minutes. This makes it easier to handle. - Once chilled, scoop a tablespoon of dough and flatten it slightly in your hand. Place one mini chocolate peanut butter cup in the center. Wrap the dough around it and roll into a ball. Repeat this for the rest of the dough and cups. - Place the cookie balls on the prepared baking sheet, keeping them about 2 inches apart. - Optionally, sprinkle a pinch of sea salt on each cookie. Bake for 10-12 minutes until the edges are golden and the centers look soft. - Let the cookies cool for 5 minutes on the baking sheet, then transfer them to a wire rack to cool completely. For the full details, check the [Full Recipe]. Chilling the dough is key for great cookies. It firms the dough, making it easier to shape. When the dough is cold, the cookies keep their form while baking. This helps avoid flat cookies that spread too much. Aim to chill the dough for at least 30 minutes. To ensure soft, chewy centers, do not overbake the cookies. They should be slightly golden on the edges, while the center remains soft. This gives that perfect melt-in-your-mouth texture. Remember, cookies will continue to cook on the baking sheet after you pull them out of the oven. Serve these cookies on a tiered cake stand. This creates a beautiful display that guests will love. You can also drizzle melted chocolate over the cookies for a touch of elegance. Sprinkle crushed peanuts on top for extra crunch and visual appeal. For a fun twist, try adding colorful sprinkles or edible glitter. These small touches make the cookies even more inviting. One common mistake is overmixing the dough. This can lead to tough cookies. Mix until just combined for the best results. Another mistake is not cooling the cookies properly. Let them sit on the baking sheet for five minutes before moving them to a wire rack. This helps them firm up and prevents breakage. Proper cooling is crucial for maintaining their shape and texture. For the full recipe, check out the Peanut Butter Cup Stuffed Cookies section above. {{image_2}} You can switch up the flavors in these cookies. Use crunchy peanut butter instead of creamy. It adds a fun texture and a nutty bite. You can also add chocolate chips to the dough. This boosts the chocolate flavor and makes each cookie even more decadent. Imagine biting into a soft cookie with creamy peanut butter and melting chocolate. It’s pure bliss! If you need gluten-free cookies, use almond flour or coconut flour. Both work well and taste great. You can also make these cookies vegan. Substitute the egg with a flax egg or applesauce. For butter, use coconut oil or a vegan butter. These swaps keep the taste yummy and the texture soft. Get creative with the stuffing! Try different candies like caramel or white chocolate. Each candy brings a unique flavor. You can also use different nut butters. Almond butter or cashew butter works well. Each option gives the cookie a new twist. Don't be afraid to experiment! For the full recipe, check out the details above and enjoy baking these delightful treats! To keep your Peanut Butter Cup Stuffed Cookies fresh, store them in an airtight container. This helps prevent the cookies from drying out. Layer parchment paper between cookies to avoid sticking. I suggest keeping them at room temperature for the best texture. They will stay fresh for about a week. If you want them to last longer, consider refrigeration. However, this may change the texture slightly. You can freeze both uncooked dough and baked cookies. To freeze uncooked dough, scoop cookie balls and place them on a baking sheet. Freeze them for about an hour until firm. Once frozen, transfer them to a freezer-safe bag. Baked cookies can also be frozen. Just let them cool completely first. Then, place them in an airtight container with parchment paper between layers. To thaw cookies, simply leave them at room temperature for about 30 minutes. For baked cookies, you can reheat them in the oven. Preheat your oven to 350°F (175°C) and warm them for about 5 minutes. Enjoy them warm for the best taste and texture. For the full recipe, check out the detailed instructions above. Peanut Butter Cup Stuffed Cookies stay fresh for about 5 days at room temperature. Store them in an airtight container. This keeps them soft and tasty. If you want them to last longer, you can freeze them. They will stay good for up to 3 months in the freezer. Yes, you can use different types of peanut butter cups. Try dark chocolate, white chocolate, or even caramel-filled cups. Each type gives a new flavor twist. You can also mix and match for fun combinations. Just pick your favorite kind and enjoy the new taste! Absolutely! You can prepare the dough in advance and chill it. Just cover it and store it in the fridge for up to 2 days. When you're ready, scoop and bake the cookies. This makes it easy to enjoy fresh cookies without too much work. If your dough feels too sticky, add a bit more flour. Start with a tablespoon at a time. Mix well until it feels easier to handle. You can also chill the dough longer. This makes it firmer and easier to shape into cookies. You can find Peanut Butter Cup Stuffed Cookies at local bakeries or grocery stores. Some stores may have them fresh baked. Check the bakery section or ask the staff. You can also find them at cafés or dessert shops. If you can’t find them, you can always make them at home using the Full Recipe! These Peanut Butter Cup Stuffed Cookies are easy and fun to make. We went through the key ingredients, step-by-step instructions, and useful tips. Remember, chilling the dough helps make softer cookies. Explore variations like crunchy peanut butter or gluten-free options. Store them right to keep them fresh. With these tips, you're ready to bake delicious cookies. Enjoy your tasty treats, and happy baking!](https://toastedrecipes.com/wp-content/uploads/2025/05/432443c2-4433-496b-95da-e14bd5d769c9.webp)
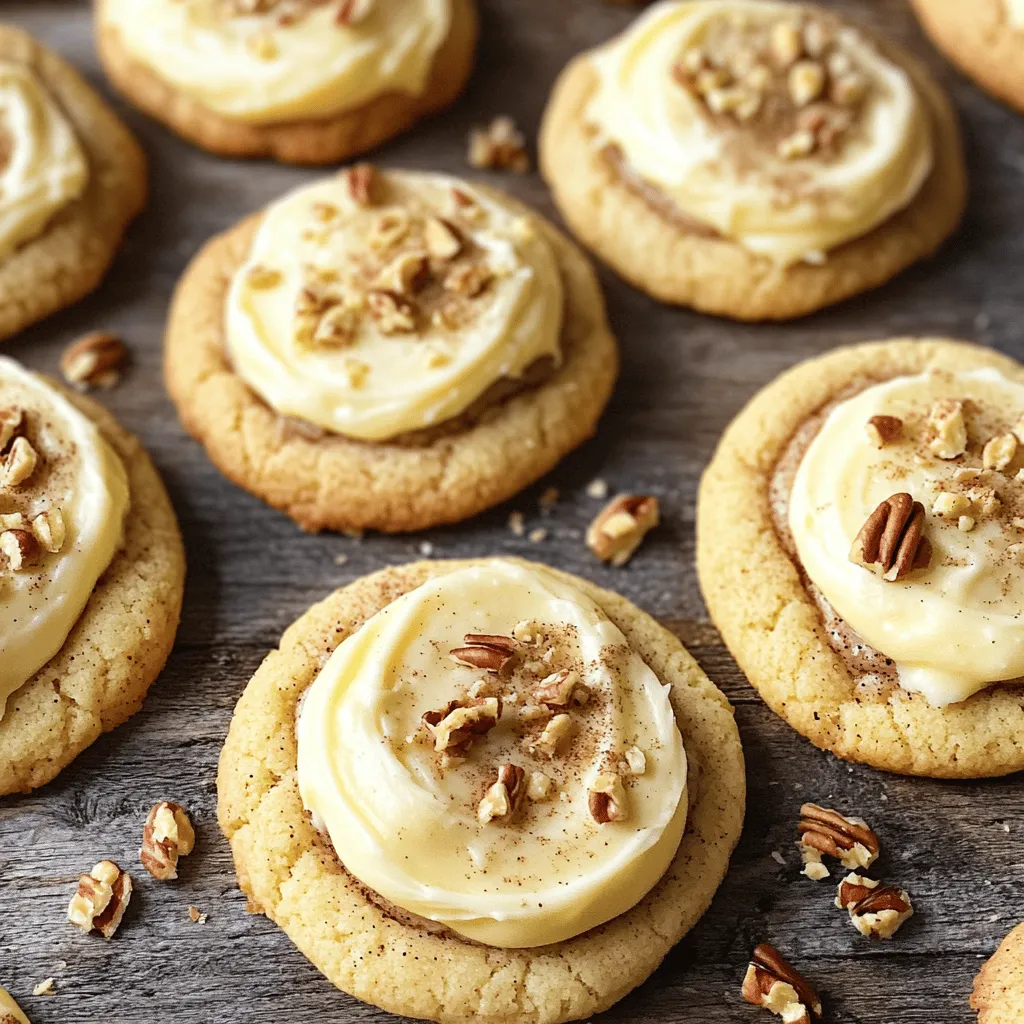
![- 1 cup graham cracker crumbs - 8 ounces cream cheese, softened - 1 1/2 cups finely diced apples - 2 tablespoons sugar - 1/2 cup caramel sauce (store-bought or homemade) - Whipped cream, for topping (optional) - Mini muffin tin - Mixing bowls - Electric mixer The mini caramel apple cheesecake bites pull together flavors we love. The graham cracker crumbs create a sweet crust. Softened cream cheese gives it a rich base. Fresh apples add a juicy crunch. These bites hold a wonderful mix of sweet and tart. To make these bites, you need some simple tools. A mini muffin tin is key for shaping each bite. Mixing bowls help bring everything together. An electric mixer makes it easy to whip cream cheese into a smooth blend. When you gather your ingredients, ensure they are fresh. Fresh apples make a big difference in taste. Whether you choose store-bought caramel or make your own, both options work great. For the full recipe, remember to check the steps to achieve perfect bites every time! 1. Preheat your oven to 325°F (160°C). This step ensures your crust bakes evenly. 2. In a medium bowl, combine the graham cracker crumbs, 2 tablespoons sugar, and melted butter. Mix until the crumbs stick together. 3. Press about 1 tablespoon of this mixture into the bottom of each mini muffin cup. This forms a solid crust. 4. Bake in the preheated oven for about 5 minutes. Remove and let cool. 1. In another bowl, beat the softened cream cheese with 1/2 cup sugar and vanilla extract until creamy. This makes a smooth filling. 2. Add the egg and mix until fully incorporated. This adds richness to the filling. 1. In a small bowl, toss the diced apples with the cinnamon until evenly coated. This adds great flavor to your bites. 2. Fold the cinnamon apples into the cream cheese mixture. This step combines all the tasty ingredients. 3. Spoon the cheesecake mixture over the baked crusts in the mini muffin tin. Fill each cup about 3/4 full. 4. Bake for 15-18 minutes, or until the centers are set. The cheesecakes should have a slight jiggle in the middle. 5. Remove from the oven and let them cool at room temperature for about 15 minutes. 6. Transfer to the refrigerator to chill for at least 1 hour. 7. Before serving, drizzle the cooled mini cheesecakes with caramel sauce. Optionally, top with whipped cream. This recipe is simple yet rewarding. You can find the full recipe for more details on the process. To make your mini caramel apple cheesecake bites truly special, focus on the texture. Avoid overmixing the batter. This helps keep your cheesecake light and creamy. When you mix too much, air gets in, making it too fluffy. A smooth blend is all you need. Let the cheesecake cool gradually. After baking, let them sit at room temperature for about 15 minutes. Then, transfer them to the fridge for at least 1 hour. This cooling step helps set the cheesecake perfectly. When it's time to serve, drizzle with caramel sauce. This adds a rich layer of flavor. It looks great and tastes even better! You can also use whipped cream for extra indulgence. A dollop on top makes each bite even creamier. To make your bites look stunning, add a sprinkle of chopped nuts on top. Walnuts or pecans give a nice crunch. You can also use additional apples or a dash of cinnamon for garnish. This adds a pop of color and flavor, making your bites irresistible. These tips will help you create mini caramel apple cheesecake bites that wow your guests. For more details, check the Full Recipe. {{image_2}} You can easily switch up the fruit in these bites. Instead of apples, try pears or peaches. These fruits still bring sweetness and a nice texture. You can also experiment with berries, like raspberries or blueberries. They add a fresh and tangy kick to the cheesecake. If you want a richer taste, add chocolate chips to the filling. This will give your bites a decadent twist that chocolate lovers will enjoy. Another fun idea is to incorporate pumpkin spice. This adds warmth and depth, perfect for fall gatherings. For those with gluten needs, use gluten-free graham crackers. This keeps the recipe safe for everyone. If you need a dairy-free option, swap the cream cheese for dairy-free cream cheese. This way, everyone can enjoy these tasty treats without worry. Remember, you can find the full recipe for Mini Caramel Apple Cheesecake Bites in the earlier sections. You can keep mini caramel apple cheesecake bites in the fridge. Place them in an airtight container. They stay fresh for up to 5 days. If you want to save them for longer, you can freeze them. They will last up to 2 months in the freezer. When you’re ready to eat your frozen bites, thaw them overnight in the fridge. For the best taste, serve them chilled. This way, the flavors shine and the texture stays nice. If you have a party or a gathering, double the recipe. It makes a lot of bites, which everyone will love. You can also prepare the crust and filling ahead of time. This saves you stress and time on the day of your event. Making it easy for you to enjoy with friends and family. Yes, you can make them a day in advance and store them in the refrigerator. This helps the flavors blend, giving you a richer taste. Just cover them well with plastic wrap or place them in an airtight container. When you’re ready to serve, just add the caramel sauce and any toppings. You can use Greek yogurt or vegan cream cheese alternatives. Greek yogurt adds a nice tang and keeps the bites creamy. Vegan cream cheese works well for those avoiding dairy. Both options will keep the cheesecake bites light and delicious. The centers should be set with a slight jiggle, while the edges appear lightly golden. A toothpick inserted in the middle will come out mostly clean. This means they are ready to cool. Remember, they will firm up as they chill in the fridge. For the complete recipe, check out the [Full Recipe]. Enjoy making these bites! You learned how to make mini caramel apple cheesecake bites. We covered the key ingredients, tools, and step-by-step instructions. I shared tips on getting the right texture and serving ideas. You can customize the recipe with different fruits and flavors. Remember to store your treats properly for the best taste. These bites are perfect for any gathering or a sweet treat at home. Enjoy making and sharing these delicious desserts with friends and family!](https://toastedrecipes.com/wp-content/uploads/2025/05/5c2d206f-2d2c-4605-b881-580c2172e1fb.webp)