Broccoli and Cheddar Twice-Baked Potatoes Delight

Are you ready to elevate your comfort food game? Broccoli and Cheddar Twice-Baked Potatoes combine savory flavors with creamy goodness. They make a delicious side or main dish, packed with …
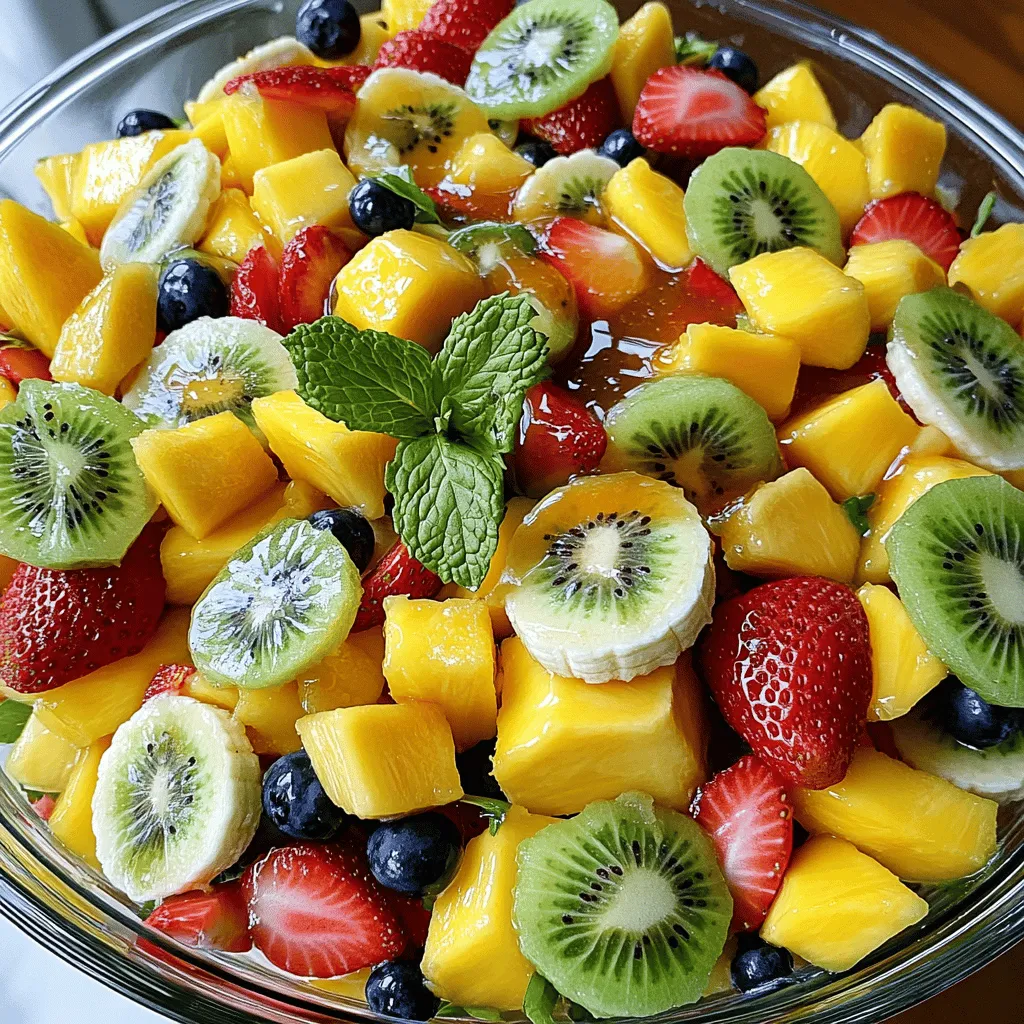
![- 2 cups fresh blueberries - 2 cups plain Greek yogurt - 2 tablespoons honey (or maple syrup for a vegan option) - 1 teaspoon vanilla extract - Zest of 1 lemon - 1 tablespoon lemon juice - A pinch of salt - 1/4 cup granola (optional, for topping) Choosing the right ingredients is key to making the best blueberry yogurt. When selecting blueberries, look for firm and plump ones. They should have a deep blue color with a whitish bloom on the skin. This bloom helps keep the berries fresh. You can choose organic blueberries if you prefer. They often have fewer pesticides and can be more flavorful. Greek yogurt is the best base for our recipe. It is thick, creamy, and packed with protein. If you want a vegan option, use a dairy-free yogurt made from almonds or coconut. Honey adds natural sweetness, but you can use maple syrup if you want a vegan choice. Adding lemon zest and juice brightens the flavor. The pinch of salt balances the sweetness and enhances the blueberry taste. For a bit of crunch, granola makes a great topping. It adds texture and extra nutrients. Feel free to choose a granola that suits your taste, whether it’s nutty, fruity, or simple. This combination of ingredients creates a tasty and healthy snack. You can find the full recipe for this delicious treat in the [Full Recipe]. First, gather your ingredients. You need fresh blueberries, Greek yogurt, honey, vanilla, lemon zest, lemon juice, and a pinch of salt. Use a blender or food processor. Add the blueberries, honey, vanilla, lemon zest, lemon juice, and salt. Blend until it is smooth and creamy. If you like some bits, pulse it a bit less. In a large bowl, add the Greek yogurt. Gently fold the blueberry mix into the yogurt. Make sure to mix until you see a nice color. Taste the yogurt and add more honey if you want it sweeter. Now, it's time to chill. Transfer your blueberry yogurt to bowls or jars. Place them in the fridge for at least 30 minutes. This chilling time is key. It helps the flavors mix well and taste even better. When you are ready to serve, stir the yogurt again. You can top it with granola for a nice crunch. A good portion size is about half a cup per person. You can also add some fresh blueberries on top or a sprinkle of lemon zest. These little touches make it look great and taste even better. For the full recipe, check out the details above. To get the best texture, avoid over-blending. If you blend too much, your yogurt can turn watery. Use a high-quality blender or a food processor. These tools help create a smooth mix. You can also pulse the mixture for a chunkier texture. This way, you keep some whole blueberries intact. Taste your yogurt before serving. This step lets you see if it needs more sweetness. If you want a sweeter yogurt, add a bit more honey or maple syrup. If you prefer a healthier option, try using mashed bananas or agave syrup. Each option gives a different flavor. Make your blueberry yogurt look as good as it tastes. Serve it in clear jars or bowls. This way, the vibrant blue color shines through. Add a sprinkle of granola on top for crunch. Fresh blueberries and lemon zest also make great garnishes. They add color and a fresh scent. Enjoy your beautiful creation with friends or family! {{image_2}} You can change up the flavor of your blueberry yogurt easily. Adding other fruits makes it fun. Try mixing in strawberries or raspberries for a berry medley. These fruits add color and taste. You can also try infused flavors. A splash of coconut or almond extract can give your yogurt a warm twist. Just remember to start with a small amount. You can always add more if you want. If you are vegan, you can still enjoy this yogurt. Use coconut or almond yogurt instead of Greek yogurt. These options are creamy and tasty. For sweeteners, maple syrup works great. It matches the flavor of blueberries well. If you want a crunchy topping, look for gluten-free granola. Many brands offer tasty options that fit your needs. Seasonal fruits can make your yogurt shine. In summer, use fresh peaches or cherries. Their juicy sweetness pairs well with blueberries. In winter, consider apples or pears. They add a nice crunch and warmth to the dish. Feel free to adapt the recipe based on what is fresh and available. This keeps your yogurt exciting all year long. For the full recipe, check out the Berrylicious Blueberry Yogurt section! To keep your blueberry yogurt fresh, use airtight containers. Glass jars work well. They prevent odors and keep the yogurt creamy. Store the yogurt in the fridge. It stays fresh for about 3 to 5 days. Always check for any signs of spoilage before eating. You can freeze blueberry yogurt for later use. Pour it into freezer-safe containers, leaving some space at the top. This allows for expansion. Seal the containers tightly. The yogurt can last up to 2 months in the freezer. To thaw, move it to the fridge overnight. Stir it well to restore the texture. Check your yogurt for signs of spoilage. If you see mold or an off smell, it’s time to toss it. Also, if the yogurt looks watery or separates too much, it may be bad. Always dispose of spoiled yogurt properly. Use a sealed bag before throwing it away to prevent odors. Greek yogurt is thicker and creamier than regular yogurt. It has more protein and less sugar. If you want a lighter texture, regular yogurt is a good choice. Both options work well for this recipe, but Greek yogurt gives a richer taste and feel. Use plain yogurt to avoid added sugars. Yes, you can use frozen blueberries. Keep in mind that frozen berries may make the yogurt a bit thinner. They can also change the color and taste slightly. If you blend them well, the flavor remains tasty. Just remember to thaw them first for easier blending. Homemade blueberry yogurt lasts about 5 to 7 days in the fridge. Store it in a sealed container to keep it fresh. Check for any off smells or changes in texture before eating. If it looks or smells strange, it’s best to throw it away. Yes, you can easily make this yogurt dairy-free. Look for dairy-free yogurt made from almond, coconut, or soy. These options work well in this recipe. Just make sure to choose plain, unsweetened varieties to keep the flavor balanced. This blog post covered how to make delicious blueberry yogurt. We discussed fresh ingredients, like blueberries and Greek yogurt, while sharing tips on choosing the best berries. You learned about the health benefits, preparation steps, and how chilling enhances flavor. I offered helpful storage advice and fun variations to keep things interesting. In the end, this recipe is both tasty and healthy. Enjoy making it your own!](https://toastedrecipes.com/wp-content/uploads/2025/06/49b0224a-ebfb-41c1-93b7-a1fe54e9a187.webp)


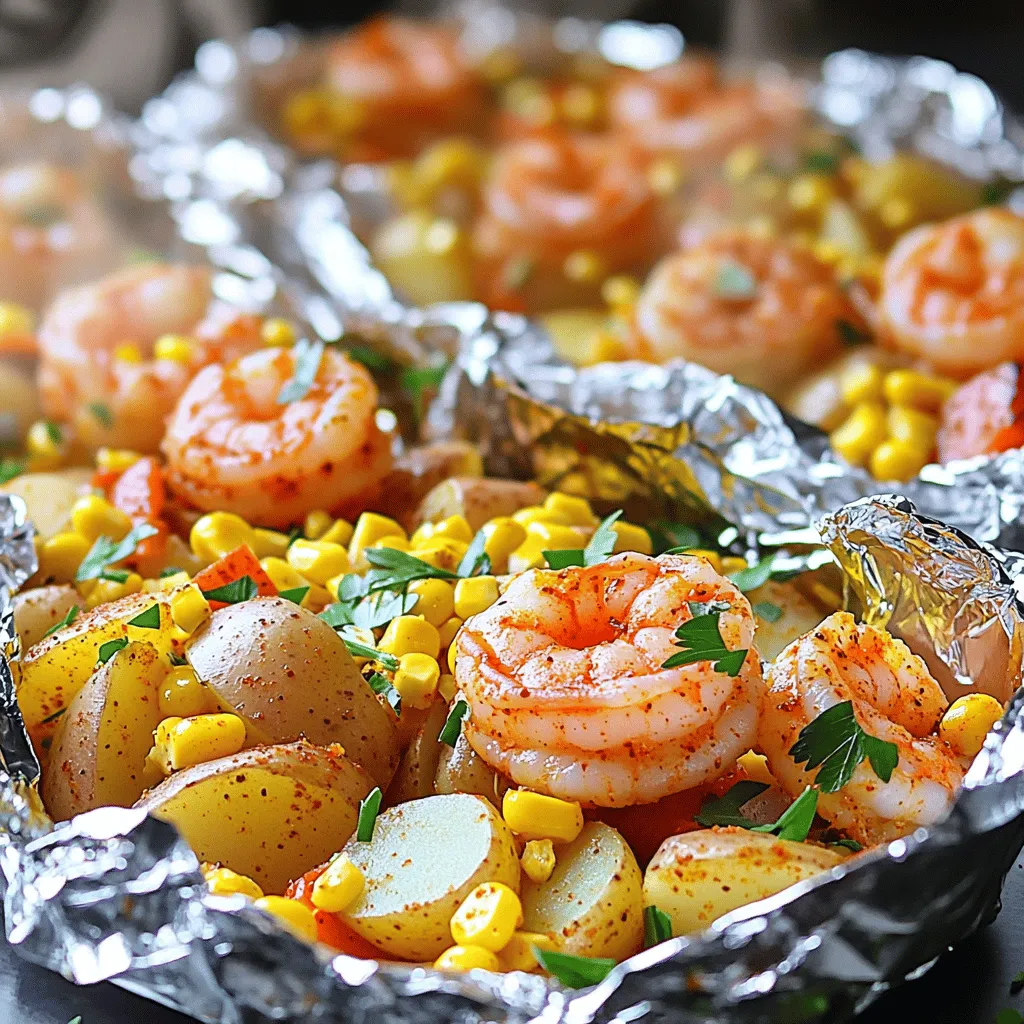
![- Shrimp and Broccoli Ingredients - 1 lb (450g) large shrimp, peeled and deveined - 2 cups broccoli florets - Butter and Seasoning Ingredients - 4 tablespoons unsalted butter - 5 cloves garlic, minced - 1 tablespoon fresh lemon juice - 1 teaspoon lemon zest - 1 teaspoon red pepper flakes (optional) - 1 teaspoon salt - ½ teaspoon black pepper - Optional Garnishes - 2 tablespoons fresh parsley, chopped For this dish, I love using fresh shrimp. They taste great and cook fast. Broccoli adds a bright color and crunch. The garlic and butter create a rich sauce that brings everything together. You can adjust the lemon juice and zest for more zing. Don't forget the red pepper flakes if you like heat! This dish is simple but full of flavor. You can find the Full Recipe to guide you through the process. Enjoy your cooking adventure! To start, we need to prepare the broccoli. Take a pot and fill it with water. Add a pinch of salt and bring it to a boil. Once boiling, add the broccoli florets. Cook them for just 2-3 minutes. You want them bright green but still crisp. After that, drain the broccoli and set it aside. This step keeps the broccoli vibrant and fresh. Now, let’s move to the shrimp. Grab a large skillet and melt 2 tablespoons of butter over medium-high heat. As the butter melts, add in the minced garlic. Sauté the garlic for about 30 seconds. You want it to smell great but not burn. Then, toss in the shrimp, red pepper flakes, salt, and black pepper. Cook the shrimp for 3-4 minutes. They should turn pink and be cooked all the way through. Once the shrimp is ready, it’s time to mix in the broccoli. Add the blanched broccoli right into the skillet with the shrimp. Stir gently to combine them well. Then, add the last 2 tablespoons of butter, along with the lemon juice and lemon zest. Stir everything together for another 1-2 minutes. This helps the butter melt and coat the shrimp and broccoli. Finally, remove it from heat and taste. Adjust the seasoning if needed before serving. Enjoy this dish hot and garnish it with fresh parsley for a pop of color. For the full recipe, check the details above. When you choose shrimp, look for fresh, large ones. Fresh shrimp should smell like the sea, not fishy. They should be firm and not mushy. Frozen shrimp can also work well. Just be sure to thaw them fully before cooking. Always buy shrimp that is peeled and deveined for ease. Overcooked shrimp can become rubbery and tough. Cook the shrimp until they turn pink and opaque. This usually takes about 3 to 4 minutes in the pan. Keep an eye on them and don’t walk away. If you see them curl into a C shape, they are almost done. For added flavor, try using additional spices. A pinch of smoked paprika adds depth. You can also sprinkle in some Italian herbs for an aromatic twist. If you love heat, consider adding more red pepper flakes. A touch of cayenne can also excite your taste buds. Feel free to experiment and find your favorite mix! Check out the full recipe to explore all these options. {{image_2}} You can mix in other vegetables. Zucchini, bell peppers, and snap peas work well. Just cut them into small pieces. Add these veggies when you cook the shrimp. This adds color and crunch to your dish. The flavors blend nicely, making it even more tasty. Want a heartier meal? Try adding pasta or rice. Cook your pasta or rice as directed. After cooking, mix it in with the shrimp and broccoli. The garlic butter sauce will coat everything and add flavor. This is a great way to make it a filling dish. If you need gluten-free options, don't worry! Rice is a great choice. You can also use gluten-free pasta. Just check the labels to ensure they are gluten-free. This way, everyone can enjoy the meal. Always keep the flavors balanced and fresh. For more details, check out the Full Recipe. Store leftover Garlic Butter Shrimp and Broccoli in an airtight container. Place it in the fridge within two hours of cooking. It stays fresh for up to three days. When you're ready to enjoy it again, check for any signs of spoilage. To freeze this dish, let it cool completely first. Then, transfer it to a freezer-safe bag. Remove as much air as you can before sealing. You can freeze it for up to three months. Label the bag with the date to keep track. When reheating, avoid the microwave to keep the shrimp tender. Instead, heat a skillet over medium heat. Add a splash of water or broth to help rehydrate the dish. Stir gently until it’s warm throughout. Enjoy your meal as if it’s fresh from the stove! If you need the full recipe, check it out in the earlier section. You can make this recipe lighter by using less butter. Try using just two tablespoons instead of four. You can also swap butter for olive oil. This keeps the flavor while cutting fat. Adding more veggies, like bell peppers or zucchini, boosts the dish's nutrition. Fresh herbs can add flavor without calories. Yes, you can use frozen shrimp! Just thaw them before cooking. Place them in cold water for about 15-20 minutes. Pat them dry to remove excess moisture. This helps the shrimp cook evenly. Using frozen shrimp can save time and still taste great. Just make sure they are peeled and deveined. Garlic butter shrimp and broccoli pairs well with many sides. Here are some ideas: - Rice: White or brown rice soaks up the sauce well. - Quinoa: A healthy, protein-packed option that is light. - Pasta: Toss with some spaghetti for a hearty meal. - Salad: A fresh green salad complements the rich flavors. - Crusty Bread: Perfect for dipping in the garlic butter sauce. These sides will enhance your meal and make it more filling. For the full recipe, check out the [Full Recipe]. This blog post covered how to make Garlic Butter Shrimp and Broccoli. We discussed the key ingredients and provided step-by-step cooking instructions. I shared tips for choosing the right shrimp and avoiding any cooking mistakes. You also learned about variations to suit your taste and how to store leftovers. Final thoughts: This dish is easy and fun to make. With a few adjustments, you can cater to your needs. Dive into this recipe and enjoy a tasty meal!](https://toastedrecipes.com/wp-content/uploads/2025/06/10f95d9e-c746-4b56-b853-fa1cfc97d7e5.webp)