California Turkey Club Wraps Simple and Delicious Meal
![- 4 large whole wheat tortillas - 8 ounces sliced turkey breast - 4 slices of cheddar cheese - 1 large avocado, sliced - 1 large tomato, sliced - 4 leaves of romaine lettuce You need whole wheat tortillas for a healthy base. Turkey breast adds protein and flavor. Cheddar cheese melts well and gives richness. Fresh avocado adds creaminess, while tomatoes and romaine lettuce add crunch. - 1/4 cup mayonnaise - 1 tablespoon Dijon mustard - Salt and pepper Mix mayonnaise with Dijon mustard for a tasty spread. This blend ties all flavors together. Don’t forget to season with salt and pepper. It enhances the taste of the wrap. - Fresh cilantro Cilantro adds a fresh kick and bright color. It’s not needed, but it makes your wraps look nice. This small touch can impress your friends and family. For the complete recipe, check out the Full Recipe link. To start, mix mayonnaise and Dijon mustard in a small bowl. Use a spoon to blend them well. This sauce adds flavor and creaminess to your wraps. Next, lay one tortilla flat on a clean surface. Spread a thin layer of your sauce over the tortilla. Make sure to cover the whole tortilla. Then, layer the turkey slices evenly across the tortilla. Leave about an inch from the edges. Add a slice of cheddar cheese on top of the turkey. Next, place a leaf of romaine lettuce, followed by slices of avocado and tomato. Season with salt and pepper for extra taste. Now, it's time to roll the wraps. Start from one edge and gently roll the tortilla tightly over the filling. Tuck in the ends as you go. This keeps everything inside. Once you finish rolling, slice each wrap in half diagonally. This way, you can see all the colorful ingredients inside. For a nice touch, you can garnish with fresh cilantro. Enjoy making this simple and delicious meal! For the full recipe, check [Full Recipe]. To keep your fillings snug, use a light hand when you roll. Start at one edge and fold tightly. Tuck in the ends as you roll. This method keeps everything inside. It prevents spills and helps you enjoy each bite. If you find the tortilla is tearing, warm it slightly. A soft tortilla rolls better. Serve your wraps on a wooden platter. This adds a rustic touch to your meal. Slice each wrap in half to show off the colorful layers. Pair them with a side of chips or a light salad. You can also add a small bowl of extra sauce for dipping. This makes the meal feel special and fun. Yes, you can prep these wraps in advance! Assemble the wraps and wrap them tightly in plastic. Store them in the fridge for up to two days. This makes lunch easy and quick. Just remember to keep the sauce separate if you want fresh taste. When ready to eat, slice and enjoy. For the full recipe, refer to the above instructions. {{image_2}} You can switch the turkey for chicken or ham. Both meats bring great taste. If you want a vegetarian option, try using grilled veggies or a plant-based protein. These changes let you enjoy different flavors while keeping the wrap fun. Adding more veggies makes the wrap even better. Try sliced cucumbers, bell peppers, or spinach. You can also use different cheese types. Feta or pepper jack cheese can add a nice twist. Get creative with what you have at home! Want to spice things up? Add hot sauce or a spicy mayo. Fresh herbs like basil or cilantro can also boost the flavor. These small changes make each bite exciting. Try out different combinations to find your favorite taste! To store leftover wraps, wrap them tightly in plastic wrap or foil. Place them in an airtight container. This keeps them fresh and prevents spills. You can store them in the fridge for up to three days. If you notice any sogginess, it’s best to eat them sooner. To freeze wraps for later, first, wrap each one in plastic wrap. Then, place them in a freezer-safe bag or container. This helps keep them from getting freezer burn. You can freeze the wraps for up to a month. When you’re ready to eat, just take one out and thaw it overnight in the fridge. Reheating wraps can be tricky. To keep the texture nice, use an oven or a skillet. If using an oven, preheat it to 350°F (175°C). Place the wrap on a baking sheet for about 10 minutes. For a skillet, heat it over medium heat. Cook for about 3-4 minutes on each side. This method warms the wrap without making it soggy. Enjoy your California Turkey Club Wraps with the same fresh taste! To make these wraps vegan, you can swap turkey for plant-based proteins. Use tempeh, tofu, or jackfruit as good options. For cheese, choose vegan cheese or skip it altogether. Instead of mayonnaise, try a blend of avocado and lemon juice. This keeps the wraps creamy and fresh. Load up on veggies, like bell peppers or cucumbers. You can also add sprouts for extra crunch. Yes, you can use different types of tortillas. Whole wheat tortillas are healthy and tasty. You may also try spinach or tomato tortillas for color. Corn tortillas offer a gluten-free option. Just keep in mind that each type will change the flavor slightly. Experiment to find your favorite! These wraps go great with many sides. Try serving with a light salad or fresh fruit. Chips add a nice crunch, too. You could serve them with carrot sticks or cucumber slices for a healthy choice. A side of pickles or olives can also give an extra zing. Enjoy your meal with any of these fun options! In this post, we covered how to make delicious California turkey club wraps. You learned about the key ingredients, like turkey, cheese, and fresh veggies. I shared step-by-step instructions for making the sauce, assembling the wraps, and rolling them up tight. We discussed tips for serving and packing them too. Finally, I offered variations and ways to store these wraps. Now you can enjoy a tasty, healthy meal any time. Try different flavors and have fun with your wraps!](https://toastedrecipes.com/wp-content/uploads/2025/06/e144c3f6-7cb0-456f-97dc-a2f608e88654.webp)
Looking for a quick and tasty meal? California Turkey Club Wraps are the answer! They’re easy to make and loaded with fresh flavors. You can use simple ingredients like sliced …
Looking for a quick and tasty meal? California Turkey Club Wraps are the answer! They’re easy to make and loaded with fresh flavors. You can use simple ingredients like sliced …
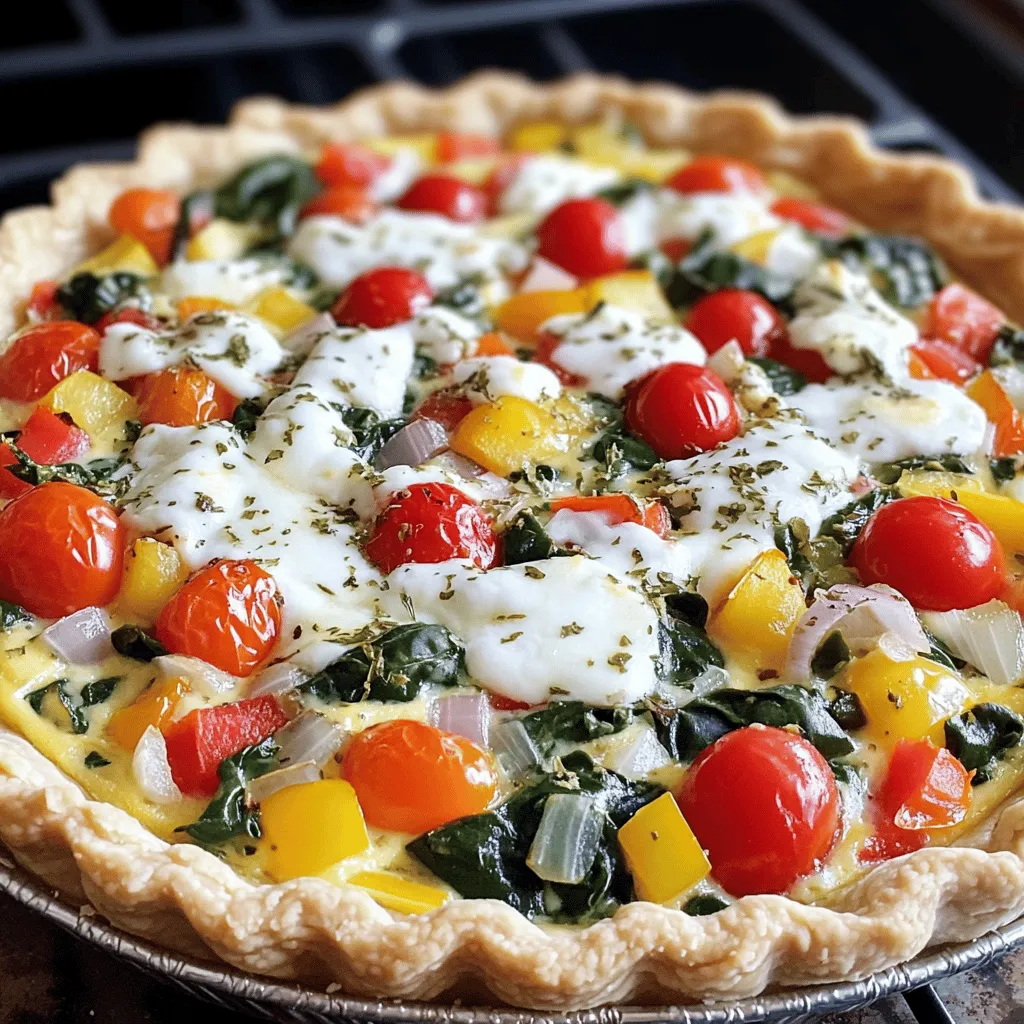
Looking for a quick and tasty dish? This Crustless Cottage Cheese Quiche is your answer! Packed with protein and flavor, it’s easy to make and perfect for any meal. Whether …
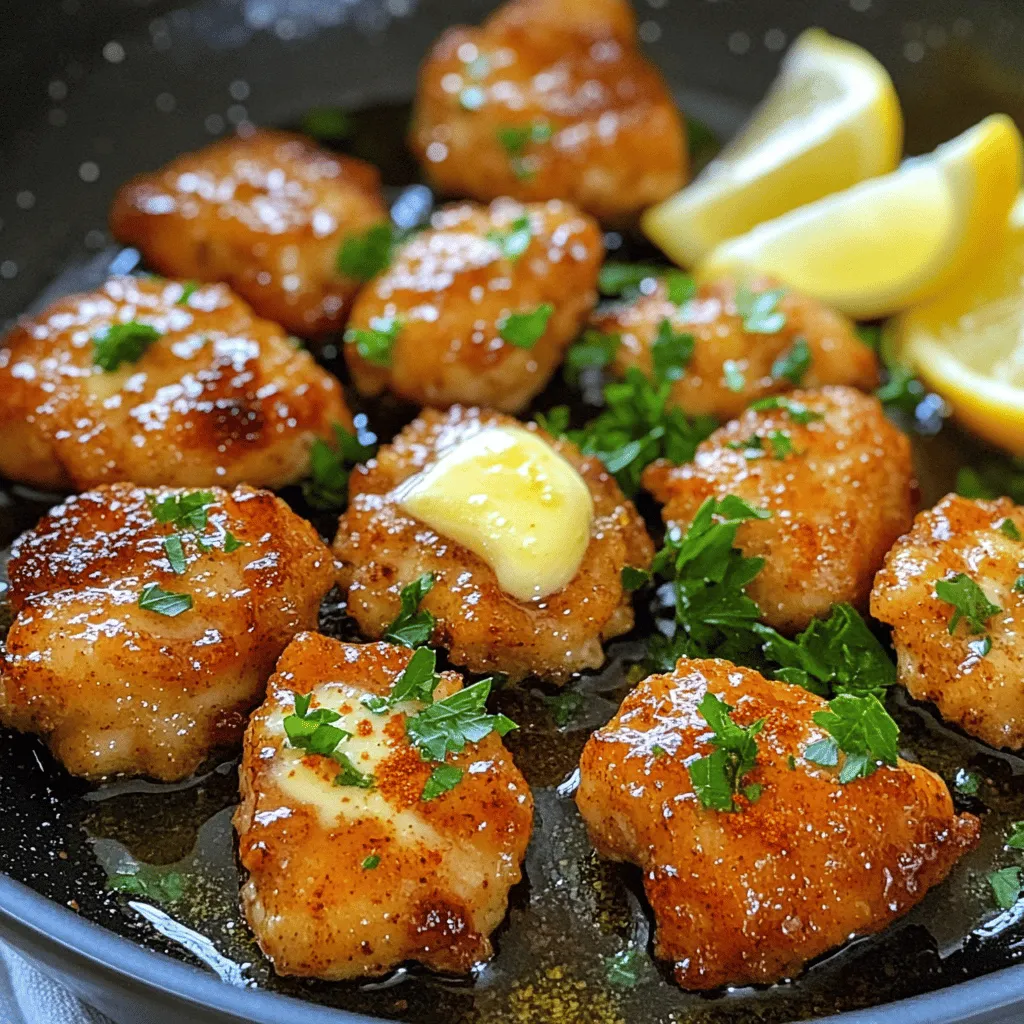
If you’re craving a dish that’s both savory and simple, look no further than Garlic Butter Chicken Bites! This easy recipe blends juicy chicken, fresh garlic, and rich butter for …

Craving a sweet treat that’s quick and easy? Look no further! This 10-minute Peanut Butter Chocolate Bark is your answer. With just a few ingredients, you’ll create a delicious snack …

Craving a simple yet delicious meal? Try my Easy Buffalo Chicken Flatbread! This crowd-pleaser brings the heat and flavor of buffalo chicken right to your dinner table without fuss. With …
![To make these tasty treats, you need a few simple items. Here’s what you will need: - 1 cup Greek yogurt (plain or vanilla) - 1 cup fresh strawberries, hulled and halved - ½ cup dark chocolate chips - 1 tablespoon coconut oil - Pinch of sea salt These key ingredients work together to create the perfect balance of flavors. The Greek yogurt gives a creamy texture, while the strawberries add fresh sweetness. Dark chocolate provides a rich finish, and coconut oil helps the chocolate melt smoothly. You can enhance your clusters with a few optional ingredients. Consider adding: - 1 tablespoon honey or maple syrup (for extra sweetness) - Fresh mint leaves for garnish Honey or maple syrup can boost sweetness, making the clusters irresistible. Mint leaves add a lovely touch and a burst of freshness when you serve them. Each cluster is not only delicious but also packed with nutrients. Here’s a quick look at what you get with these ingredients: - Greek yogurt provides protein and calcium. - Strawberries are rich in vitamins and antioxidants. - Dark chocolate contains healthy fats and can boost mood. This treat is a great snack or dessert, offering a mix of health benefits and delightful flavors. Enjoy knowing you’re indulging in a sweet that’s good for you! For the full recipe, check out the [Full Recipe]. Start by hulling and halving your fresh strawberries. This makes them easy to dip. In a bowl, mix Greek yogurt with honey or maple syrup if you want it sweeter. The yogurt should be smooth and creamy. Take each strawberry half and dip it in the yogurt mix. Make sure it’s well coated. Place the coated strawberries on a baking sheet lined with parchment paper. This will keep them from sticking. Next, grab a microwave-safe bowl. Add dark chocolate chips and coconut oil to the bowl. Microwave this mix in 30-second bursts. Stir between each burst until it is completely melted. The chocolate should be smooth and shiny. If you want a thinner drizzle, add a little more coconut oil. This helps the chocolate flow better over the strawberries. Now it’s time to bring it all together. Drizzle the melted chocolate over the yogurt-coated strawberries. Let the chocolate create lovely clusters as you work. After drizzling, sprinkle a pinch of sea salt over the clusters. This adds a nice flavor contrast. Put the baking sheet in the freezer for at least 2 hours. Once they are firm, take them out and store them in an airtight container. Enjoy these tasty treats straight from the freezer! For the full recipe, check out the details above. To melt chocolate smoothly, use a microwave-safe bowl. Combine the chocolate chips and coconut oil. Heat in 30-second bursts. Stir well after each burst. This keeps the chocolate from burning. If lumps remain, stir until it’s smooth. You want a nice, shiny chocolate for drizzling. For the best results, use high-quality chocolate. Once your chocolate strawberry yogurt clusters are ready, let them freeze fully. After two hours, check if they are firm. Then, remove them from the baking sheet. Place them in an airtight container. Store them in the freezer to keep them fresh. They last up to a month. Always grab a few when you need a quick treat! For a lovely presentation, use a clean platter. Arrange the clusters neatly. You can add a few fresh mint leaves for color. This makes your dish look even more inviting. Serve directly from the freezer for a cool snack. Everyone will love the sweet and creamy bites! {{image_2}} You can switch strawberries for other fruits. Try bananas, blueberries, or raspberries. Each fruit adds its own taste. Bananas provide a creamy texture, while blueberries add a burst of flavor. Raspberries bring a tartness that pairs well with chocolate. Just make sure the fruit is fresh. Cut larger fruits into smaller pieces to ensure even coating. Greek yogurt is great, but other types work too. You can use regular yogurt, coconut yogurt, or even dairy-free options. Each yogurt brings a different flavor and texture. Coconut yogurt adds a tropical twist. If you want extra creaminess, use full-fat yogurt. Experiment with what you like best. Adding spices or extracts can boost the flavor of your clusters. Try cinnamon or nutmeg for warmth. A dash of vanilla extract can make it even tastier. Almond extract gives a nice nutty hint. Just a little goes a long way. Mix these flavors into your yogurt before coating the fruit. It adds a fun twist to your clusters. For the complete recipe, check out the Full Recipe section! To keep your chocolate strawberry yogurt clusters fresh, freezing is key. After you make the clusters, place them on a baking sheet. Make sure they are not touching each other. Put the baking sheet in the freezer for at least 2 hours. This helps them firm up nicely. Once they are solid, transfer them to an airtight container. You can store them in the freezer for up to 3 months. Just take out what you need and enjoy! When you want to eat your clusters, take them out of the freezer. Place them on a plate at room temperature. Let them sit for about 10 to 15 minutes. This will help them soften just enough to eat. If you are in a hurry, you can eat them frozen too. They make a great cold treat on a hot day! The ingredients in these clusters have different shelf lives. Greek yogurt can last up to 2 weeks in the fridge. Fresh strawberries are best when used within 3 to 5 days. Dark chocolate chips can last for about a year if stored well. If you mix these ingredients right before making clusters, they will taste best. Always check for freshness before using any ingredient in your recipe. Yes, you can make these clusters ahead of time. They freeze well, which is great. You can prepare them and store them in an airtight container. They stay fresh in the freezer for up to two months. This makes them a perfect treat for busy days. Just take them out whenever you want a sweet snack! These clusters are not vegan as they use Greek yogurt, which is dairy. However, you can easily adapt the recipe. Use a plant-based yogurt such as coconut or almond yogurt instead. Make sure to check that the chocolate chips are vegan, too. This way, you can enjoy a delicious vegan version of the clusters! You can find pre-made Chocolate Strawberry Yogurt Clusters at some grocery stores. Look in the frozen dessert section. Health food stores may also have them. However, making your own is easy and fun! You can customize the flavors and ingredients to your liking. For the full recipe, check out the earlier section. Chocolate Strawberry Yogurt Clusters are fun and easy to make at home. We covered key ingredients, step-by-step instructions, and helpful tips. You learned how to store and present these treats, plus variations to try. Remember, these clusters offer great taste and nutrition. Get creative with fruits and yogurt types. Make them suit your taste. Enjoy making these delicious snacks any time.](https://toastedrecipes.com/wp-content/uploads/2025/06/7b69520a-7d67-4f8f-b46b-021fe45a11ca.webp)
If you’re looking for a quick, tasty treat, you’ve found it! These Chocolate Strawberry Yogurt Clusters are simple to make and packed with flavor. You’ll love how easy it is …
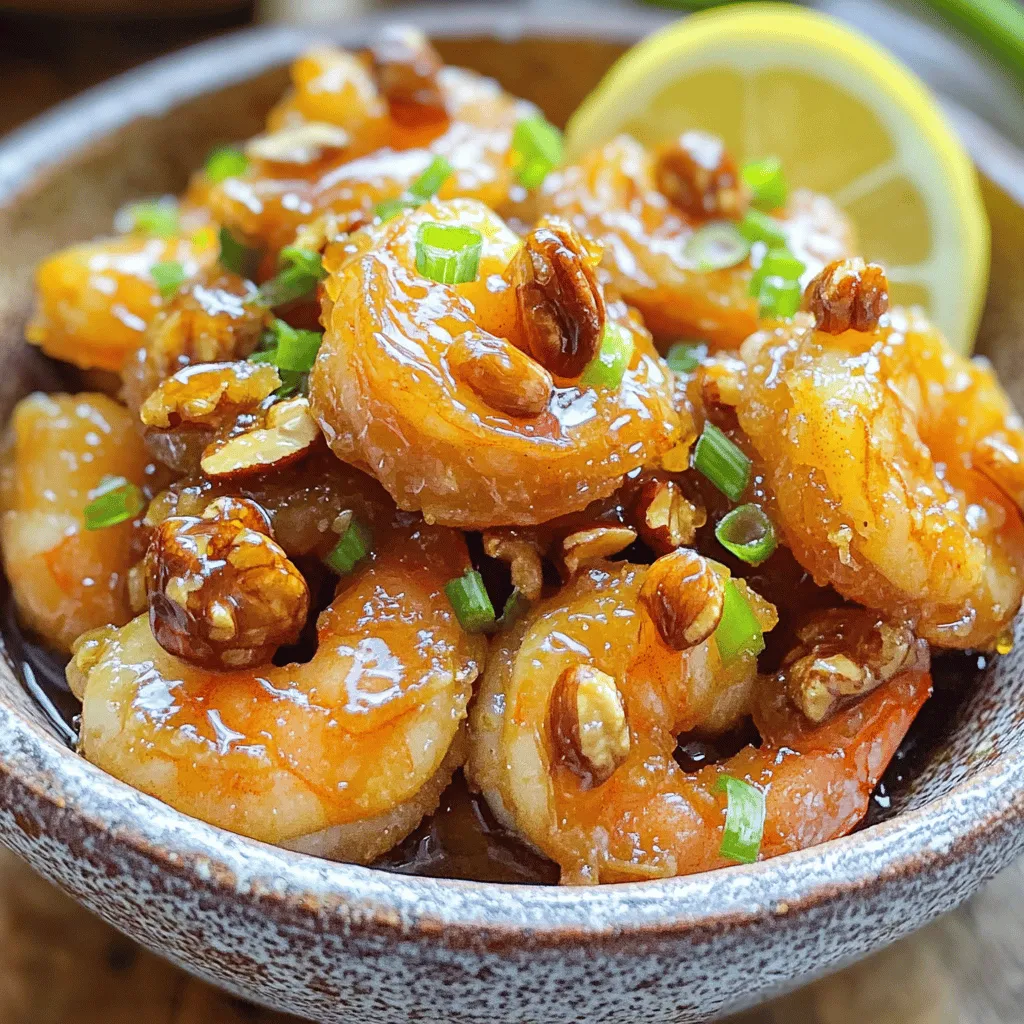
Are you ready to dive into the sweet and savory world of Honey Walnut Shrimp? This simple recipe guide will show you how to make this popular dish at home. …

Looking for a meal that’s quick, easy, and packed with flavor? You’ve come to the right place! This Baked Honey Mustard Salmon recipe fits the bill perfectly. With just a …
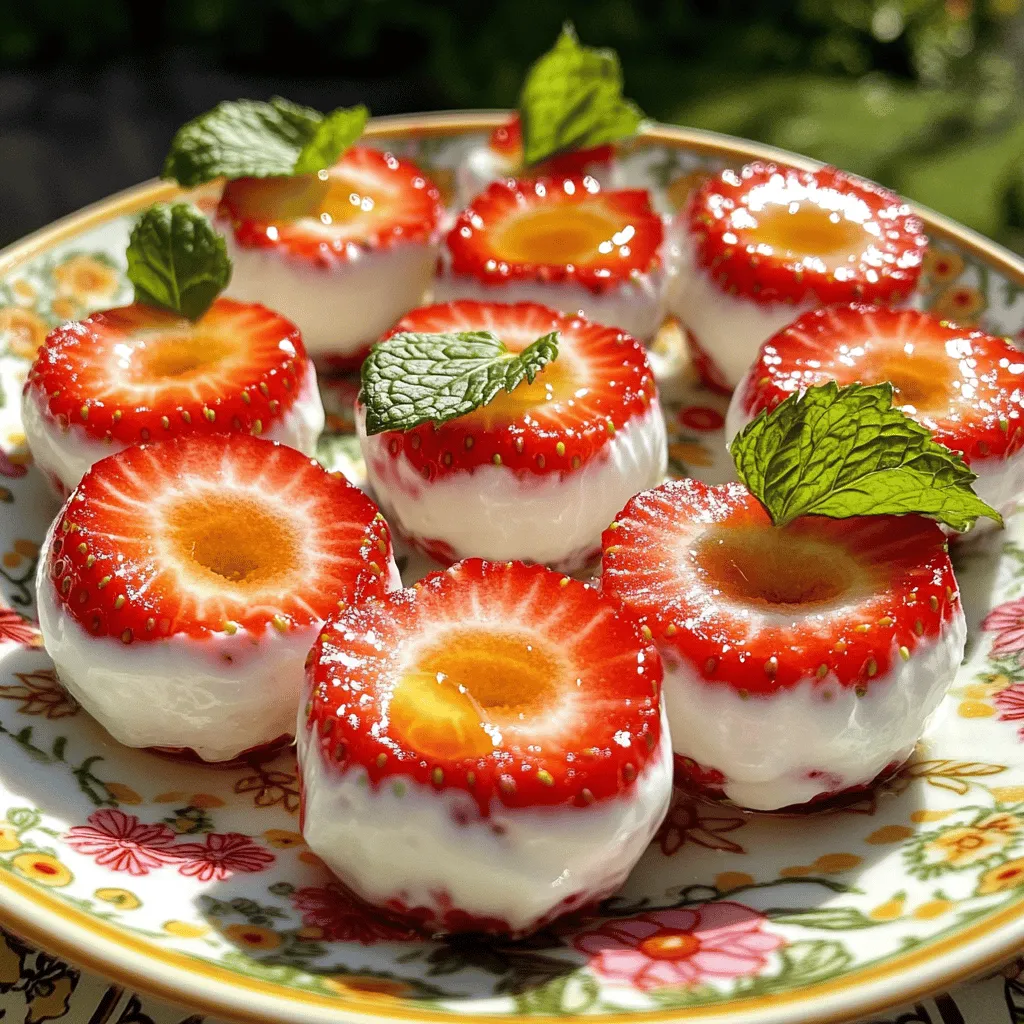
Looking for a tasty and healthy snack? You’ll love these Easy Strawberry Yogurt Bites! They’re simple to make and perfect for any time of day. With just a few fresh …

Are you ready to elevate your pizza game? This Tzatziki Chicken Pizza blends fresh flavors and easy-to-follow steps. You’ll enjoy making this fun twist on a classic dish that packs …