Marry Me Salmon Irresistible Recipe for Dinner
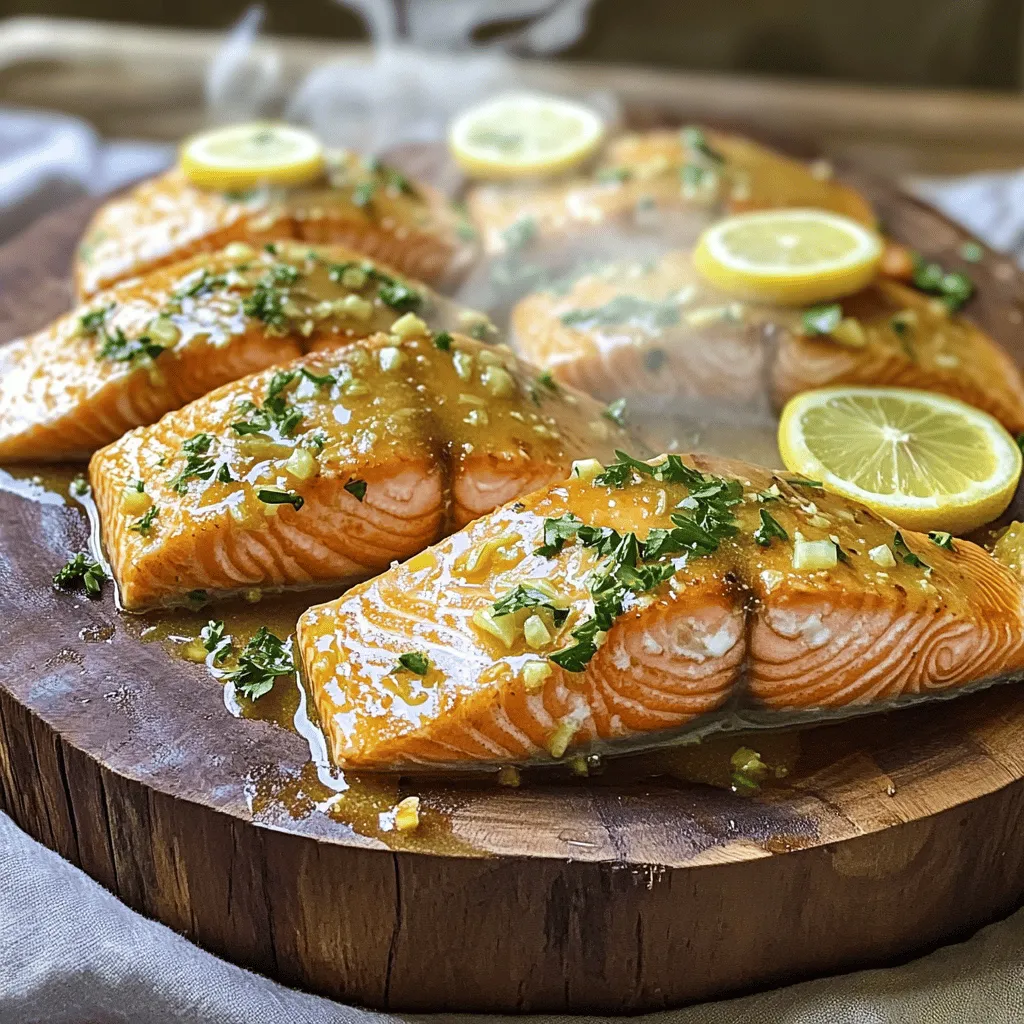
If you’re looking to impress at dinner tonight, try my Marry Me Salmon recipe! This dish is packed with flavor and takes just a few simple steps. With fresh ingredients …
If you’re looking to impress at dinner tonight, try my Marry Me Salmon recipe! This dish is packed with flavor and takes just a few simple steps. With fresh ingredients …
![For this BBQ Chicken Skewer Salad, you need fresh, vibrant ingredients. Here’s what you will gather: - 2 chicken breasts, cut into 1-inch cubes - 1 red bell pepper, cut into chunks - 1 yellow bell pepper, cut into chunks - 1 red onion, cut into wedges - 1 zucchini, sliced into half-moons - 4 cups mixed greens (spinach, arugula, romaine) - 1 avocado, sliced - ½ cup cherry tomatoes, halved - Fresh cilantro, for garnish These ingredients bring color and taste to your dish. The mix of veggies adds crunch and sweetness. The chicken provides protein, and the greens offer freshness. Next, let’s talk about the marinade and dressing. You will need: - 3 tablespoons BBQ sauce (your favorite brand) - 1 tablespoon olive oil - Salt and pepper to taste The marinade is key to great flavor. The BBQ sauce adds sweetness and tang, while olive oil keeps the chicken moist. Salt and pepper boost all the flavors. The Full Recipe will guide you through creating this dish step by step. Enjoy preparing this fresh and flavorful delight! To prepare the chicken, start by marinating it. In a bowl, mix the cubed chicken with olive oil, BBQ sauce, salt, and pepper. This step is key for great flavor. Let it marinate for at least 30 minutes. This time allows the chicken to soak up the tasty BBQ sauce. If you are using wooden skewers, pre-soak them in water for 15 minutes. This helps prevent them from burning on the grill. Now it's time to assemble the skewers. Take a skewer and start threading the marinated chicken. Alternate the chicken with chunks of red and yellow bell peppers, onion wedges, and zucchini slices. This mix adds color and flavor to your meal. Next, heat your grill to medium-high. Place the skewers on the grill. Cook them for about 10-12 minutes. Turn them occasionally. This ensures the chicken cooks evenly and gets those nice grill marks. While the skewers are grilling, prepare your salad. In a large bowl, toss the mixed greens with sliced avocado and halved cherry tomatoes. This mix adds freshness and creaminess to the dish. Once the chicken skewers are done, remove them from the grill. Serve the salad on individual plates or a large platter. Top it with the grilled chicken skewers. Drizzle more BBQ sauce on top for extra flavor. Finish by garnishing with fresh cilantro. This adds a pop of color and freshness to your BBQ chicken skewer salad. For the full recipe, check out the earlier section. To get juicy chicken skewers, make sure your grill is hot. Preheat it to medium-high heat. This helps cook the chicken evenly. Turn the skewers often to avoid burning. Use a meat thermometer to check if the chicken hits 165°F. To prevent sticking, oil your grill grates. Before placing the skewers, brush them with oil. You can also spray the grill lightly with cooking spray. This keeps the chicken from tearing as you turn it. You can customize BBQ sauce to fit your taste. Try mixing in honey for sweetness or hot sauce for heat. You can even blend in mustard for a tangy twist. This lets you create a flavor profile that excites your taste buds. Using fresh herbs can make your dish pop. Chop fresh cilantro or parsley and add it to your marinade. You can also sprinkle herbs on the salad just before serving. This adds brightness and freshness to every bite. To make your salad look great, layer your ingredients. Start with mixed greens, then add avocado and cherry tomatoes. Place the grilled skewers on top for height. This makes the dish visually appealing. Garnishing is key for both flavor and looks. A sprinkle of fresh cilantro on top adds color. Drizzling extra BBQ sauce over the skewers makes them shine and taste even better. This small touch can elevate your meal. For the Full Recipe, follow the steps outlined to ensure a delicious BBQ Chicken Skewer Salad. {{image_2}} You can switch the chicken for shrimp or tofu. Shrimp cooks fast and adds a sweet flavor. Just marinate it the same way. For tofu, use firm or extra-firm, and press it to remove extra water. Cut it into cubes and marinate like the chicken. Both options make this salad unique and tasty. Feel free to mix in seasonal veggies. Try asparagus in spring or sweet corn in summer. You can also add carrots or snap peas for extra crunch. For a nice twist, toss in some radishes or cucumber slices. These veggies will add color and texture to your salad. While BBQ sauce is great, you can try different dressings too. A zesty vinaigrette, made with lemon juice and olive oil, works well. You might also enjoy ranch or a honey mustard dressing for a sweet touch. For a homemade dressing, mix olive oil, vinegar, and your favorite herbs. This way, you can customize the flavors to fit your taste. For the complete recipe, check out the [Full Recipe]. To keep your BBQ chicken skewer salad fresh, proper storage is key. Start by letting the salad cool to room temperature. Then, place it in an airtight container. This helps prevent any unwanted odors or moisture. - Duration for Freshness: Store the salad in the fridge for up to three days. After that, the flavors may fade, and the veggies could become soggy. When it comes time to enjoy leftovers, reheating is simple. Remove the chicken skewers from the salad. You want to keep the greens crisp and fresh. - Best Practices for Reheating Skewers: Use a microwave or grill. If using a microwave, heat them in short bursts. This prevents overcooking. If grilling, warm them up on low heat until heated through, about 5 minutes. - Re-assembling the Salad for Serving: Once the skewers are warm, toss the salad ingredients together again. Add the skewers back on top for a fresh look. Drizzle with extra BBQ sauce for added flavor. Enjoy your meal just like the first time! To make BBQ Chicken Skewer Salad, start by marinating the chicken. Mix the cubed chicken with olive oil, BBQ sauce, salt, and pepper. Let it sit for at least 30 minutes. Meanwhile, soak wooden skewers in water if you use them. After marinating, thread the chicken and veggies onto the skewers. Grill the skewers until the chicken is cooked through. While grilling, toss mixed greens with avocado and cherry tomatoes. Once done, serve the skewers over the salad, drizzling extra BBQ sauce on top. For the full recipe, check out the detailed steps. Yes, you can use store-bought BBQ sauce. It saves time and still adds great flavor. Look for sauces with high-quality ingredients. Some brands even offer unique flavors like chipotle or honey. These can add new twists to your salad. If you prefer homemade sauce, you can mix ketchup, vinegar, and spices for a quick option. You can add many ingredients to boost your BBQ Chicken Skewer Salad. Consider these options: - Corn for sweetness - Black beans for protein - Sliced jalapeños for heat - Crumbled feta or queso fresco for creaminess - Fresh herbs like basil or mint for freshness Feel free to mix and match based on your taste! Yes, this recipe works well for meal prep. You can grill the chicken and veggies in advance. Store them in airtight containers in the fridge. When ready to eat, quickly toss the salad and add the skewers. This way, you can enjoy fresh lunches or dinners throughout the week. Marinate the chicken for at least 30 minutes. This time allows the flavors to soak in. You can marinate it longer, up to 4 hours, for even more flavor. Just remember to keep it in the fridge while marinating. This ensures your chicken stays safe and delicious! This blog post covered how to make a tasty BBQ Chicken Skewer Salad. We talked about the main ingredients, like chicken and fresh veggies, and how to marinate them. I shared step-by-step instructions for preparing the skewers and creating a vibrant salad. Don’t forget the tips to enhance flavor and presentation. You can also try different proteins and dressings for variety. With proper storage and reheating advice, your leftovers will stay fresh. Enjoy this simple, delicious meal that’s great for gatherings or meal prep!](https://toastedrecipes.com/wp-content/uploads/2025/06/1b3c07cb-3686-45af-a616-84b213e11e7b.webp)
Are you ready to enjoy a BBQ Chicken Skewer Salad that’s bursting with flavor? This dish combines tender chicken, vibrant veggies, and fresh greens for a meal that’s both healthy …
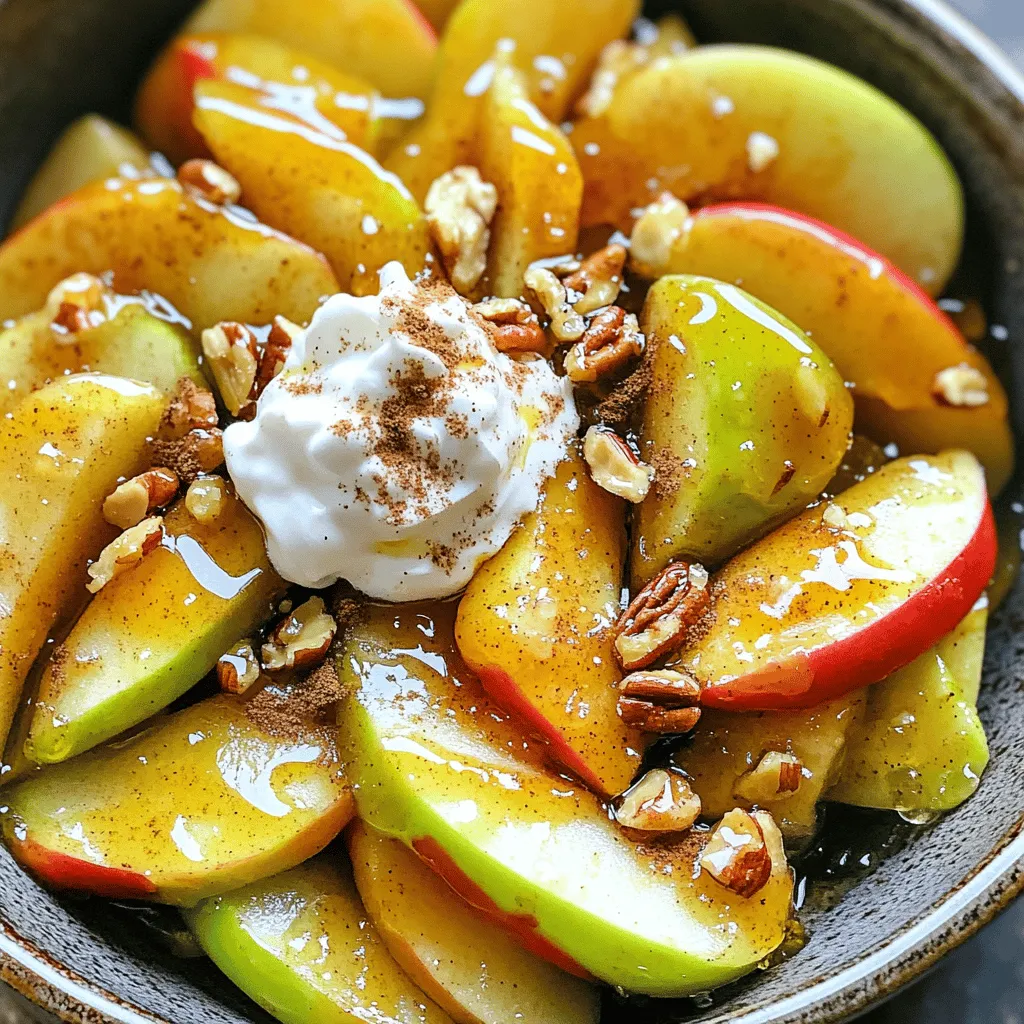
Craving a tasty treat that’s both easy to make and delicious? Look no further! Air fryer apples are a crunchy and flavorful delight you can whip up in no time. …
![- Jumbo pasta shells - Ricotta cheese - Shredded mozzarella cheese - Grated Parmesan cheese - Egg - Marinara sauce - Fresh basil - Garlic powder - Salt and pepper - Olive oil The ingredients make this dish special. You need jumbo pasta shells. They hold the filling well. Ricotta cheese adds creaminess. I also use shredded mozzarella for that gooey texture. Grated Parmesan gives a nice salty kick. The egg helps bind everything. Marinara sauce adds flavor and moisture. Fresh basil brings a bright taste. Garlic powder enhances the overall depth. Don’t forget salt and pepper for seasoning. A drizzle of olive oil adds richness. - Alternatives for ricotta cheese: You can use cottage cheese or cream cheese. Both give a similar texture. - Dairy-free options for cheese: Look for vegan ricotta or nut-based cheese. They work well if you avoid dairy. - Gluten-free shell options: You can find gluten-free pasta shells made from rice or corn. These are great for gluten-free diets. These substitutions help everyone enjoy this dish. Whether you have allergies or dietary needs, you can still savor these stuffed shells. 1. Preheat the oven and prepare the baking dish Start by preheating your oven to 375°F (190°C). While it heats up, lightly grease a baking dish with olive oil. This helps prevent sticking and adds flavor. 2. Cook the pasta shells: boiling instructions In a large pot, bring salted water to a boil. Add 20 jumbo pasta shells and cook them until al dente, about 8-10 minutes. Drain the shells and let them cool slightly. This step is crucial to avoid overcooking them. 1. Combining the filling ingredients In a mixing bowl, combine 2 cups of ricotta cheese, 1 cup of shredded mozzarella, and ½ cup of grated Parmesan cheese. Add 1 egg, 2 tablespoons of chopped fresh basil, 1 teaspoon of garlic powder, salt, and pepper to taste. Mix everything until smooth and well-combined. 2. Stuffing the pasta shells method Take each cooked shell and stuff it with about 2 tablespoons of the ricotta mixture. Make sure you fill them generously. This will ensure every bite is creamy and flavorful. 1. Layering the marinara sauce Spread 1 cup of marinara sauce on the bottom of your greased baking dish. This will keep the shells moist as they bake. 2. Covering and baking the dish Arrange the stuffed shells in the dish, seam side up. Top them with the remaining marinara sauce. Then, sprinkle the rest of the mozzarella and Parmesan cheese over the sauce. Cover the dish with aluminum foil and bake for 25 minutes. After that, remove the foil and bake for an additional 10-15 minutes, until the cheese is bubbly and golden brown. These simple steps lead to a delightful dish that’s sure to please everyone. For the full recipe, check out the earlier section. To make great ricotta stuffed shells, cook the pasta to al dente. This means it should be firm but not hard. If you overcook the shells, they may break when you stuff them. Always check the package for cooking time, usually around 8-10 minutes. When stuffing, avoid overstuffing each shell. Filling them too much can cause them to burst during baking. Aim for about two tablespoons of filling per shell. This amount keeps the filling inside while allowing the cheese to melt perfectly. Pair your stuffed shells with a fresh green salad. A crisp Caesar or mixed greens salad works well. The lightness of the salad balances the richness of the cheese. Garlic bread is another great option. The crunchy bread complements the soft shells. For drinks, a light red wine like Chianti enhances the meal. If you prefer white wine, try a Pinot Grigio. Both wines bring out the flavors in the sauce and cheese. Adding spices and herbs can boost flavor. Try mixing in red pepper flakes for a bit of heat. Fresh basil and parsley also add a nice touch. These herbs brighten the dish and make it smell great. Using homemade marinara sauce can elevate the dish even more. It often tastes fresher than store-bought. However, if you're short on time, a good quality store-bought sauce works just fine. Look for one with no added sugars for the best taste. For more tips and the full recipe, check out the [Full Recipe]. {{image_2}} You can switch up the filling for your ricotta stuffed shells. One tasty option is a spinach and ricotta mix. Just add fresh spinach to the ricotta cheese and blend it well. This adds a nice green color and boosts nutrition. Another fun choice is to use meat or vegetarian alternatives. For meat lovers, ground beef or sausage works great. For a vegetarian option, try mushrooms or zucchini. These fillings add unique flavors and textures. The sauce can also change the whole dish. A creamy Alfredo sauce is a rich option. Just swap out the marinara for Alfredo. This gives a smooth and cheesy taste that many love. If you want something fresh, try pesto sauce. It adds a unique flavor twist. Just spread it over the shells instead of marinara. This can give your meal a bright and herby taste. For those following a vegan diet, you can make a vegan ricotta stuffing. Use blended tofu, nutritional yeast, and lemon juice. This mix mimics the taste of ricotta. If you want low-carb options, use zucchini or eggplant slices instead of pasta shells. You can layer them with the ricotta filling. This keeps the dish delicious while lowering carbs. Explore these variations to make your stuffed shells unique. Check out the Full Recipe for more details and tips! To keep your ricotta stuffed shells fresh, place them in an airtight container. Store them in the fridge. They last about three to four days. If you want to keep them longer, freezing is a great option. Just make sure to cool the shells first before freezing. This helps maintain their shape and flavor. When it's time to enjoy your leftovers, you have two good options: the microwave or the oven. - Microwave: Place a shell on a microwave-safe plate. Cover it with a damp paper towel. Heat for 1 to 2 minutes. Check if it's warm enough. If not, heat in 30-second bursts. - Oven: Preheat your oven to 350°F (175°C). Place the shells in a baking dish. Add a little marinara sauce on top to keep them moist. Cover with foil and bake for about 15-20 minutes. This method keeps the flavors intact. Freezing stuffed shells is easy. First, let them cool completely. Then, arrange them in a single layer on a baking sheet. Freeze them for about 1 hour. Once frozen, transfer them to a freezer bag. This prevents them from sticking together. To cook from frozen, no need to thaw. Just preheat your oven to 375°F (190°C). Place the frozen shells in a baking dish with some sauce. Cover it with foil and bake for about 40-45 minutes. Check they are heated all the way through. Enjoy your delicious, easy dinner anytime! For the full recipe, visit the link. Bake ricotta stuffed shells for 25 minutes at 375°F (190°C) with foil on. After that, remove the foil and bake for another 10-15 minutes. This extra time makes the cheese bubbly and golden. If you use a convection oven, check them a bit sooner, as they cook faster. Always keep an eye on those delicious shells to avoid overcooking! Yes, you can prep these shells ahead. Make the filling and stuff the shells the day before. Store them in the fridge covered with foil. This saves you time on busy nights. Just remember to let them sit out for 30 minutes before baking. This helps them cook evenly. Marinara is a classic choice for stuffed shells. Its rich flavor pairs well with the creamy ricotta. You can also try Alfredo sauce for a creamy twist. Pesto adds a fresh taste, too. Each sauce brings a unique flavor to the dish. Experiment to see what you like best! Look for a bubbly, golden top as a sign your shells are done. You can also check by inserting a knife in the middle. If it comes out hot, your shells are ready to eat. The cheese should be melted and the pasta soft but firm. Enjoy the aroma as they bake; it’s a good sign! We’ve covered how to make delicious stuffed pasta shells, including all the key ingredients. You learned ingredient substitutions, step-by-step prep instructions, and tips for perfect results. Variations and storage info also provide you with flexibility for future meals. In summary, stuffed shells are both simple and satisfying. With the right ingredients and steps, you can enjoy this classic dish any night of the week.](https://toastedrecipes.com/wp-content/uploads/2025/06/3875955c-1bbf-468c-b0b5-197fcc69ade3.webp)
If you’re craving a comforting dinner that’s easy to make and full of flavor, look no further! I’m excited to share my recipe for the best ricotta stuffed shells. With …

If you’re craving a dish that combines the crunch of fried chicken with a sweet and spicy twist, you’ll love Hot Honey Chicken Biscuits. This tasty comfort food delight is …
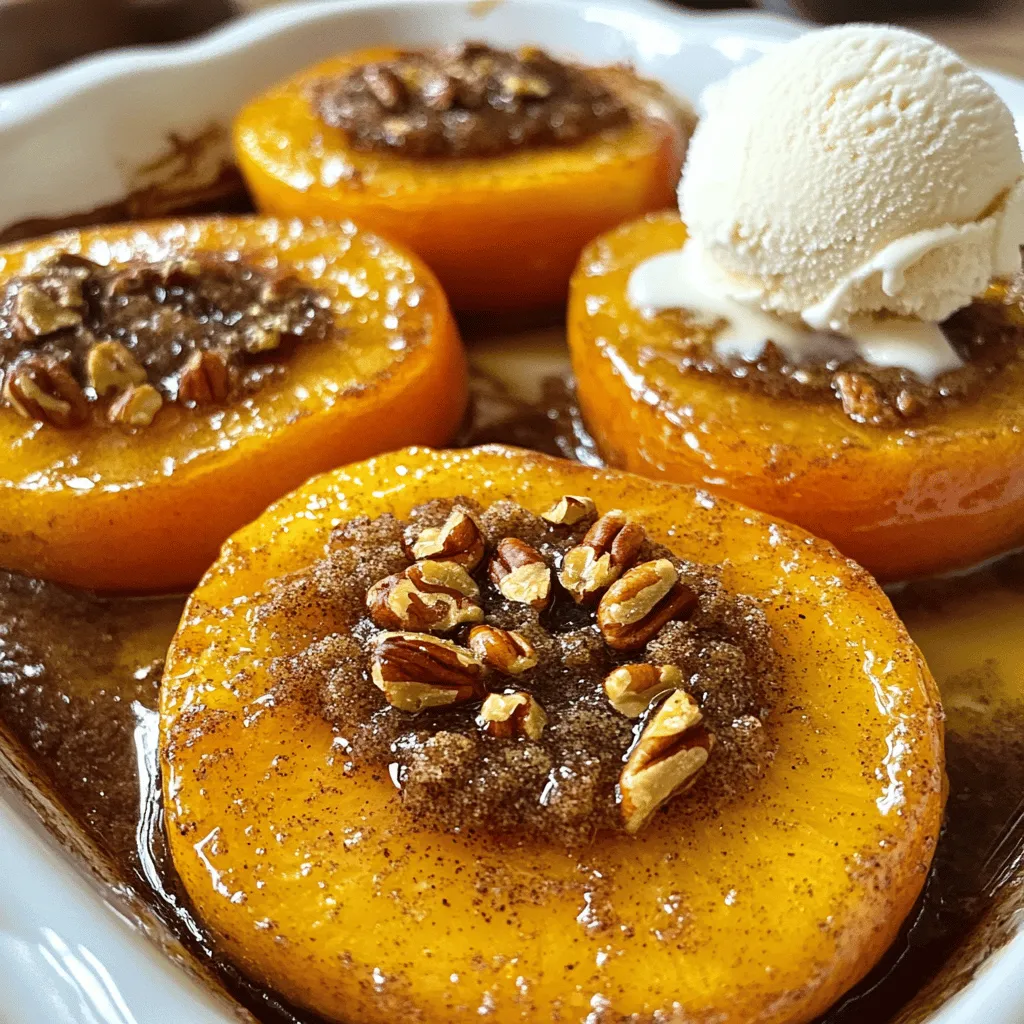
If you love simple and sweet desserts, you’re in for a treat! My Easy Baked Peaches with Cinnamon Sugar Delight is a game-changer. With minimal ingredients, it showcases juicy peaches, …

Looking for a tasty and healthy treat? Frozen Greek Yogurt Peanut Butter Bites are your answer! These bites are creamy, rich, and packed with protein. In just a few easy …

Are you ready to fire up the grill for a fun and tasty meal? My Bang Bang Chicken Skewers are a game-changer. With juicy chicken, a spicy peanut sauce, and …
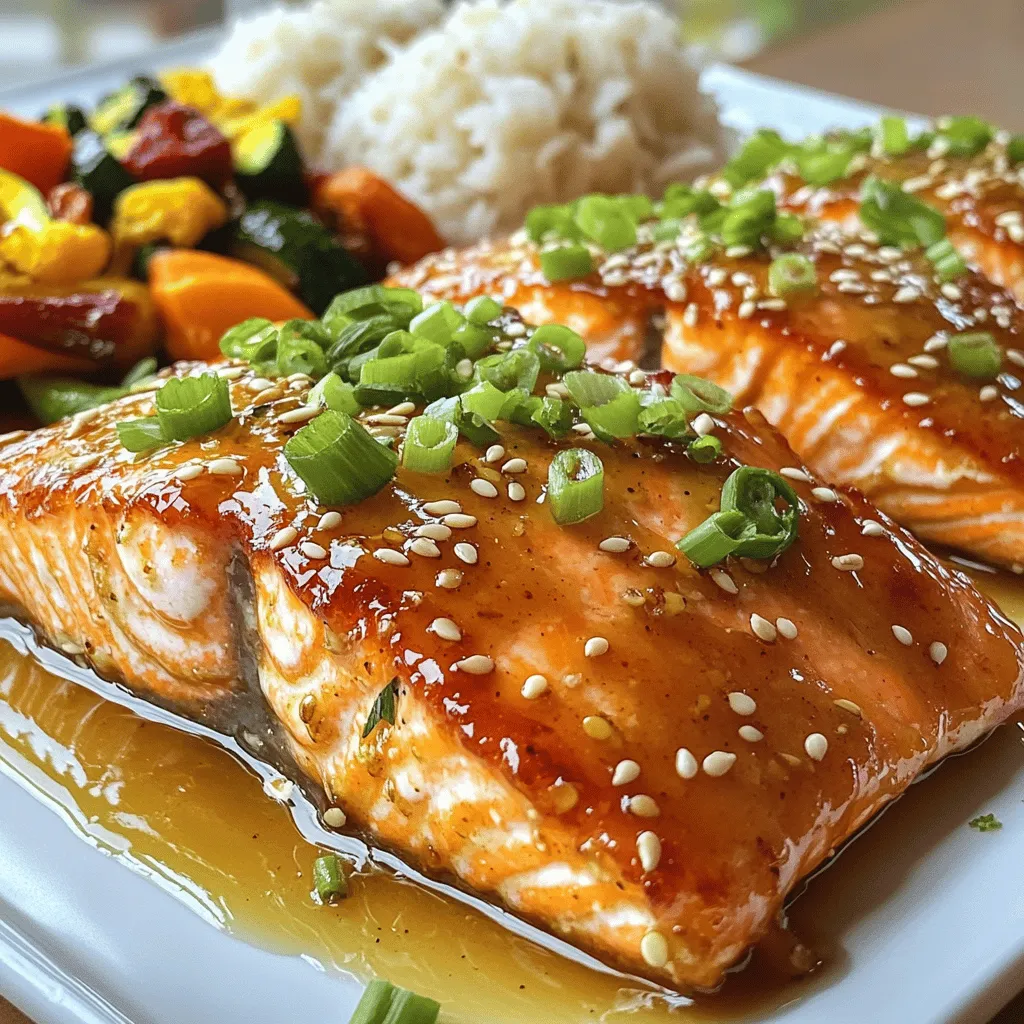
Get ready to impress your taste buds with my Perfectly Crispy Honey Garlic Salmon recipe! This dish combines sweet honey, savory garlic, and tender salmon into a delightful meal. With …
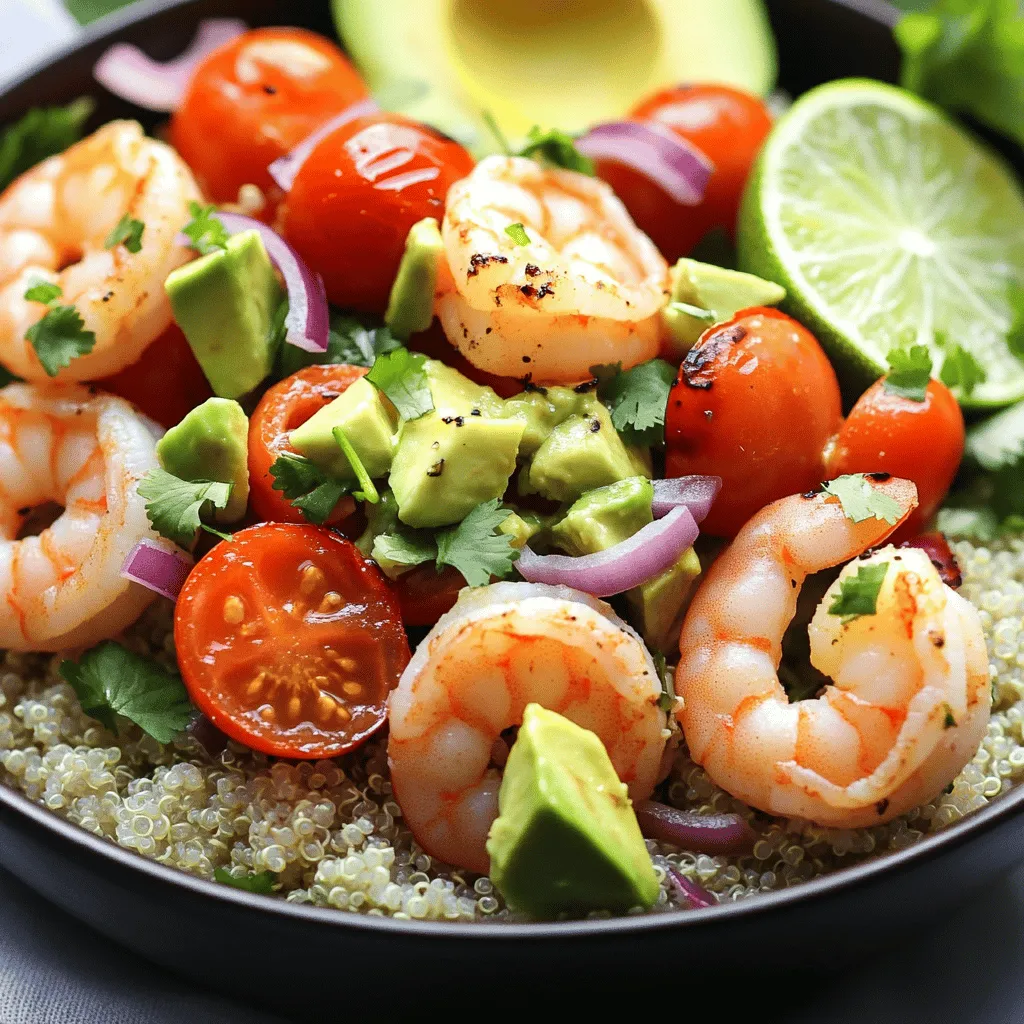
Looking to spice up your meals? This Grilled Shrimp Bowl with Avocado Salsa is perfect for you! It’s vibrant, tasty, and packed with healthy ingredients. In this blog, I’ll guide …