Delicious Heirloom Tomato Galette Simple Recipe Guide
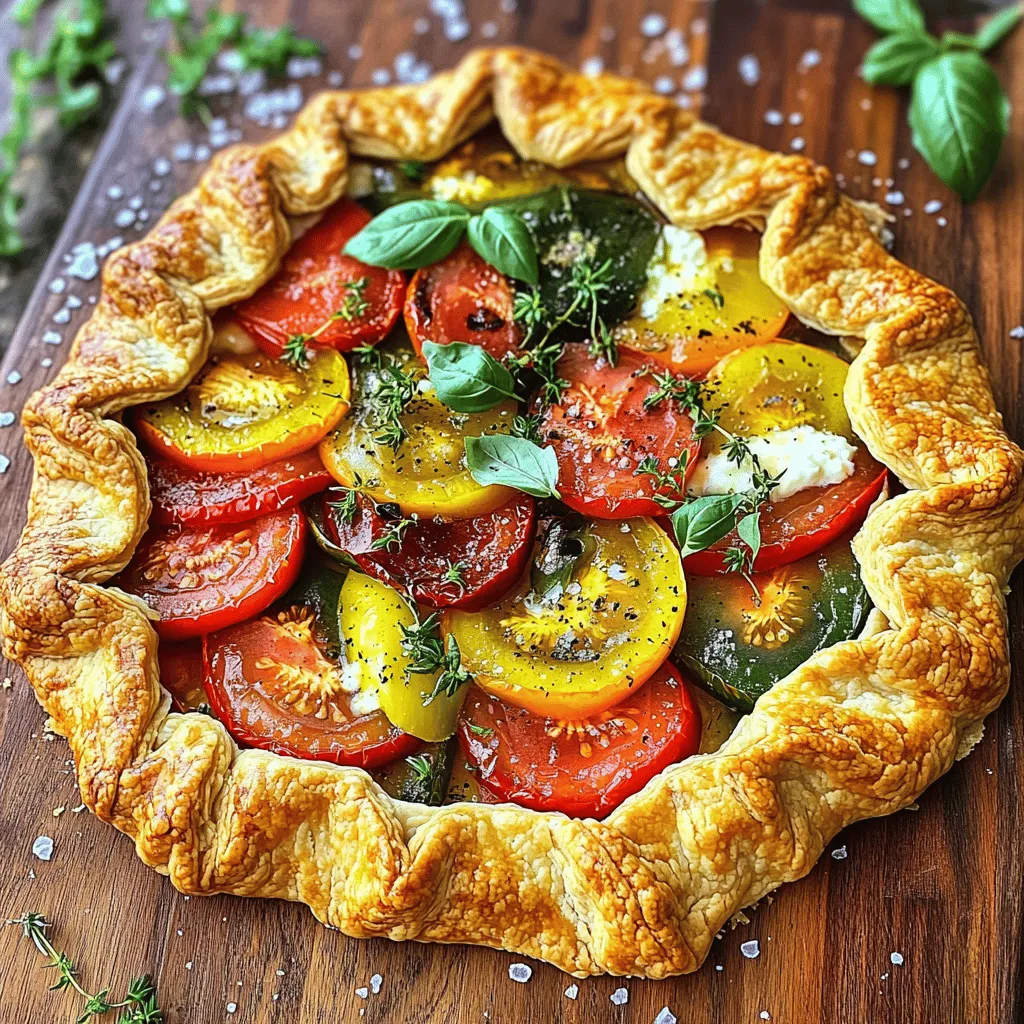
If you love fresh tomatoes, you’ll adore this heirloom tomato galette! This simple recipe guide will show you how to create a stunning dish that bursts with flavor. Using ripe, …
If you love fresh tomatoes, you’ll adore this heirloom tomato galette! This simple recipe guide will show you how to create a stunning dish that bursts with flavor. Using ripe, …
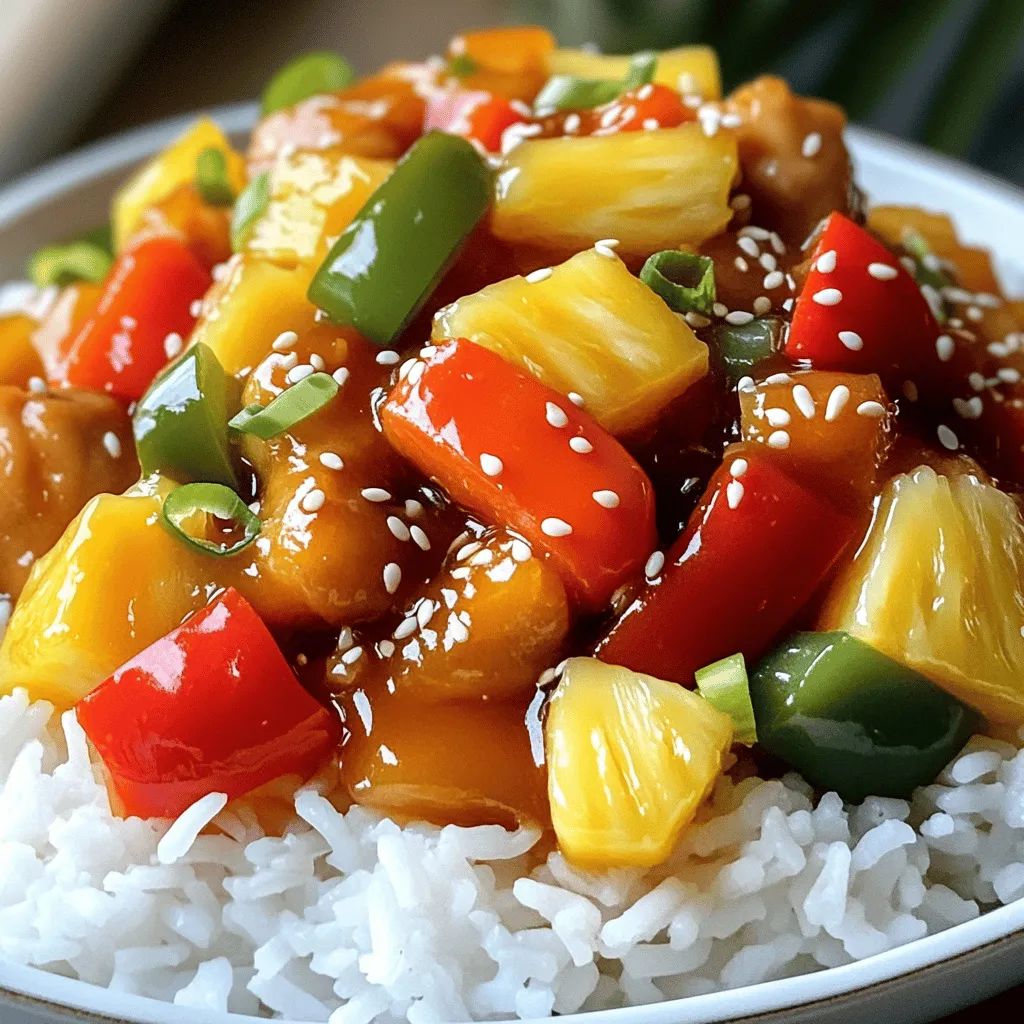
Are you ready to whip up a dinner that’s both tasty and easy? Sweet and Sour Chicken is a crowd-pleaser that combines juicy chicken, crunchy veggies, and a tangy sauce …

If you crave a crispy, flavorful dish that elevates any meal, you’ll love buttermilk fried chicken. This classic recipe combines juicy chicken with a crunchy coat that’s simply irresistible. I’ll …
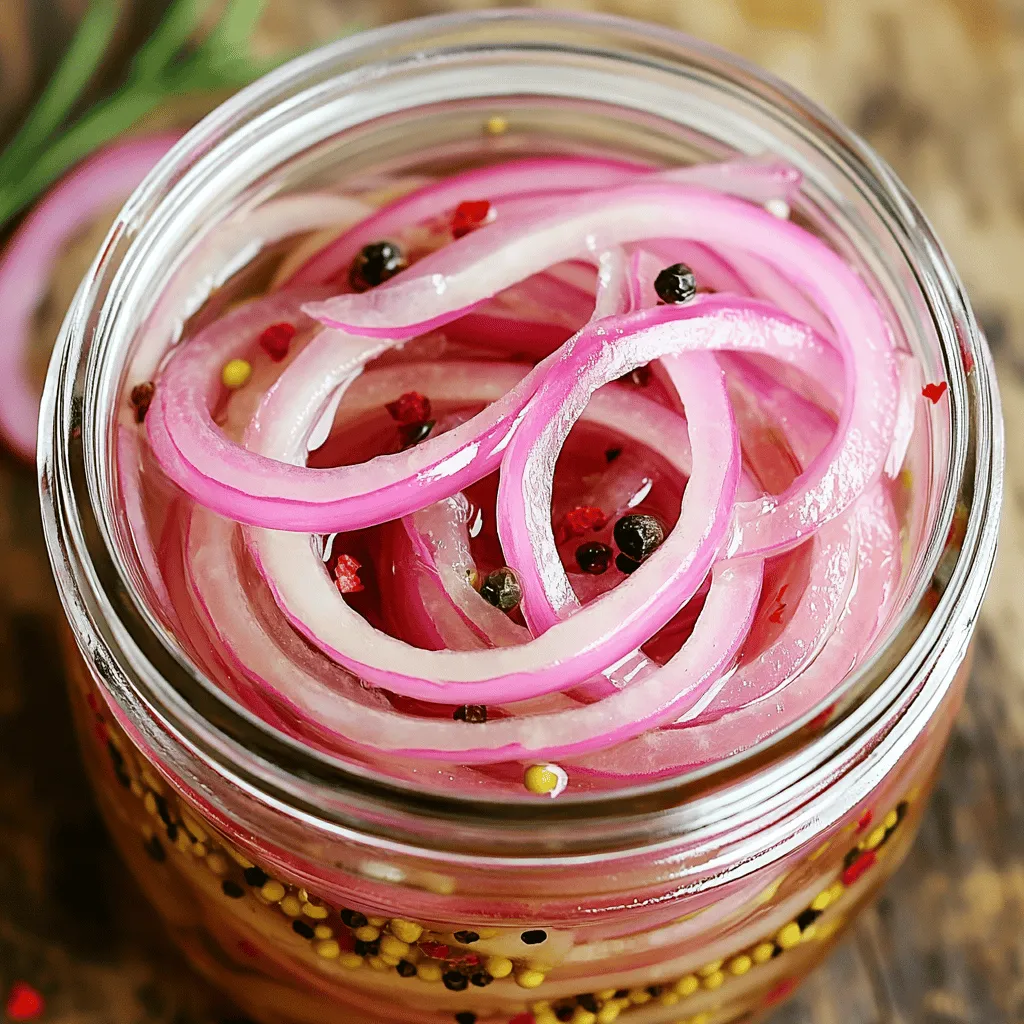
Looking to jazz up your meals? My easy pickled red onions recipe is quick and bursting with flavor! You’ll discover simple steps to make these tangy treats at home. Whether …
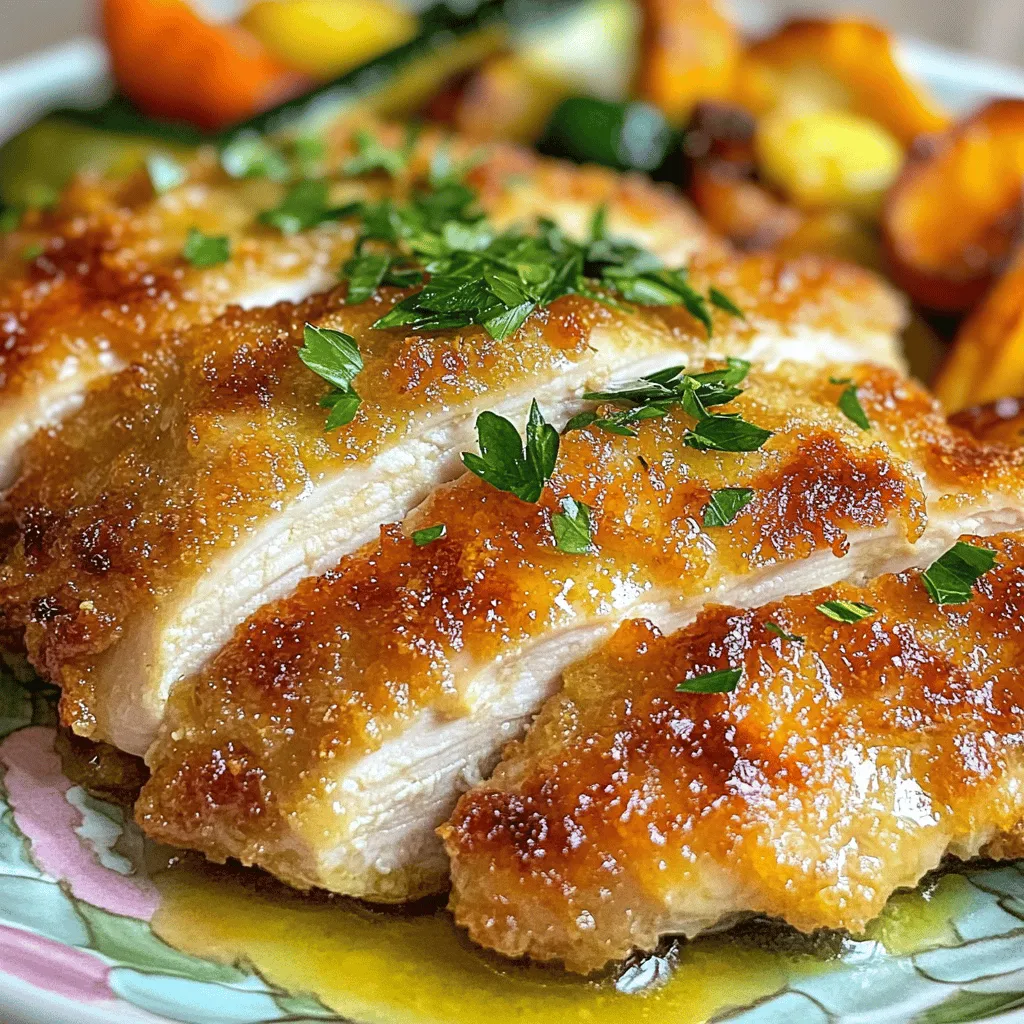
If you’re craving chicken that melts in your mouth, you’re in the right place. I’ll guide you through a simple recipe that’s sure to impress your family and friends. With …

Are you ready for crispy, garlic-flavored perfection? My easy recipe for Crispy Garlic Fried Chicken Wings will wow your taste buds! With simple ingredients like buttermilk and fresh garlic, you’ll …
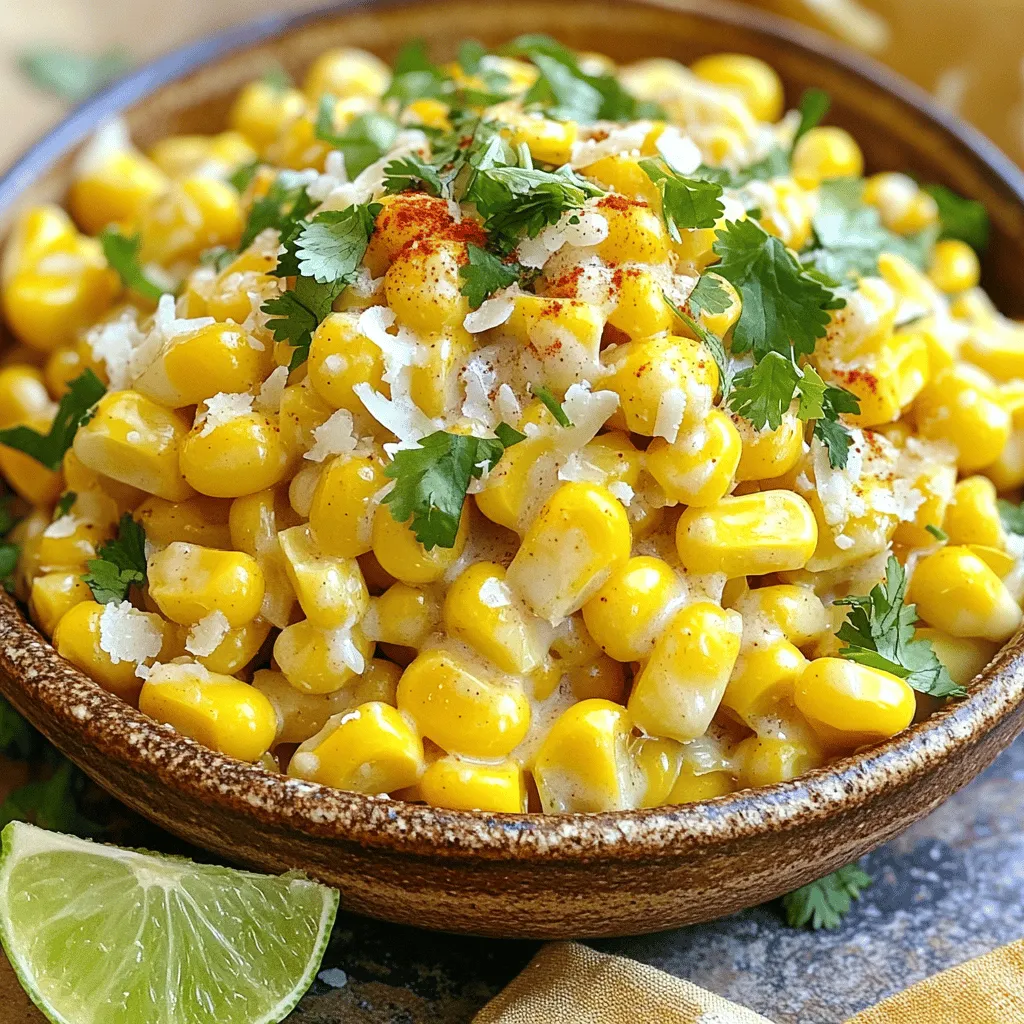
If you’re craving a tasty side dish, look no further! My Irresistible Garlic Butter Corn with Cheese Delight is the answer. This dish bursts with flavor and will have everyone …
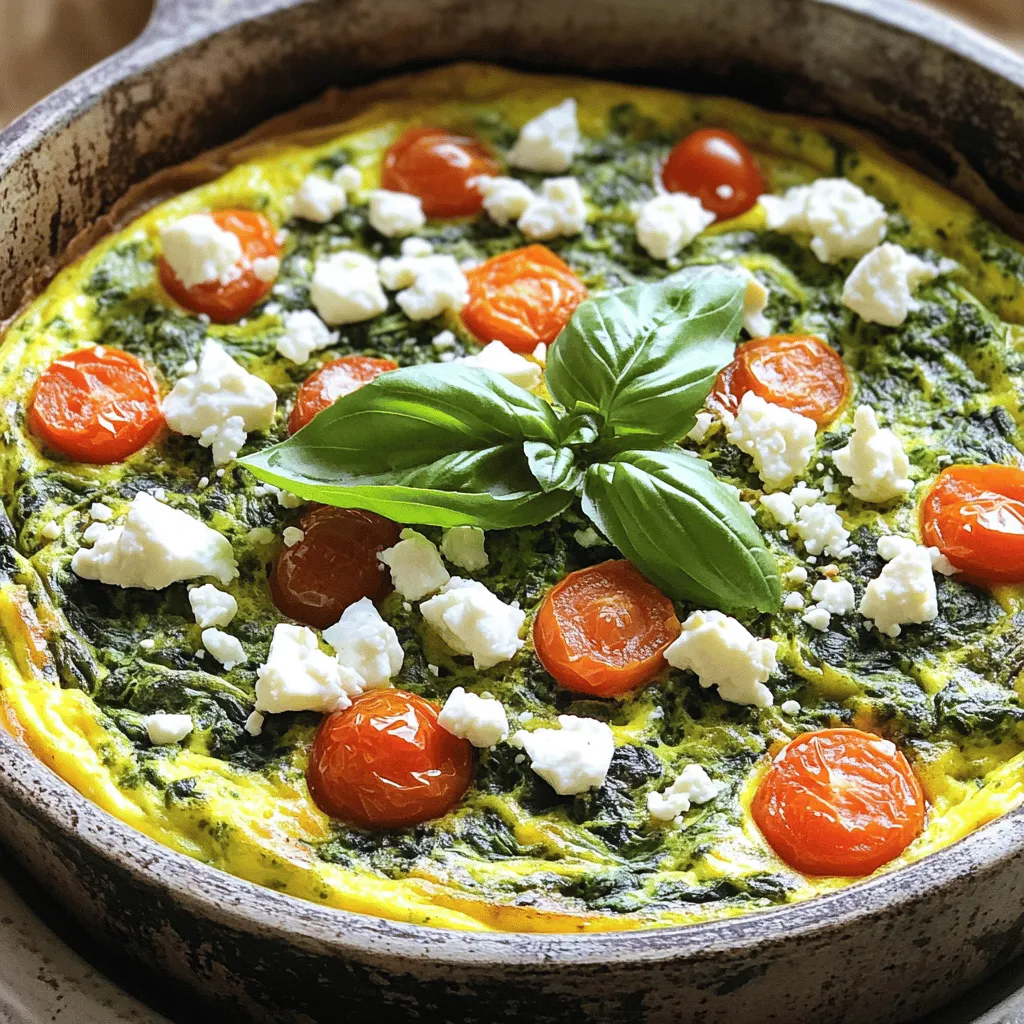
Looking for a quick and healthy meal? You’ve come to the right place! A spinach frittata is not only easy to make, but it’s also packed with flavor. With just …

Looking for a tasty and simple dish that boosts your veggie intake? I’ve got the perfect recipe for you: a Vegetable Sheet Pan Frittata! This easy meal takes just a …
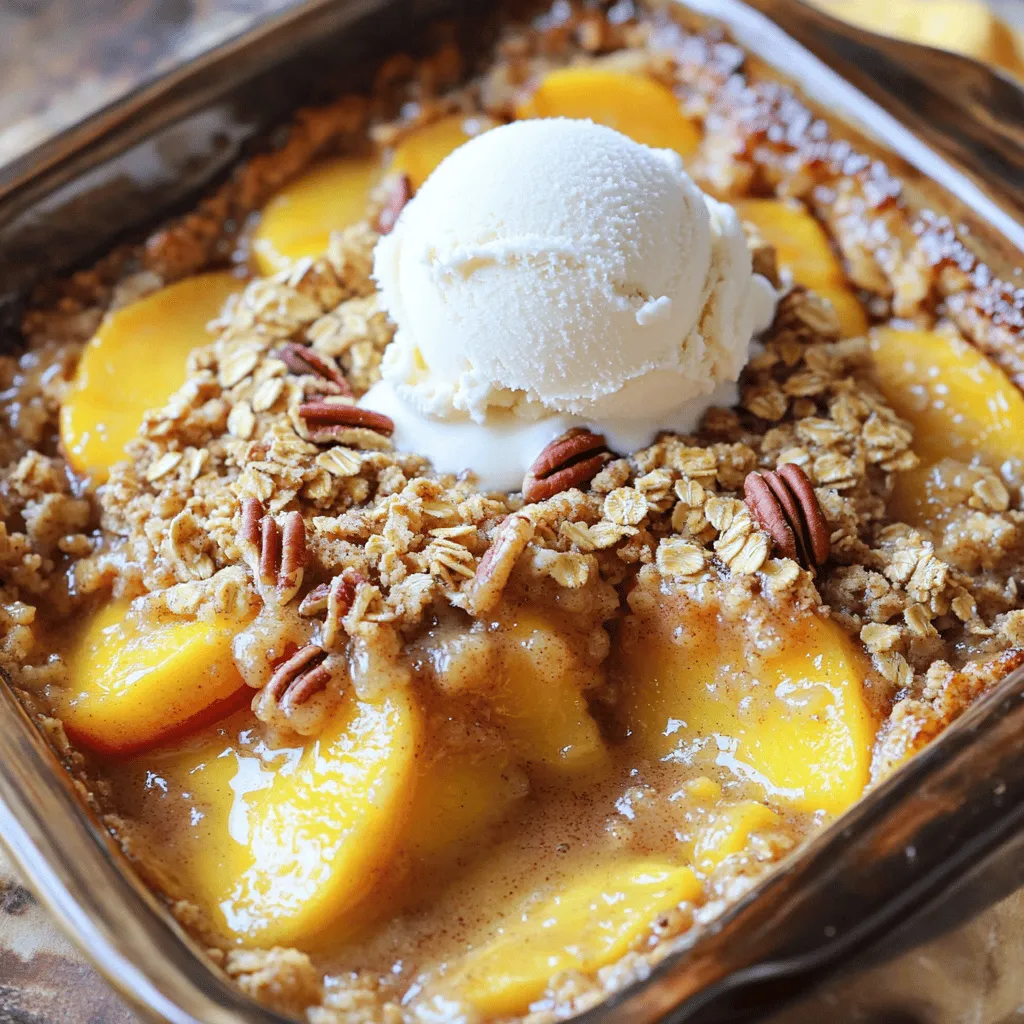
Did you know that a warm Peach Crisp can brighten any day? I’ll show you how to make this easy and delicious dessert step by step. With juicy peaches and …