Blueberry Zucchini Bread Easy and Delicious Recipe
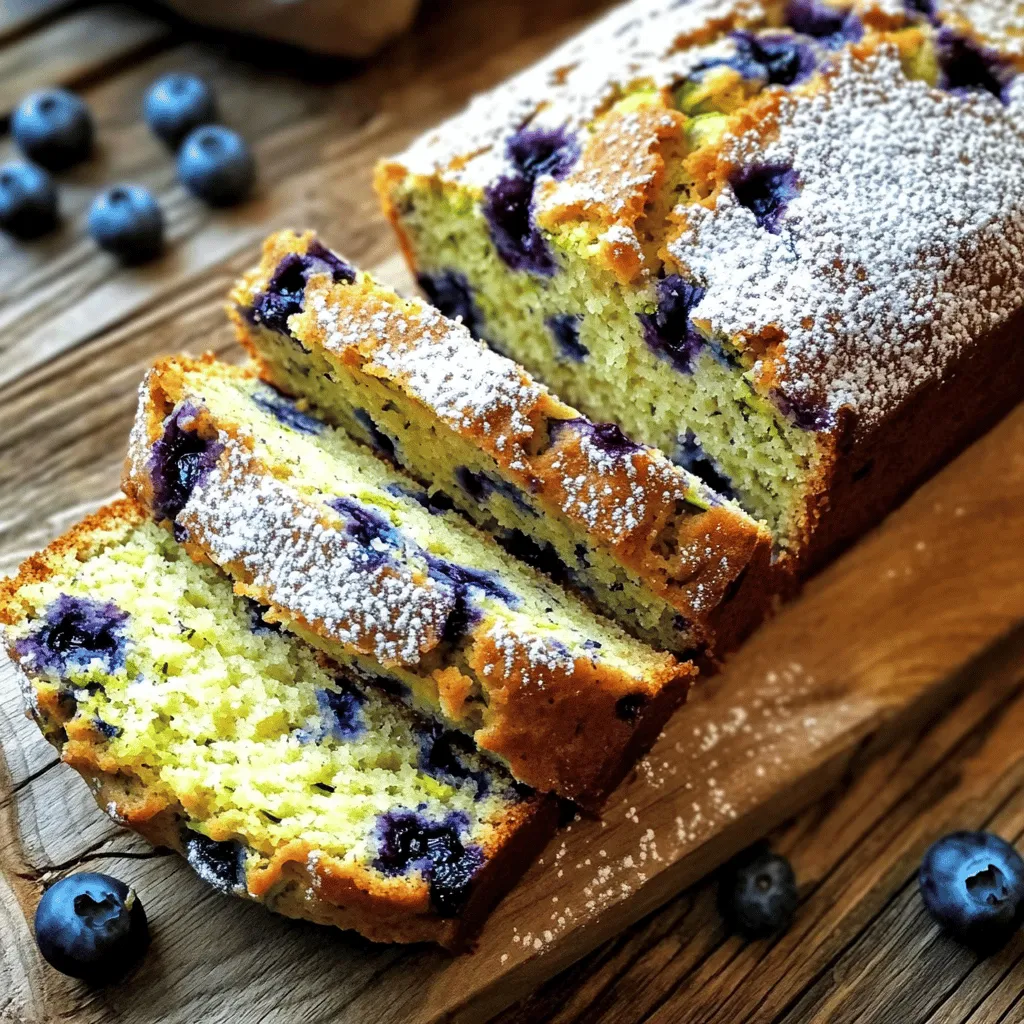
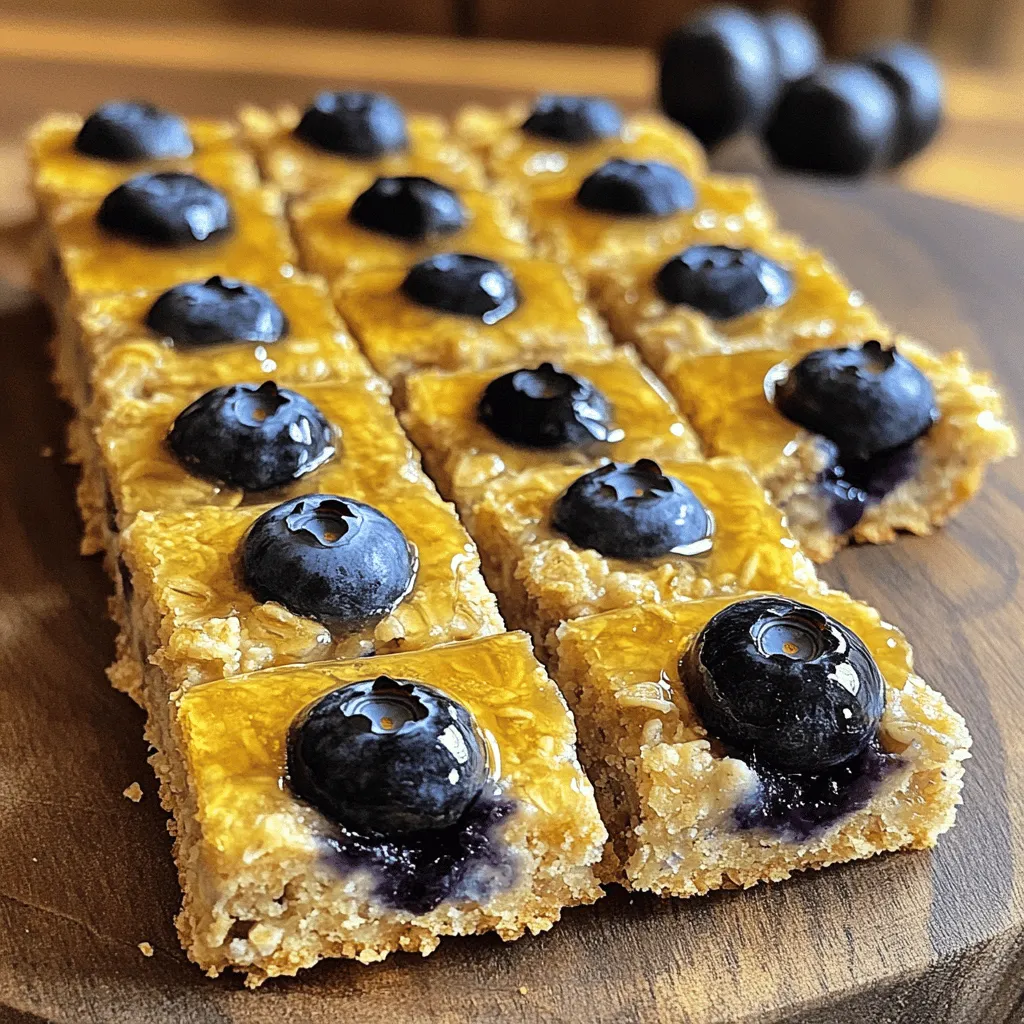
Are you ready to bake something easy and delicious? Blueberry Zucchini Bread is a simple treat you’ll love! This moist bread combines fresh blueberries and grated zucchini for a unique …
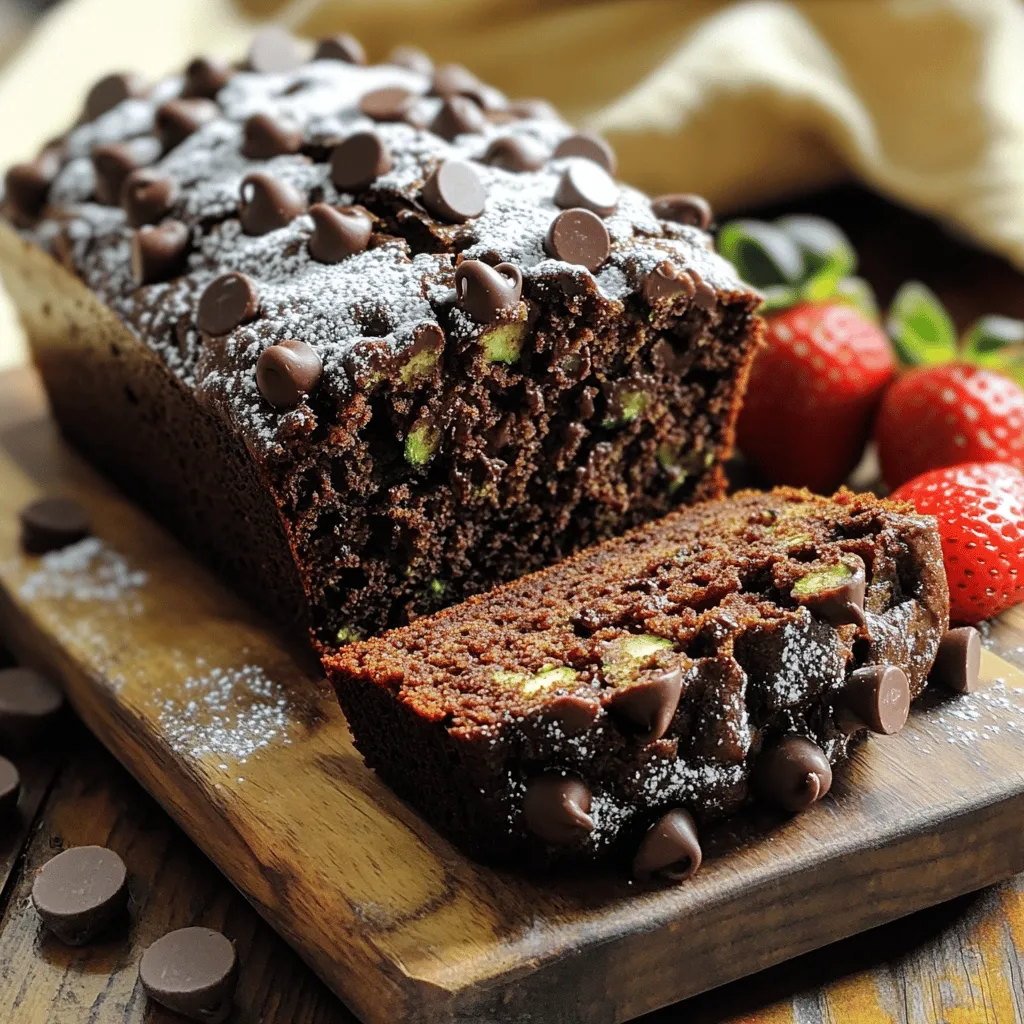
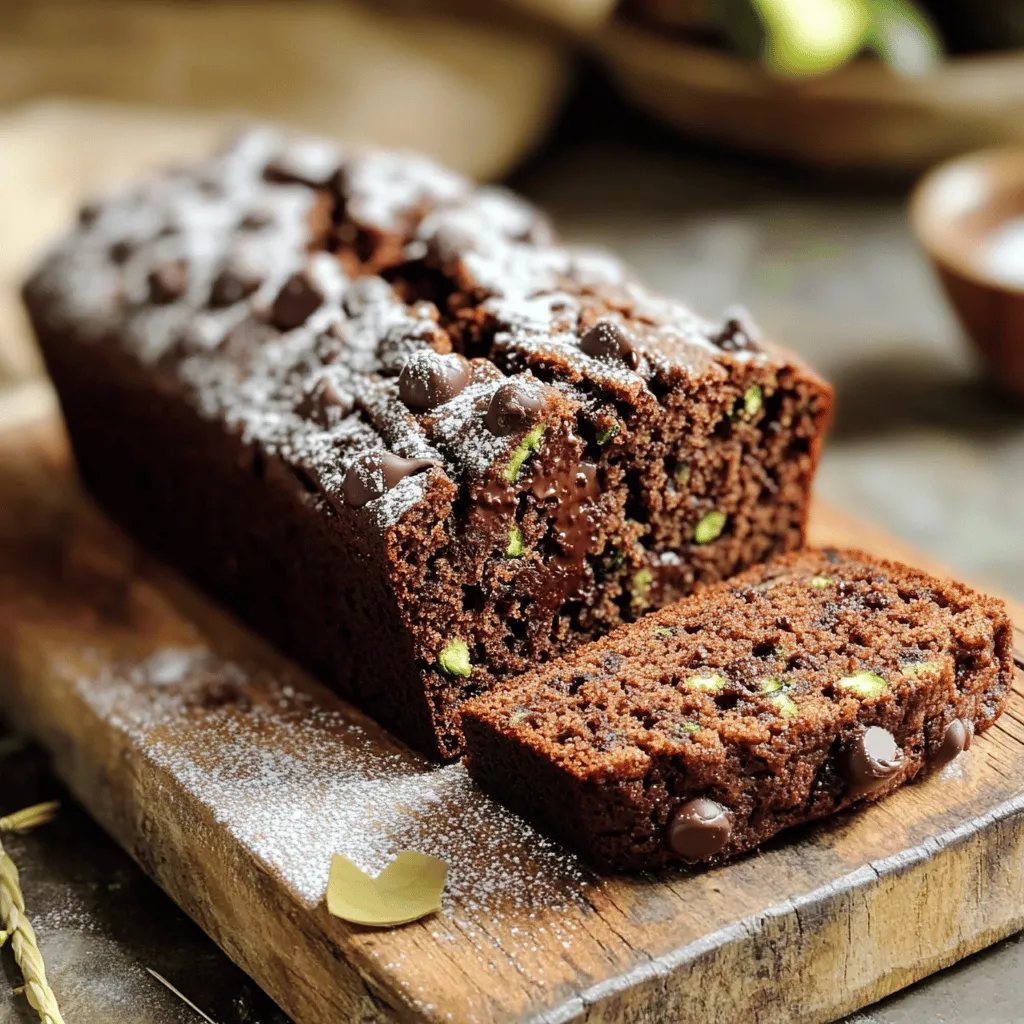
![- 1 ½ cups finely grated zucchini - 1 cup all-purpose flour - ½ cup unsweetened cocoa powder - 1 tsp baking soda - ½ tsp baking powder - ½ tsp salt - ½ cup granulated sugar - ½ cup brown sugar, packed - 2 large eggs - ½ cup vegetable oil - 1 tsp vanilla extract - ½ cup semi-sweet chocolate chips (optional) How to properly grate zucchini Grating zucchini is easy. First, wash the zucchini well. Use a box grater or a food processor. Grate it until you have fine pieces. This helps the zucchini mix well into the batter. Do not peel the zucchini; the skin adds flavor and nutrients. Importance of using fresh ingredients Fresh ingredients make a big difference in flavor. Choose firm zucchini without soft spots. Fresh eggs should be kept in the fridge and used before the expiration date. Also, check your flour and cocoa powder for freshness. Old ingredients can lead to a dry or flat cake. Using fresh items helps create a moist and rich treat. First, we need to prepare the zucchini. Use a box grater to finely grate it. You want about 1 ½ cups of grated zucchini. Once grated, place the zucchini in a medium bowl. Sprinkle a pinch of salt on top. This step helps draw out moisture. Let it sit for about 10 minutes. After 10 minutes, grab a clean kitchen towel. Place the grated zucchini in the towel, then squeeze tightly. You want to remove as much liquid as possible. This keeps your cake from being too wet. Now, let’s mix the ingredients. In one bowl, combine the dry ingredients. This includes the flour, cocoa powder, baking soda, baking powder, and salt. Use a whisk to blend them well. In a separate bowl, beat the granulated sugar, brown sugar, and eggs. Mix until the mixture is light and fluffy. Then, add the vegetable oil and vanilla extract. Stir until everything is well combined. Next, slowly add the dry mixture to the wet mixture. Stir gently until just combined. Finally, fold in the squeezed zucchini and chocolate chips if you like. Now, it’s time to bake! Pour the batter into a greased 8x8-inch baking pan. Spread it evenly. Preheat your oven to 350°F (175°C). Bake for 25 to 30 minutes. To check for doneness, use a toothpick. Insert the toothpick into the center of the cake. If it comes out clean, the cake is done. Let it cool in the pan for about 10 minutes. Then, transfer it to a wire rack to cool completely. Enjoy your easy chocolate zucchini cake! For the full recipe, check out the [Full Recipe]. To get a great texture in your cake, do not overmix the batter. When you mix too much, the cake can turn out tough. Mix just until you see no dry flour. This keeps the cake light and fluffy. Remember, it's okay if there are a few lumps. They will bake out nicely. You can make your cake extra special with some spices or extracts. A pinch of cinnamon or nutmeg adds warmth. You can also try adding a teaspoon of almond or orange extract for a fresh twist. These flavors blend well with the chocolate and zucchini. To make your cake look fancy, dust it with powdered sugar. You can also drizzle a chocolate glaze on top. Serve each slice with whipped cream and a bit of fresh mint. These small touches make your cake shine at any gathering. For the full recipe, check out the details above. {{image_2}} If you need a gluten-free option, consider using almond flour or coconut flour. Both work well in this cake. You can also try a gluten-free all-purpose flour blend. Just check that it contains xanthan gum for best results. Each substitute may change the texture slightly, but they still taste great. You can switch up the chocolate type for fun flavors. Dark chocolate gives a rich taste. Milk chocolate makes it sweeter. You can also add nuts like walnuts or pecans to the batter. Just chop them roughly and fold them in with the zucchini. This adds a nice crunch to each bite. Pairing the cake with ice cream is a fantastic choice. Vanilla ice cream goes well, but chocolate or mint can add a twist. Fresh fruits like berries or sliced bananas can brighten up the dish too. You can serve these on the side or top the cake with them. For an extra treat, drizzle a bit of chocolate sauce on top. For the full recipe, check out the details above. After baking, let the cake cool completely. This keeps it moist. Cover the cake with plastic wrap or aluminum foil. You can also place it in an airtight container. This protects it from drying out. Store it in the fridge if you plan to eat it in a few days. Want to save some for later? Slice the cake into pieces. Wrap each slice tightly in plastic wrap. Then, place the slices in a freezer bag. Be sure to label the bag with the date. This way, you can enjoy it later. Just thaw the slices in the fridge overnight before serving. The cake stays fresh for about 3 to 4 days in the fridge. If you freeze it, it keeps well for about 2 to 3 months. This makes it a great treat to have on hand. Enjoy your chocolate zucchini cake whenever you want! For the full recipe, check out the complete guide to make this delightful treat. You can use carrots or apples instead of zucchini. Both provide moisture. Grated carrots add sweetness and texture. Apples give a nice flavor and moisture. Each option offers a unique twist on the cake but still keeps it moist and rich. Zucchini contains a lot of water. When you bake with it, this moisture makes the cake soft. The key is to squeeze out some water first. This helps balance the wet and dry ingredients. This balance helps the cake rise and stay tender. Yes, you can make the cake a day in advance. Let it cool completely before wrapping it. Store it in an airtight container. For longer storage, freeze slices. When you’re ready to eat, thaw and enjoy. This cake stays tasty for up to four days. Check out the Full Recipe for more tips! This blog post covered how to create a delicious zucchini cake. We discussed key ingredients like zucchini and cocoa powder and how to prepare them correctly. I shared step-by-step instructions and tips for the best texture and flavor. You can also explore fun variations and learn about storage options. Zucchini cake is a unique treat that combines veggies with sweetness. Try making it for your next gathering or cozy night in. Enjoy every bite!](https://toastedrecipes.com/wp-content/uploads/2025/07/02944de0-1735-48f5-b971-2e24baa92d9f.webp)


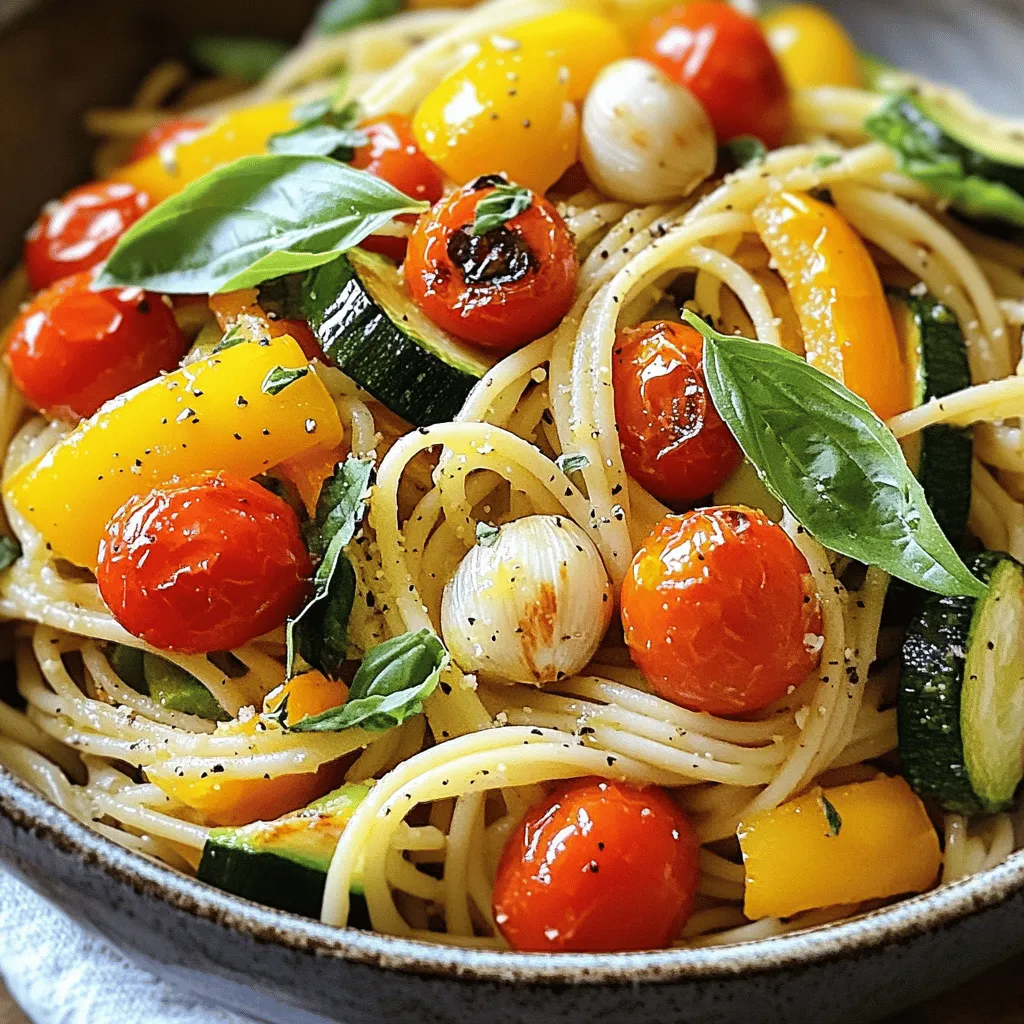
![- 4 medium yellow squashes, sliced into thin rounds - 1 cup shredded sharp cheddar cheese - 1 cup shredded mozzarella cheese - 1 small onion, finely chopped - 2 cloves garlic, minced - 1 cup breadcrumbs (preferably panko for extra crunch) - 1/2 cup grated Parmesan cheese - 2 large eggs - 1/2 cup whole milk - 1 tsp dried oregano - Salt and pepper to taste - 2 tbsp olive oil - Fresh basil leaves for garnish (optional) The star of this dish is the yellow squash. It brings a sweet, mild flavor and a nice texture. Yellow squash is healthy and adds a colorful touch to your plate. The combo of sharp cheddar and mozzarella cheese gives a rich, creamy taste. They melt beautifully, making the bake gooey and satisfying. Onion and garlic add depth to the dish. They offer a savory aroma that fills your kitchen. Breadcrumbs, especially panko, create a crunchy topping that contrasts with the soft squash. Eggs and milk help bind everything together, making each bite cohesive and delicious. If you don’t have yellow squash, zucchini works well too. It has a similar texture and taste. You can swap cheddar for gouda or Swiss cheese for a different flavor. For a lighter option, use low-fat milk instead of whole. If you need a gluten-free version, use gluten-free breadcrumbs. You can also leave out the breadcrumbs for a lighter, lower-carb dish. Fresh herbs like thyme or parsley can replace oregano for a new twist. Use what you have and make this dish your own! For the full recipe, click here. First, gather all your ingredients. You will need four medium yellow squashes, cheese, eggs, and more. Next, preheat your oven to 375°F (190°C). This step is key for even cooking. While the oven heats, slice the squash into thin rounds. Set them aside. In a large skillet, heat two tablespoons of olive oil over medium heat. Once hot, add one small chopped onion and sauté it for about three to four minutes. The onion should become clear. Then, add two minced garlic cloves and cook for one more minute. This will fill your kitchen with a great smell. After that, remove the skillet from the heat. Now, take a large bowl and toss the yellow squash slices with salt. Let them sit for about ten minutes. This helps to draw out excess moisture. After ten minutes, pat the squash dry with paper towels. In another bowl, whisk together two large eggs, half a cup of whole milk, one teaspoon of dried oregano, and a pinch of salt and pepper. Next, combine the sautéed onion and garlic into the egg mixture. Fold in half a cup of sharp cheddar cheese, half a cup of mozzarella cheese, and half of the breadcrumbs. Mix everything well until it’s smooth. Grease a 9x13 inch baking dish. Start layering by placing half of the yellow squash slices at the bottom. Spread half of the egg mixture over the squash. Add the remaining squash slices on top, followed by the rest of the egg mixture. Now, sprinkle the remaining cheddar and mozzarella cheese on top. Add the grated Parmesan cheese and the rest of the breadcrumbs. Drizzle a bit of olive oil over the top to help with browning. Finally, bake your Cheesy Yellow Squash Bake in the oven for 35 to 40 minutes. It’s done when the top is golden brown and the squash is tender. Remove it from the oven and let it cool for about five minutes. Garnish with fresh basil leaves if you like. Enjoy your delicious creation! For the full recipe, check out the ingredients and steps detailed above. To make a perfect Cheesy Yellow Squash Bake, start with fresh yellow squash. Look for firm, bright ones. Slice them thin for even cooking. Letting the squash sit with salt removes moisture. This step helps your bake stay firm. Use quality cheese. Sharp cheddar gives great flavor, while mozzarella adds creaminess. Mixing the cheeses ensures every bite is cheesy. For a crunchy top, use panko breadcrumbs instead of regular ones. They create a delightful texture. One common mistake is not salting the squash. This can lead to a watery dish. Make sure to dry the squash well after salting. Another mistake is overcrowding the baking dish. This prevents even cooking and browning. Layer the ingredients evenly for best results. Don't skip the resting time after baking. Let your dish sit for five minutes. This helps it set and makes serving easier. If you rush, it might fall apart. Here are some tools I recommend for this recipe: - Large skillet for sautéing - Mixing bowls for combining ingredients - Whisk for mixing eggs and milk - 9x13 inch baking dish for layering - Knife and cutting board for slicing squash - Measuring cups and spoons for accuracy - Paper towels for drying squash These tools make the cooking process smooth and fun. Having the right equipment helps you focus on creating a delicious dish. For the full recipe, check the link above! {{image_2}} You can easily add protein to your Cheesy Yellow Squash Bake. Try cooked, crumbled sausage or shredded chicken for a heartier dish. For a meat-free option, consider using lentils or chickpeas. These will boost flavor and protein without adding too many calories. Mix your choice of protein into the egg mixture before layering. This step ensures even distribution throughout the bake. If you want to keep it vegetarian but still crave more flavor, consider adding spinach or kale. Sauté these greens with the onion and garlic. They will add a nice color and healthy nutrients. You can also use mushrooms. They bring a rich, umami flavor that pairs well with the cheese. Feel free to experiment with different veggies like bell peppers or zucchini, too! Seasonal vegetables can elevate your Cheesy Yellow Squash Bake. In spring, try asparagus or peas for a fresh taste. In summer, mix in diced tomatoes or fresh corn for a burst of flavor. Fall brings great options like butternut squash or sweet potatoes. Winter is perfect for hearty root vegetables like carrots or parsnips. Just adjust your cooking times if you use veggies that need longer to cook. This way, your dish stays perfectly tender and tasty. For the full recipe, check the section above. To store leftovers, let the Cheesy Yellow Squash Bake cool down. Then, transfer it to an airtight container. You can keep it in the fridge for up to four days. This helps maintain its flavor and texture. If you want, you can cover it with foil before sealing the container. When you want to enjoy the leftovers, preheat your oven to 350°F (175°C). Place the squash bake in a baking dish. Cover it with foil to keep it moist. Heat for about 20 minutes or until warmed through. You can also use a microwave. Just place a portion in a microwave-safe dish and heat for 1-2 minutes. If you want to save the dish for later, freezing is a great option. First, let the bake cool completely. Then, cut it into individual portions. Wrap each piece in plastic wrap and place them in a freezer-safe bag. Label the bags with the date. You can freeze it for up to three months. To reheat, thaw in the fridge overnight and follow the reheating instructions. For a great cheesy flavor, I recommend using sharp cheddar and mozzarella. Sharp cheddar gives a nice tang, while mozzarella adds that lovely stretch. You can mix these cheeses for a balanced taste. Feel free to experiment with other cheeses like Gouda or Monterey Jack for unique flavors. Yes, you can easily make this dish gluten-free! Just swap the breadcrumbs with gluten-free options. Look for gluten-free panko or even crushed gluten-free crackers. This change keeps the crunch while making it safe for those with gluten sensitivities. You can tell the squash is done when it feels tender. Use a fork to poke through the layers. If it slides in easily, it’s ready! The top should be golden brown and crispy. Keep an eye on it towards the end of the baking time for the best result. For the complete recipe, check out the [Full Recipe]. In this post, we explored how to make Cheesy Yellow Squash Bake. We covered ingredients, step-by-step cooking, and tips to get it right. You now know ingredient substitutes, variations, and storage info. Remember, using the best cheese makes a big difference. Avoid common mistakes for a perfect dish. Experiment with proteins and seasonal veggies for fun flavors. Enjoy your cooking and savor each bite!](https://toastedrecipes.com/wp-content/uploads/2025/07/98e24813-311c-4b54-b8e5-a0f0ad170131.webp)