Velvety Coffee Mousse Decadent and Simple Delight
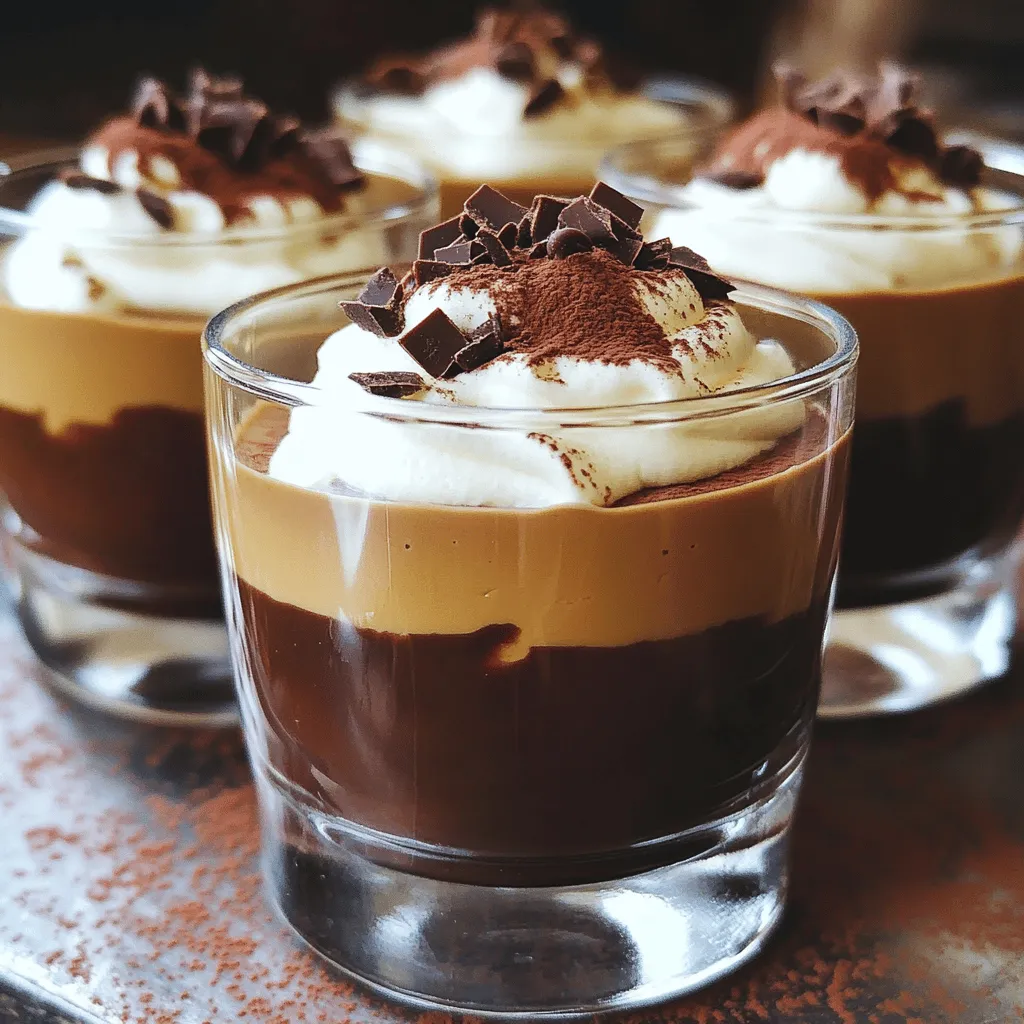
Are you ready to indulge in a dessert that’s rich, creamy, and surprisingly simple? In this post, I’ll share my favorite velvety coffee mousse recipe. With just a few ingredients, …
Are you ready to indulge in a dessert that’s rich, creamy, and surprisingly simple? In this post, I’ll share my favorite velvety coffee mousse recipe. With just a few ingredients, …
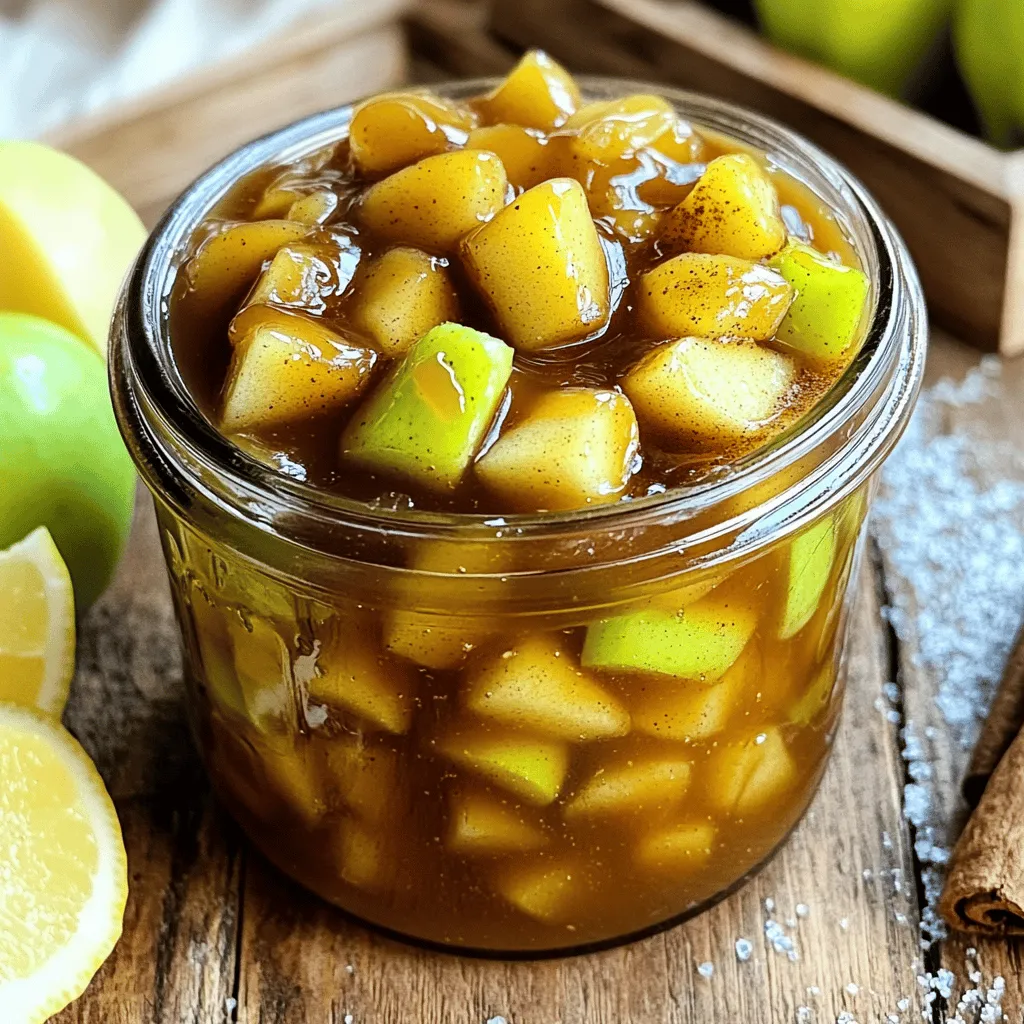
Are you ready to savor the sweet taste of fall? This Easy Caramel Apple Jam recipe is your ticket to homemade goodness. With just a few simple ingredients and a …
Craving something warm and sweet? Baked apple donuts are the answer! They are easy to make and packed with flavor. In this post, I’ll share a simple recipe and helpful …
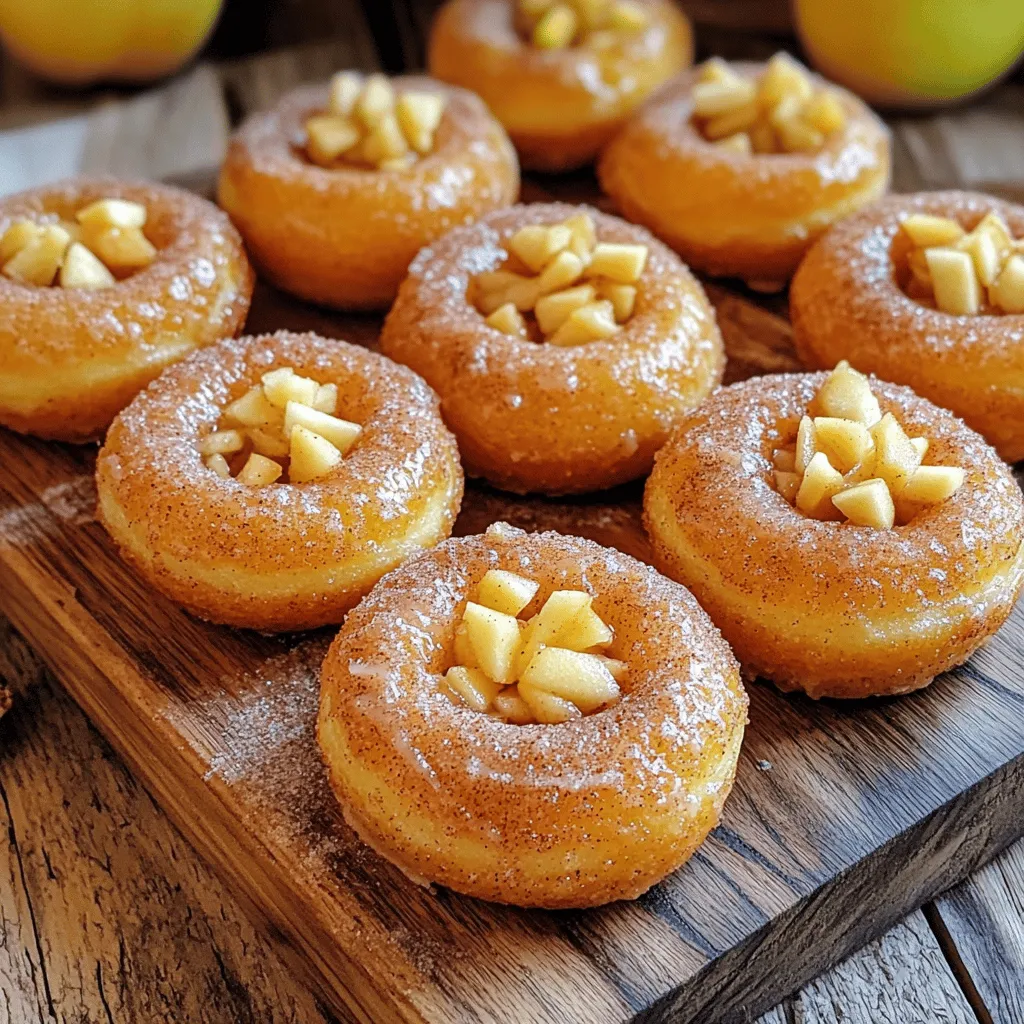
![- 1 cup all-purpose flour - 2 tablespoons sugar - 2 teaspoons baking powder - 1/2 teaspoon salt - 1 cup milk - 1 large egg - 2 tablespoons unsalted butter, melted - 1 teaspoon vanilla extract - 1/2 teaspoon ground cinnamon - Maple syrup for drizzling - Optional: Chopped nuts or chocolate chips Each ingredient plays a role in the flavor and texture of your poppers. All-purpose flour gives the right structure. Sugar adds sweetness. Baking powder makes them rise and be fluffy. Salt enhances the overall taste. Milk adds moisture and richness. The egg binds everything together and adds protein. Butter provides a lovely flavor. Vanilla extract adds warmth, and ground cinnamon brings a hint of spice. Fresh ingredients make your poppers taste better and ensure they rise perfectly. If you need gluten-free options, use gluten-free flour blends. For a dairy-free version, swap milk with almond or oat milk. You can also try honey or maple syrup as sweetener alternatives. These changes keep your pancake poppers tasty and fun for everyone! For the full recipe, check the recipe section above. Mixing dry ingredients: Start by taking a large mixing bowl. Add 1 cup of all-purpose flour, 2 tablespoons of sugar, 2 teaspoons of baking powder, 1/2 teaspoon of salt, and 1/2 teaspoon of ground cinnamon. Whisk these dry ingredients together until they blend well. This step is key for even flavor. Combining wet ingredients: In another bowl, whisk together 1 cup of milk, 1 large egg, 2 tablespoons of melted unsalted butter, and 1 teaspoon of vanilla extract. Mix until the ingredients are fully combined. Pour this mixture into the dry ingredients. Stir gently until it's just mixed. Remember, it is okay to leave a few lumps! Preheating the oven: Preheat your oven to 350°F (175°C). If you are using a non-stick mini muffin pan or a doughnut hole pan, place it in the oven to get hot. This helps the poppers to rise nicely. Filling the molds and baking time: Once the pan is hot, take it out and lightly grease it with cooking spray or brush it with oil. Fill each mold about 2/3 full with the pancake batter. Bake in the preheated oven for 10-12 minutes. They should turn golden and a toothpick should come out clean when inserted. Cooling and drizzling with maple syrup: After baking, allow the pancake poppers to cool slightly. This makes them easier to remove from the pan without breaking. Once cooled, drizzle warm maple syrup over them for a sweet touch. Presentation tips for serving: Arrange the pancake poppers on a platter. You can place small dishes of maple syrup for dipping. To make them look even more special, sprinkle powdered sugar on top before serving. This simple touch makes them a hit at any gathering. To make the best maple pancake poppers, avoid over-mixing the batter. When you mix the wet and dry ingredients, stir gently. A few lumps are fine. Over-mixing can make the poppers tough, not fluffy. Ensuring even baking is key. Preheat your oven to 350°F (175°C) before putting the pan inside. This helps the poppers rise nicely. Use a mini muffin or doughnut hole pan for best results. Lightly grease the molds to prevent sticking. One common mistake is measuring ingredients incorrectly. Always use proper measuring cups for dry and liquid ingredients. Too much flour can make the poppers dry. Another mistake is failing to preheat the pan. A cold pan will lead to uneven baking. Always remember to preheat your pan. This step is crucial for getting that golden brown color. To boost flavor and texture, consider adding mix-ins like nuts or chocolate chips. Chopped walnuts or pecans add a nice crunch. Chocolate chips bring sweetness and fun. You can also flavor the batter. A bit of orange zest or a dash of almond extract brings a new twist. Experiment with different spices, like nutmeg, for added warmth. Each change can make your poppers exciting and delicious. For the full recipe, check the recipe card. {{image_2}} You can easily change the flavor of your maple pancake poppers. Try banana pancake poppers. Just mash one ripe banana and mix it into the wet ingredients. This will give your poppers a sweet banana taste. Another great option is blueberry pancake poppers. Add one cup of fresh or frozen blueberries to the batter before baking. The burst of flavor from the blueberries makes every bite special. You can also make seasonal adaptations. In fall, try pumpkin spice poppers. Just add half a cup of pumpkin puree and one teaspoon of pumpkin spice to the batter. This will give your poppers a warm, cozy flavor. For the holidays, consider peppermint pancake poppers. Add a teaspoon of peppermint extract to the batter. You can also sprinkle crushed candy canes on top for a festive touch. If you need dietary variations, I have some ideas. Make vegan-friendly maple pancake poppers by using plant-based milk and replacing the egg with a flaxseed egg. Just mix one tablespoon of ground flaxseed with three tablespoons of water and let it sit for five minutes. For a protein-packed option, you can add protein powder to the batter. Replace a quarter cup of flour with protein powder. This boosts the nutrition without changing the taste. Explore these variations to make your maple pancake poppers unique! You can find the full recipe [here]. To keep your pancake poppers fresh, store them in an airtight container. Place a piece of parchment paper between layers to avoid sticking. These poppers last about 3 to 5 days in the fridge. To freeze pancake poppers, let them cool completely. Then, place them in a single layer on a baking sheet. Once frozen, transfer them to a freezer bag. They keep well for up to 3 months. For best reheating, use an oven set at 350°F (175°C). Place the poppers on a baking sheet and heat for about 10 minutes. This method keeps them warm and fluffy. You can also microwave them for about 20-30 seconds, but they might not stay as crisp. Got leftover batter? You can make waffles or pancakes with it! Just adjust the cooking time. If you have extra ingredients, consider making a small batch of muffins or adding them to smoothies. This way, you enjoy every part of your cooking adventure! Can I make pancake poppers in advance? Yes, you can make these poppers ahead of time. Bake them, let them cool, and store them in an airtight container. They stay fresh for up to three days in the fridge. Just reheat them in the oven or microwave before serving. What can I serve with maple pancake poppers? Maple pancake poppers pair well with many tasty options. Serve them with fresh fruit like strawberries or blueberries. You can also offer whipped cream, yogurt, or a dollop of nut butter for extra flavor. Drizzle more maple syrup on top for a sweet touch. Why are my pancake poppers not rising? If your poppers don’t rise, it’s likely due to old baking powder. Always check the expiration date. Also, make sure to mix the batter without overdoing it. Over-mixing can lead to dense poppers. How can I make pancake poppers more fluffy? To boost fluffiness, separate the egg yolk and white. Whip the egg white to stiff peaks, then fold it into the batter gently. This adds air and makes them lighter. Can I use whole wheat flour instead of all-purpose flour? Absolutely! Whole wheat flour adds more fiber and nutrients. You may need to adjust the liquid slightly. Start with a bit less milk and add more if the batter is too thick. How to adjust the recipe for larger or smaller batches? To change batch size, simply scale the ingredients. For half the recipe, use half the amounts. For double, just double everything. Use a measuring cup for accuracy to keep the taste just right. This blog post shared how to make delicious maple pancake poppers. You learned about the key ingredients, their benefits, and substitutes. I provided step-by-step instructions for easy preparation and baking. Helpful tips will keep your poppers perfect, while tasty variations let you get creative. Store leftovers well and reduce waste with smart ideas. Now, you can enjoy tasty treats any time! Happy cooking and enjoy your pancake poppers!](https://toastedrecipes.com/wp-content/uploads/2025/07/b0e3dc8c-d5fc-4097-83d1-fc0aaebd7697.webp)
Get ready to enjoy a fun twist on breakfast with my Maple Pancake Poppers! Perfect for any occasion, these bite-sized treats combine the classic flavors of pancakes with a delightful …
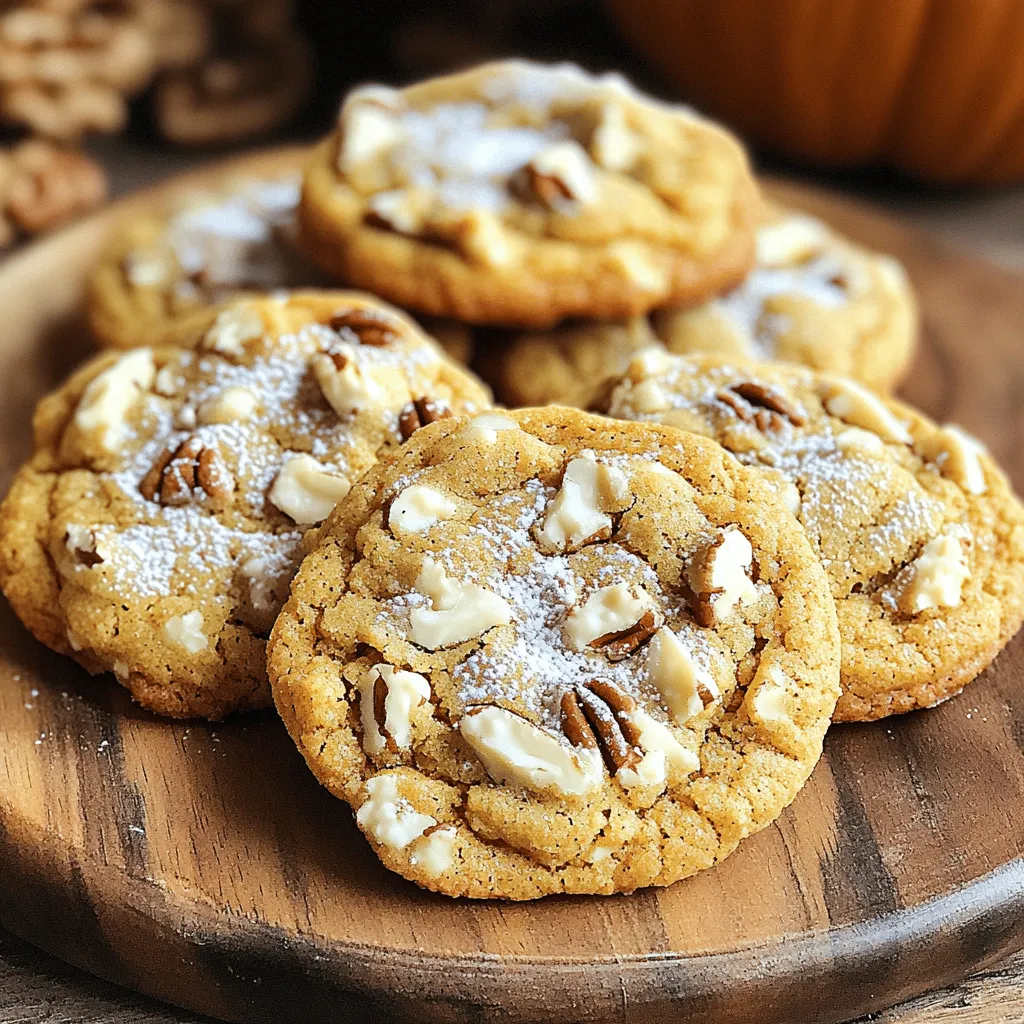
If you love fall flavors, you’ll adore this pumpkin cookie recipe. It’s savory and super easy to make, perfect for all skill levels. You can impress your friends or enjoy …
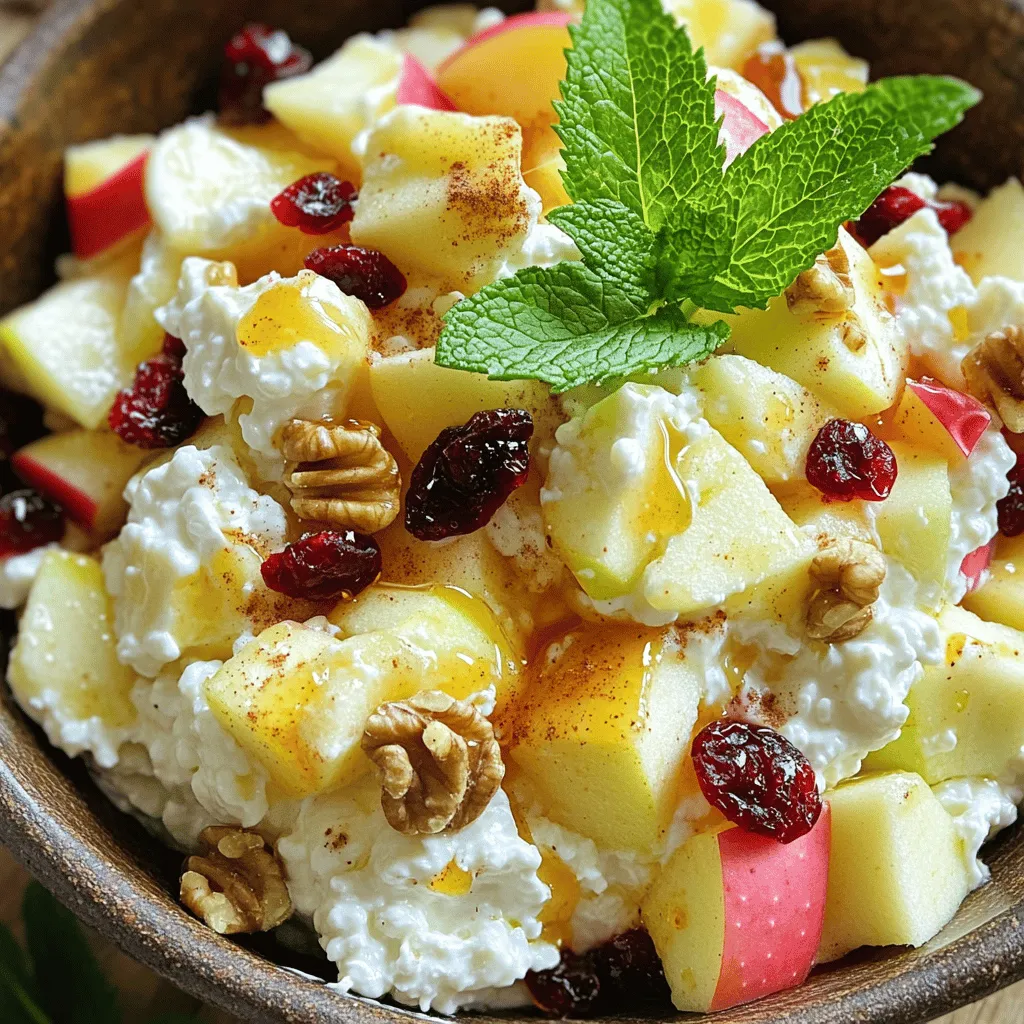
Are you ready for a fresh twist on your salad routine? My Cottage Cheese and Apple Salad offers a simple, delicious way to combine protein and crisp apples. This easy …
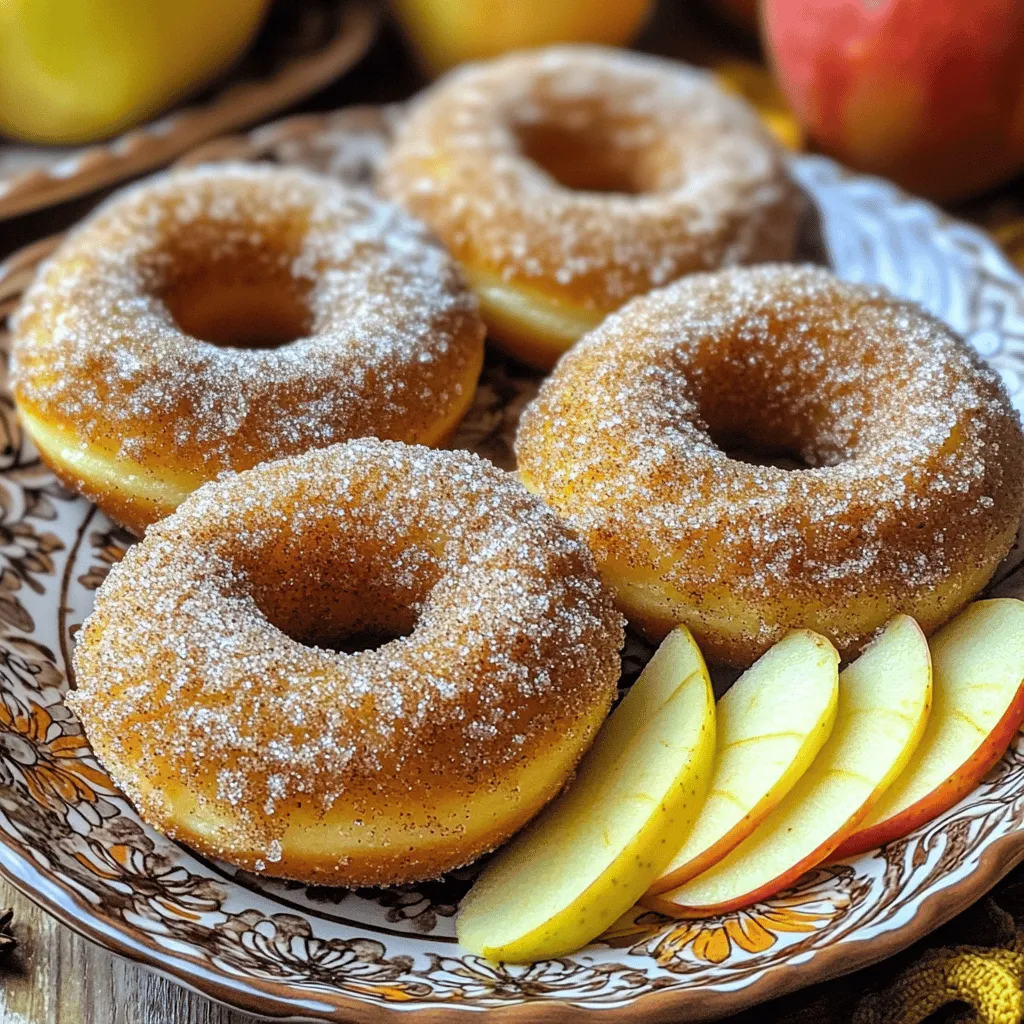
Fall is here, and that means it’s time for apple cider donuts! These soft, sweet treats are a true taste of autumn. In this post, I’ll share my easy recipe …
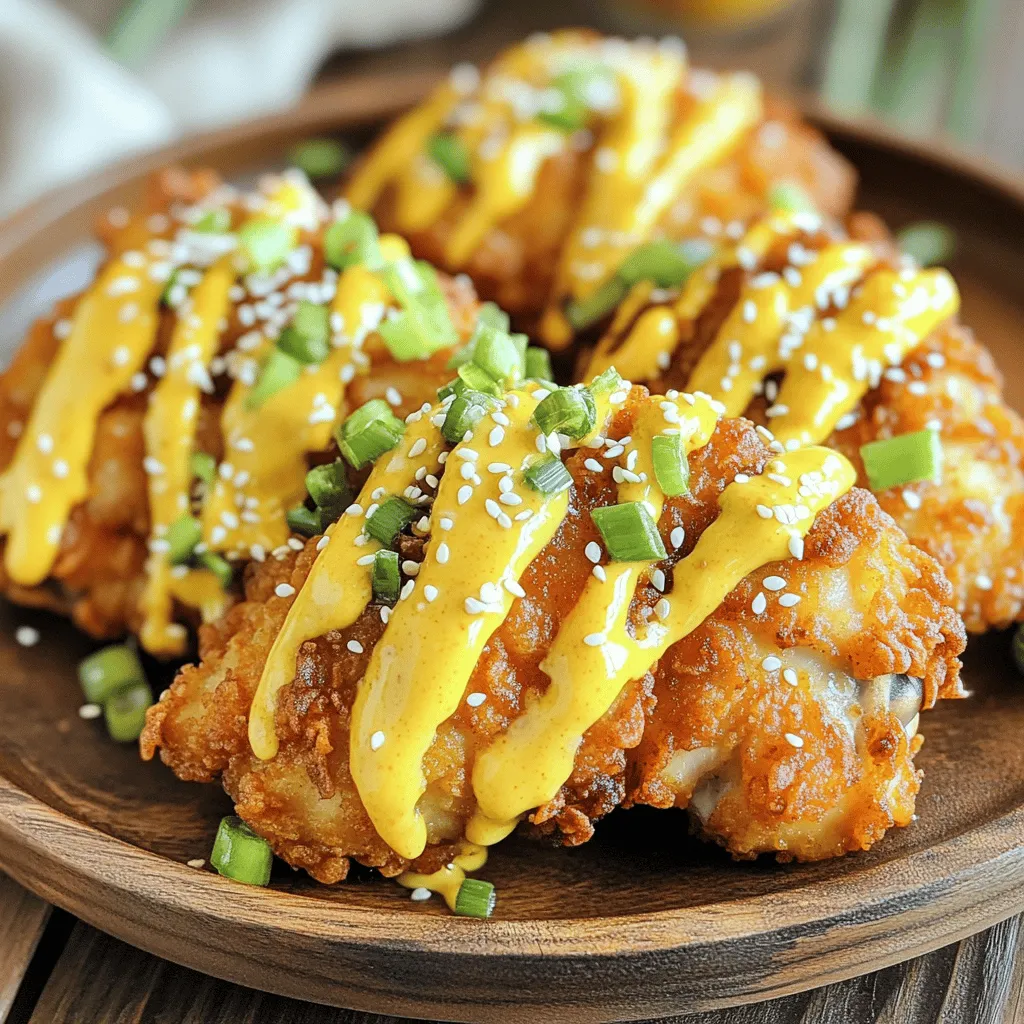
Get ready to savor Air Fryer Bang Bang Chicken—a dish that’s crisp, spicy, and full of flavor! In this guide, I’ll share every detail to help you create this mouthwatering …
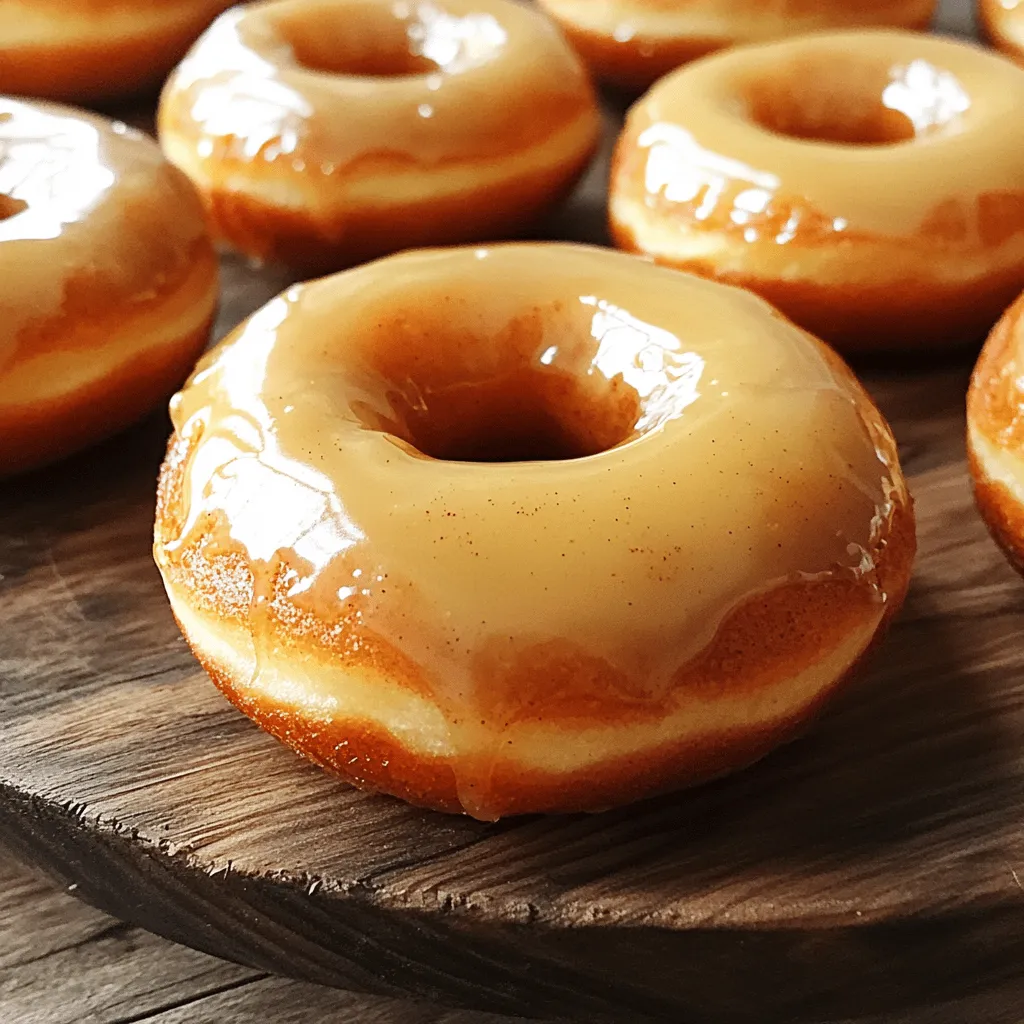
If you love sweet treats, you’re in for a treat! Homemade maple glazed donuts are a delightful way to satisfy your cravings. In this guide, I’ll show you how to …
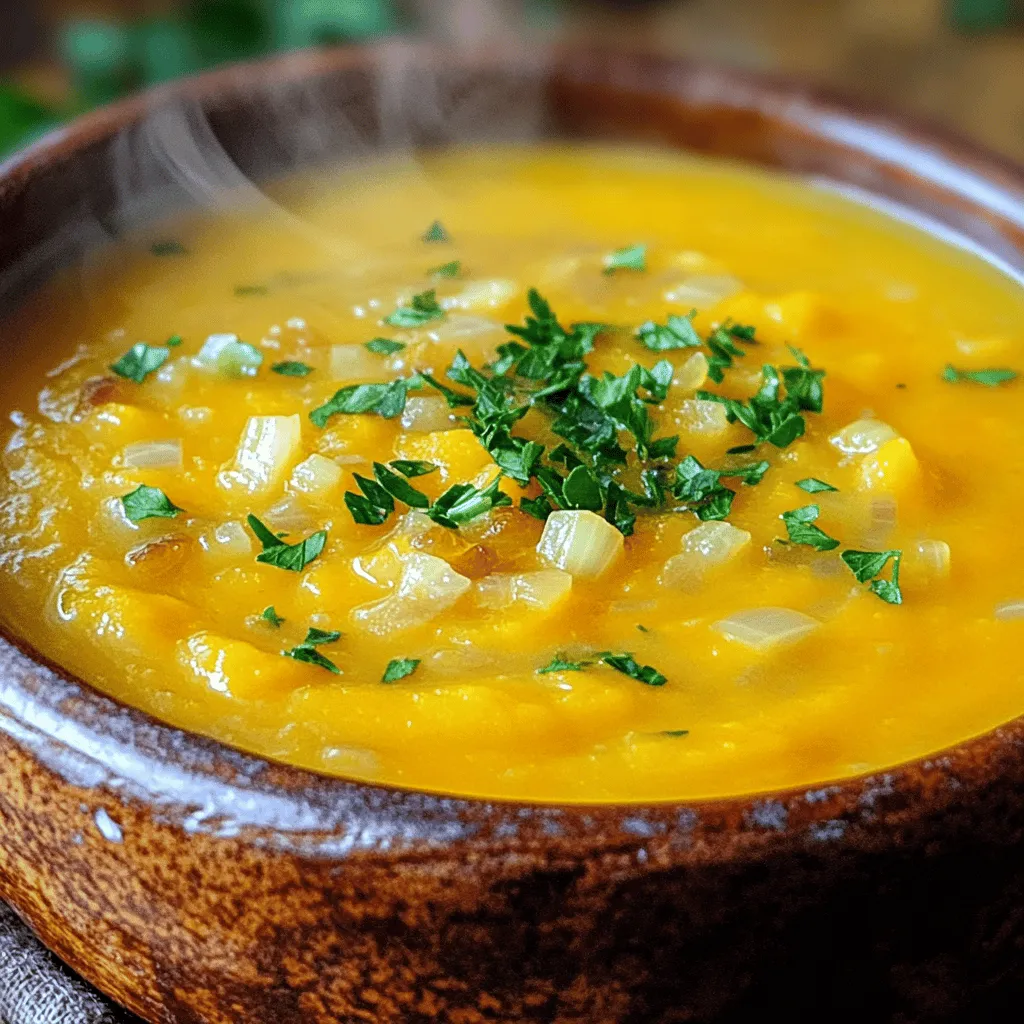
Looking for a warm and tasty dish? You’re in the right place! Butternut squash soup is creamy, delicious, and super simple to make. I’ll guide you through each step and …