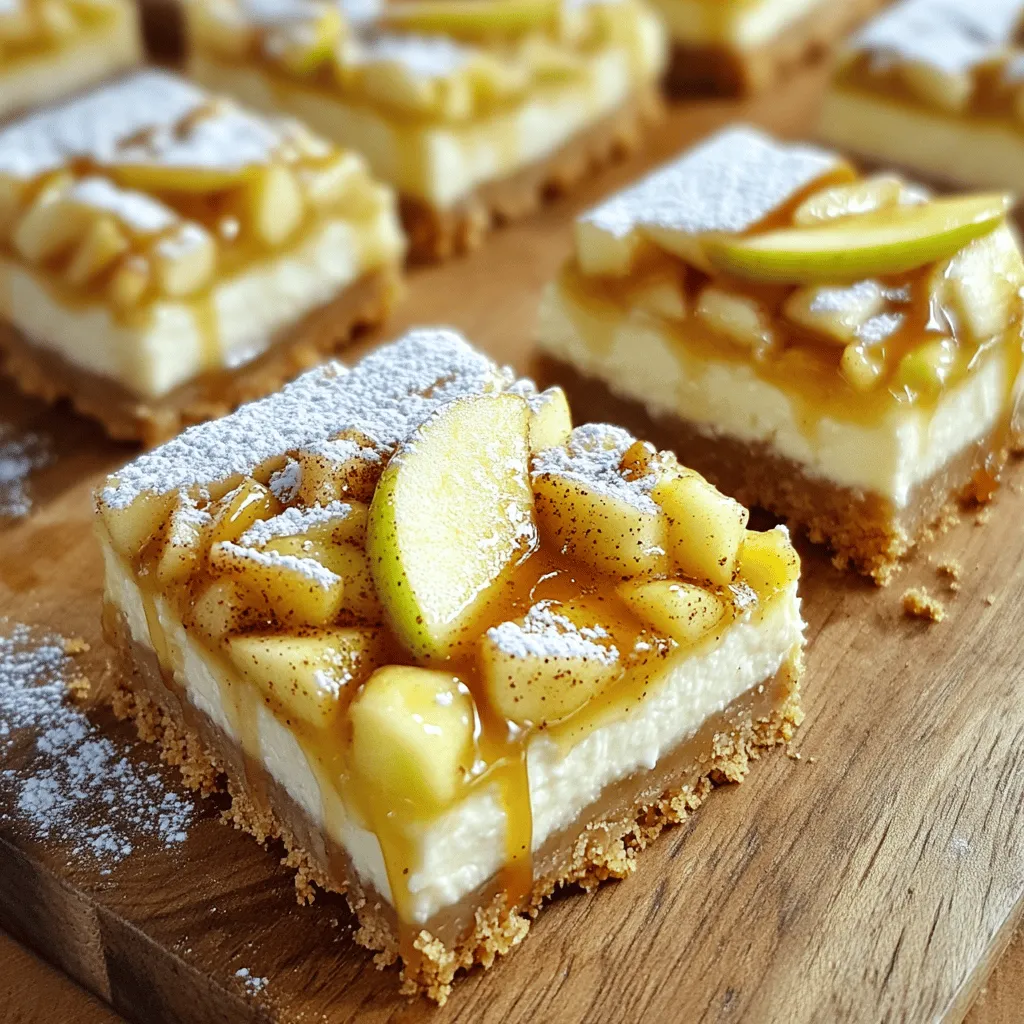
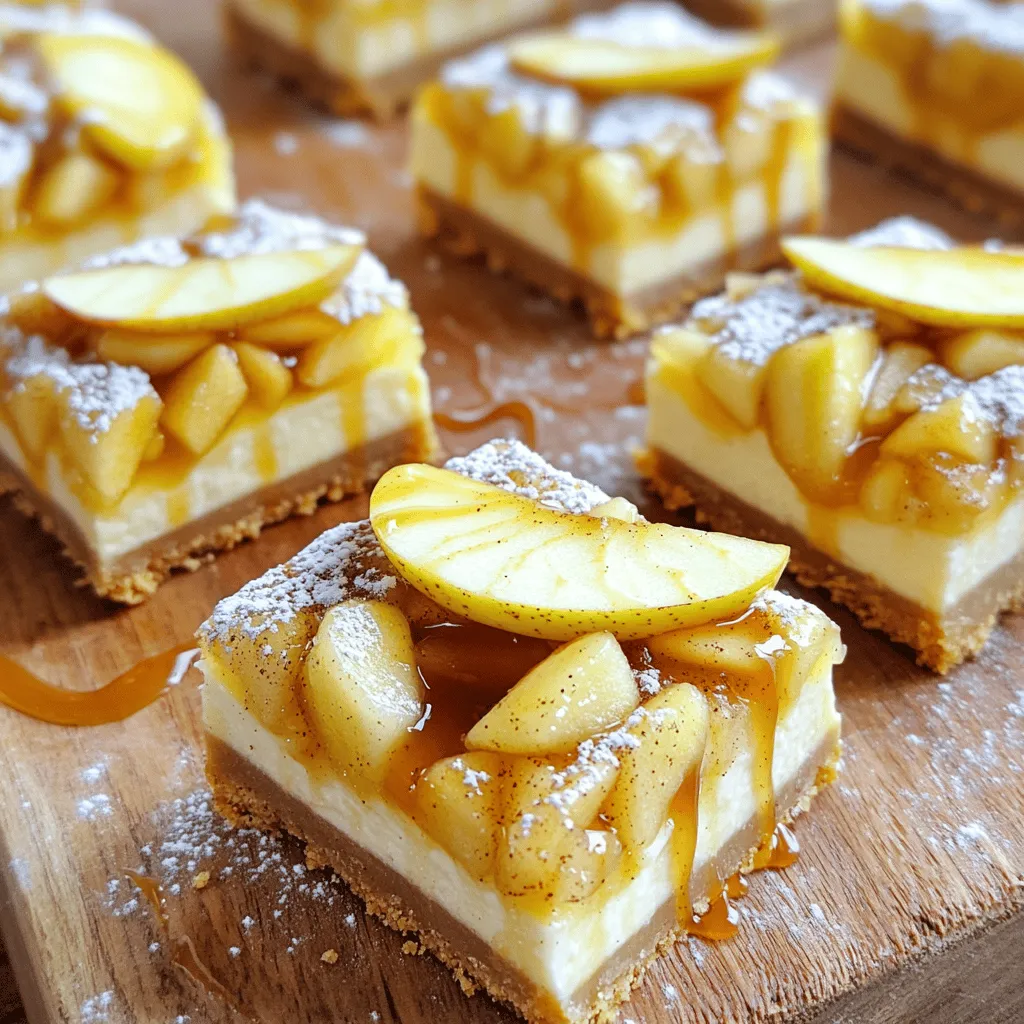
Looking for a simple yet tasty treat? You’ve found it with these Apple Pie Cheesecake Bars! Combining creamy cheesecake with sweet, spiced apple filling, these bars will delight everyone. Plus, they’re easy to make! Whether you’re a novice in the kitchen or a seasoned baker, I’ll guide you through each step. Grab your ingredients, and let’s create a dessert that will impress!
Ingredients
Complete List of Ingredients
To make these tasty apple pie cheesecake bars, you’ll need:
– 1 cup graham cracker crumbs
– 1/2 cup unsalted butter, melted
– 1/4 cup sugar
– 2 (8 oz) packages cream cheese, softened
– 1 cup sugar
– 2 large eggs
– 1 teaspoon vanilla extract
– 2 cups apples, peeled and diced (preferably Granny Smith)
– 1 teaspoon cinnamon
– 1/4 teaspoon nutmeg
– 1 tablespoon lemon juice
– 1/4 cup brown sugar
These ingredients blend together to create a rich and creamy dessert with a crunchy crust.
Optional Ingredients for Customization
You can add fun twists to your bars with these options:
– Chopped nuts like walnuts or pecans for added crunch
– A splash of caramel sauce swirled in for extra sweetness
– A sprinkle of sea salt on top to enhance flavors
– Different spices like ginger or allspice for a unique taste
Feel free to experiment based on your taste!
Nutritional Information per Serving
Each bar offers a balance of flavors and nutrients. Here’s a quick look:
– Calories: 220
– Total Fat: 12g
– Saturated Fat: 7g
– Cholesterol: 70mg
– Sodium: 150mg
– Total Carbohydrates: 25g
– Dietary Fiber: 1g
– Sugars: 15g
– Protein: 3g
This information helps you enjoy your dessert while keeping track of your diet. For the full recipe, check the complete guide to make your own delicious apple pie cheesecake bars!
Step-by-Step Instructions
Prepping Your Baking Dish
Start by preheating your oven to 350°F (175°C). Take an 8×8 inch baking dish and line it with parchment paper. Leave some paper hanging over the edges to help lift the bars out later.
Making the Graham Cracker Crust
In a medium bowl, mix together 1 cup of graham cracker crumbs, 1/2 cup of melted unsalted butter, and 1/4 cup of sugar. Stir until everything blends well. Press this mix firmly into the bottom of your baking dish. This forms a nice, sturdy crust.
Preparing the Cheesecake Mixture
In a large bowl, beat 2 packages (8 oz each) of softened cream cheese with 1 cup of sugar. Mix until smooth and creamy. Add 2 large eggs one at a time, mixing well after each. Finally, stir in 1 teaspoon of vanilla extract to add flavor.
Layering the Ingredients
Now, toss 2 cups of peeled and diced apples with 1 teaspoon of cinnamon, 1/4 teaspoon of nutmeg, 1 tablespoon of lemon juice, and 1/4 cup of brown sugar in a separate bowl. Make sure the apples get fully coated. Pour half of the cheesecake mixture over the cooled crust. Spread the spiced apples on top. Then, pour the rest of the cheesecake mixture over the apples.
Baking Instructions
Bake the layered bars for 35-40 minutes. The center should be set but still have a slight jiggle. Once done, take them out and let them cool at room temperature. Refrigerate for at least 4 hours, or overnight if you can wait. When ready, lift the bars out using the parchment paper. Cut into squares and enjoy your delicious creation! For the full recipe, check the details above!
Tips & Tricks
Common Mistakes to Avoid
Making apple pie cheesecake bars can be simple, but mistakes happen. Here are some common ones to watch for:
– Not cooling the crust: If you skip cooling the crust, the cheesecake may not set well.
– Overmixing the cream cheese: Mixing too much can add air and cause cracks.
– Using unpeeled apples: Always peel your apples for a smoother texture.
– Skipping the chilling time: This step is key for the best flavor and texture.
Baking Tips for Perfectly Set Bars
To get the best results, follow these baking tips:
– Preheat your oven fully: This ensures even baking from the start.
– Use a water bath: Place your baking dish in a larger pan with water. This helps the cheesecake cook evenly.
– Check for jiggle: The center should jiggle slightly when you take it out. It will firm up as it cools.
– Avoid opening the oven door: This can cause temperature drops and lead to uneven baking.
Serving Suggestions and Presentation Ideas
How you serve your bars can make a big difference. Here are some fun ideas:
– Dust with powdered sugar: This adds a nice touch and looks pretty.
– Garnish with apple slices: A fresh apple slice on top gives a lovely look.
– Drizzle caramel sauce: This adds sweetness and richness to each bite.
– Serve with whipped cream: A dollop of whipped cream makes it feel extra special.
For the complete recipe, check out the Full Recipe link to get all the details!
Variations
Flavor Variations: Pumpkin or Caramel Apple
You can switch up the flavor of these bars easily. Try using pumpkin for a fall twist. Simply add 1 cup of pumpkin puree to the cheesecake mix. This gives it a warm, spiced taste. For a caramel apple flavor, mix in some caramel sauce with the apples. It adds a sweet and rich layer to the bars. You can also drizzle more caramel on top before serving for extra sweetness.
Gluten-Free Options
Making these bars gluten-free is simple. Replace graham cracker crumbs with gluten-free crumbs. Almond flour or gluten-free cookies work well. Use gluten-free oats for a different crust. Check the labels on sugar and other ingredients to ensure they are gluten-free. This way, everyone can enjoy the treat without worry.
Vegan Alternatives for Ingredients
If you want to make these bars vegan, I have some easy swaps. Use vegan cream cheese instead of regular cream cheese. Replace the eggs with flax eggs; mix 1 tablespoon of ground flaxseed with 3 tablespoons of water, then let it sit. For the butter, use coconut oil or a vegan butter substitute. These swaps keep the taste rich and creamy while being plant-based. Enjoy your delicious vegan apple pie cheesecake bars!
Storage Info
How to Store Leftovers
You can keep your apple pie cheesecake bars in an airtight container. Make sure to let them cool completely before covering. Store them in the fridge for up to five days. This helps keep the bars fresh and tasty. If you need to stack them, place parchment paper between layers. This prevents sticking and keeps the texture nice.
Freezing Instructions
If you want to save some for later, freezing is a great option. First, cut the bars into squares. Wrap each square tightly in plastic wrap. Then, place them in a freezer-safe bag or container. They can stay frozen for up to three months. When you’re ready to eat, just thaw them in the fridge overnight.
Reheating Tips for the Best Texture
To enjoy your bars warm, reheat them gently. Place a square in the microwave for about 10-15 seconds. Check to make sure it’s warm, not hot. This keeps the cheesecake creamy and the crust from getting too soft. Enjoy them fresh, just like when you first made them. For a special touch, add a drizzle of caramel sauce before serving!
FAQs
Can I use different types of apples?
Yes, you can use different types of apples. Granny Smith apples work best due to their tartness. However, you can try Honeycrisp or Fuji apples for a sweeter touch. Each type will change the taste a bit. Mix and match apples for fun flavors.
How long can I keep the apple pie cheesecake bars?
You can keep these bars in the fridge for up to five days. Make sure they are covered tightly. If you want to keep them longer, consider freezing them. They can last in the freezer for about three months.
Can I make these bars ahead of time?
Absolutely! These bars are perfect for making ahead. You can bake them a day or two in advance. Just store them in the fridge until you are ready to serve. Chilling them will help the flavors blend.
What should I do if the cheesecake doesn’t set properly?
If your cheesecake doesn’t set, it may need more time in the oven. Check if the center is jiggly but not liquid. If it is too soft, return it to the oven for five to ten more minutes. Cooling it in the fridge overnight can also help firm it up.
This post covered all you need for apple pie cheesecake bars. We looked at key ingredients and how to mix them well. I shared step-by-step tips for a smooth bake and tasty results. You learned about fun variations and how to store leftovers.
Try these bars for a sweet treat. With simple steps, you can impress your friends and family. Enjoy making and sharing this dessert!
