Get ready to elevate your snack game with my bold and creamy Hatch Chile Queso! This dip is rich, cheesy, and packed with the smoky flavors of roasted hatch chiles. Whether you serve it at a party or as a cozy treat for yourself, this recipe will impress everyone. Follow my easy steps to create a dip that’s perfect with tortilla chips. Let’s dive into this delicious craft together!
Ingredients
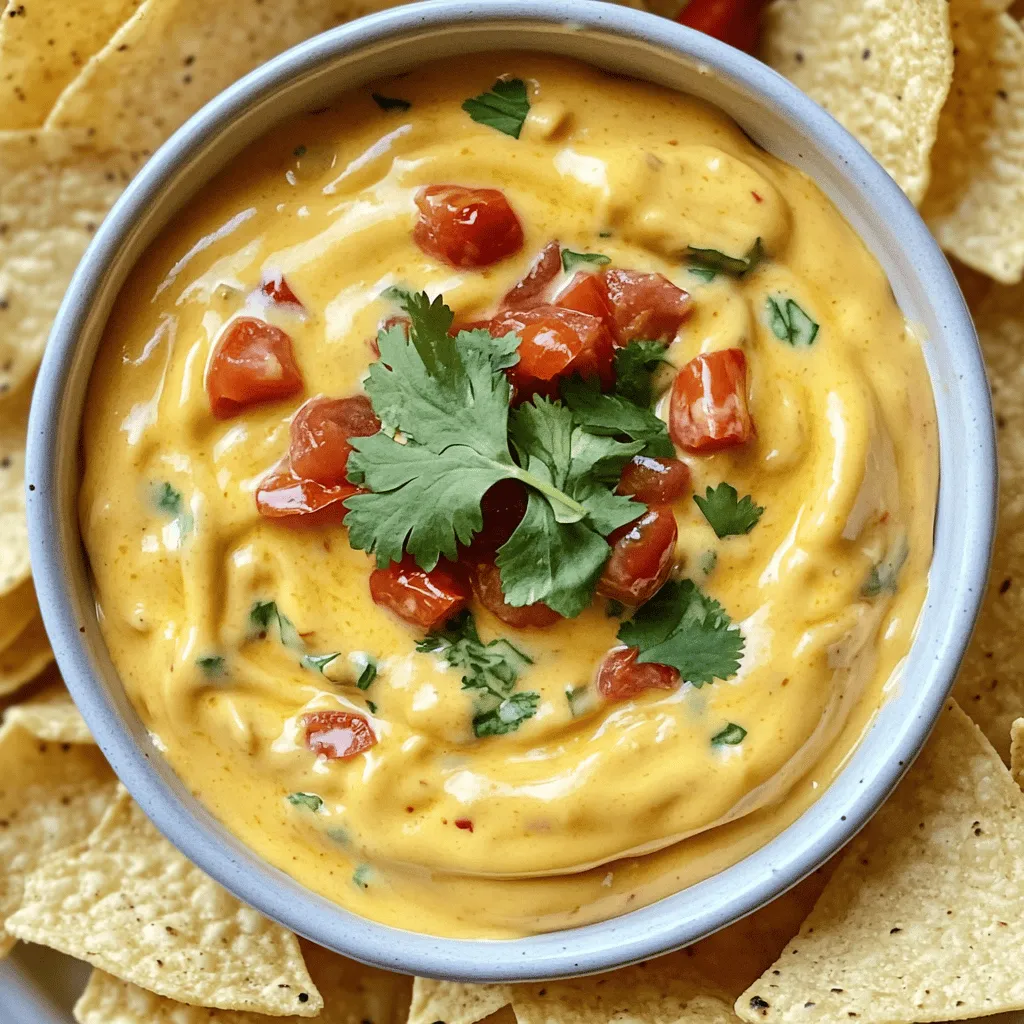
To make the bold and creamy Hatch Chile Queso, you will need a few key ingredients. Here’s the list:
– 2 cups shredded sharp cheddar cheese
– 1 cup cream cheese, softened
– 1 cup heavy cream
– 1 cup roasted hatch chiles, chopped
– 1/2 cup diced tomatoes
– 1/4 cup onion, finely chopped
– 2 cloves garlic, minced
– 1 teaspoon ground cumin
– 1/2 teaspoon smoked paprika
– Salt and pepper to taste
– Fresh cilantro for garnish
– Tortilla chips for serving
Each ingredient plays a big role in the final taste. The sharp cheddar adds a rich flavor, while the cream cheese makes it super creamy. The roasted hatch chiles give it a unique kick that you will love. If you want to learn more about how these flavors blend, check out the Full Recipe. It will guide you through the magic of making this dip!
Step-by-Step Instructions
Preparation Process
– Start by heating a medium saucepan over medium heat.
– Add 1/4 cup of finely chopped onion and 2 cloves of minced garlic. Sauté for about 3-4 minutes until the onions turn soft and smell great.
– Next, add 1/2 cup of diced tomatoes and 1 cup of chopped hatch chiles to the pan. Stir everything well and cook for another 2-3 minutes.
– Now, reduce the heat to low and mix in 1 cup of softened cream cheese. Stir until it melts and blends into the mix.
Finishing the Queso
– Gradually pour in 1 cup of heavy cream while stirring constantly. Keep mixing until the sauce is smooth and creamy.
– Add in 2 cups of shredded sharp cheddar cheese. Also, mix in 1 teaspoon of ground cumin and 1/2 teaspoon of smoked paprika.
– Season the mixture with salt and pepper to taste. Keep stirring until the cheese fully melts and the queso is creamy.
– Once done, remove it from heat and let it cool a bit before serving.
You can find the full recipe with more details on preparation and serving. Enjoy your delicious Hatch Chile Queso!
Tips & Tricks
Perfecting the Texture
To avoid clumps in your queso, stir the cheese slowly and gently. This helps it melt evenly. Always keep the heat low when adding cheese. High heat can cause clumping. Also, make sure your cream cheese is soft. It blends better when it’s at room temperature.
To maintain creaminess, add the heavy cream slowly. Mix it in bit by bit. This helps the cheese melt smoothly without getting gritty. If your queso seems too thick, add a splash more cream until it’s just right.
Serving Suggestions
For the best accompaniments, serve your queso with crispy tortilla chips. They add a nice crunch. You can also pair it with fresh veggies like carrots and celery. Sliced jalapeños can kick it up a notch if you like heat.
Presentation is key! Serve the queso in a warm bowl. Surround it with tortilla chips for a colorful display. You can sprinkle extra cheese or chopped cilantro on top. This adds a nice touch and makes it look even more inviting. Enjoy your creamy Hatch Chile Queso!

Variations
Ingredient Substitutions
You can switch up the cheese in this recipe. Try Monterey Jack for a milder flavor. If you want a bolder taste, use pepper jack cheese. You can even mix cheeses for a unique twist.
For veggies, feel free to add bell peppers or corn. These choices bring more color and flavor. For a heartier dip, include black beans or cooked chorizo. They add texture and taste.
Spice it Up
To make your queso a bit spicier, add sliced jalapeños. You can mix them in or use them as a topping. Fresh jalapeños give a nice crunch and heat.
Adjust the spice level by adding more or less hatch chiles. If you want it milder, remove the seeds. If you like it hot, keep the seeds in. This way, you control the heat just how you like it!
Storage Info
Proper Storage Methods
To keep your Hatch Chile Queso fresh, store it properly. First, let it cool completely. Then, transfer it to an airtight container. Place it in the fridge for up to five days. If you want to keep it longer, freeze it. Just pour the cooled queso into a freezer-safe container. Leave some space at the top for expansion. You can freeze it for up to three months.
Reheating Techniques
When it’s time to enjoy your queso again, reheating is key. To restore creaminess, add a splash of milk or cream. This helps it regain its smooth texture. Use low heat on the stove or microwave. Stir it often to prevent burning. For the stove, heat in a saucepan on low. Stir until it’s warm. If using a microwave, heat in short bursts, stirring in between. This keeps it creamy and delicious.
FAQs
What are Hatch chiles?
Hatch chiles are a special type of green chile. They come from Hatch, New Mexico. They have a unique flavor that is both sweet and spicy. You can taste roasted notes, too.
You can find Hatch chiles in many grocery stores, especially in late summer. Look for them in the produce section. If you can’t find fresh ones, canned Hatch chiles work well, too.
Can I make queso ahead of time?
Yes, you can make queso ahead of time. Just prepare the queso and let it cool. Store it in an airtight container in the fridge. It stays good for about three days.
When you want to eat it, just reheat it on the stove. Stir it often so it doesn’t stick.
How do I make Hatch Chile Queso spicy?
To make your queso spicier, add more Hatch chiles. You can also mix in diced jalapeños or hot sauce. Start with a small amount and taste as you go.
Be careful not to add too much heat at once. You can always add more if needed.
Full Recipe for Reference
For the complete steps and ingredient list, check out the Full Recipe. You will find all you need to make this tasty dip.
This blog post covered making delicious Hatch Chile Queso. We explored key ingredients, from creamy cheeses to flavorful chiles. I shared simple steps for a perfect blend and tips to avoid clumps. You can customize the dish with different cheeses or spices. Remember, storing and reheating properly keeps it creamy and tasty. Enjoy this cheesy dip at your next gathering, knowing you have the skills to impress!
