TOASTED RECIPES
Where ideas are warm, crisp, and ready to serve! 🍞
BEST CATEGORIES
TRENDING
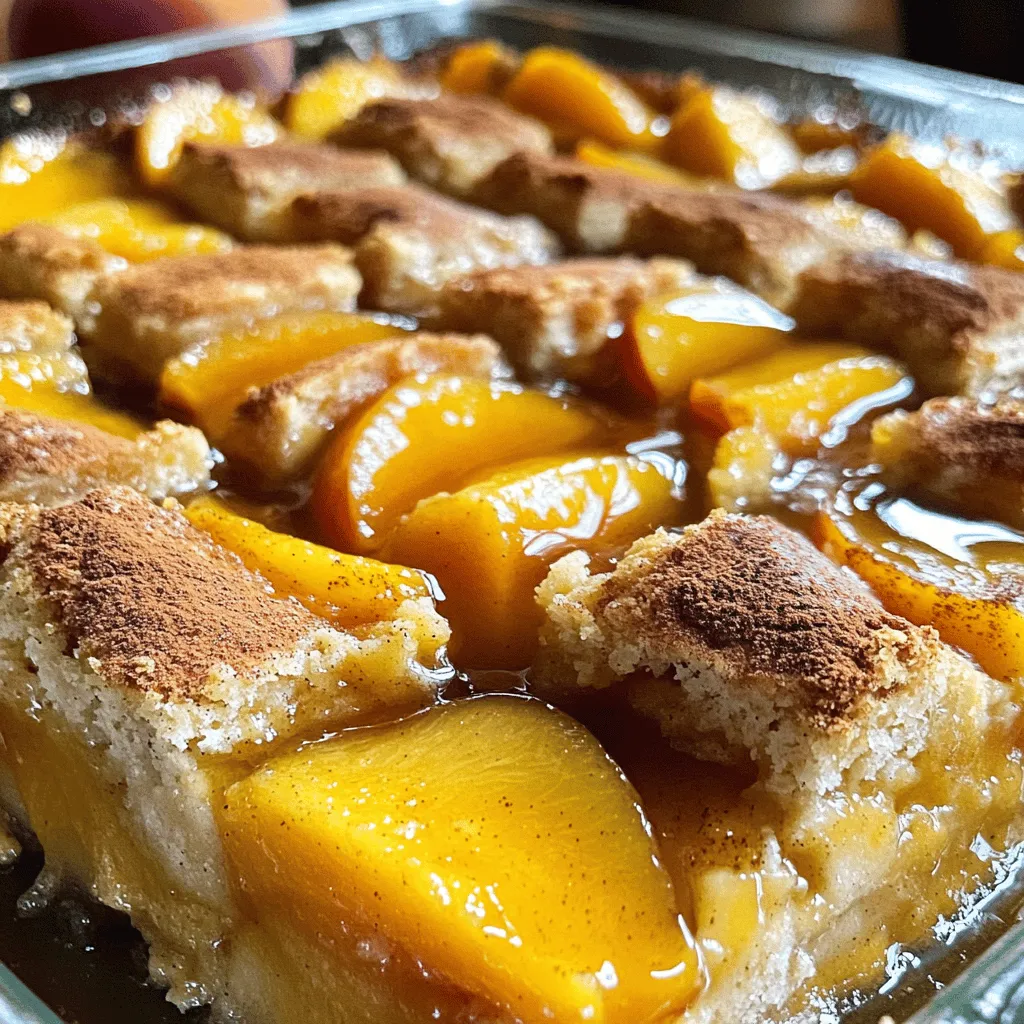
. {{image_2}} You can change up the fruit in your buckle. Try raspberries, strawberries, or blackberries. Each fruit brings its own flavor. Use whatever is fresh and in season. This keeps your buckle exciting and new. You can also mix different berries for a fun twist. To make a gluten-free version, swap the all-purpose flour. Use a gluten-free flour blend instead. Make sure it has a good mix of starches. This will help your buckle hold together well. The taste will still be yummy, and you won’t miss the gluten. For a vegan twist, replace the eggs and butter. Use flax eggs made from ground flaxseed and water. Swap the regular milk for almond or oat milk. This makes the buckle plant-based. It still tastes great, and everyone can enjoy it. For the full recipe, check out the Blueberry Buckle Bliss section. After you enjoy your Blueberry Buckle, store leftovers in an airtight container. This keeps the moisture in and the buckle fresh. Place it at room temperature for one day. If you need to keep it longer, move it to the fridge. It will stay good for up to five days in the fridge. To reheat, slice a piece and place it on a plate. Microwave it for 20 to 30 seconds. This warms it without drying it out. If you prefer, you can also use the oven. Preheat the oven to 350°F (175°C). Wrap the buckle in foil and heat for about 10 minutes. This helps keep the topping nice and crisp. For longer storage, you can freeze Blueberry Buckle. First, let it cool completely. Then, wrap it in plastic wrap and foil. This will protect it from freezer burn. Place it in a freezer bag or container. It can last up to three months in the freezer. When you want to eat it, thaw it in the fridge overnight before reheating. This way, it tastes fresh and delicious. Blueberry Buckle comes from New England. This treat dates back to the 19th century. It mixes cake and fruit in a unique way. The name "buckle" comes from the way the cake rises and "buckles" around the blueberries. Many families have their own recipes, often passed down through generations. To boost flavor, try adding lemon zest. This brightens the blueberries and adds freshness. You can also mix in different spices, like nutmeg or cardamom. For a twist, add a splash of orange juice. Using ripe, sweet blueberries will enhance the taste too. You can even swirl in some jam for added sweetness. Yes, you can make Blueberry Buckle ahead of time. Bake it and let it cool completely. Then, wrap it tightly in plastic wrap or foil. Store it in the fridge for up to three days. You can also freeze it for up to three months. Just remember to thaw it in the fridge before serving. For the best taste, reheat it gently in the oven. Enjoy it fresh like the first day! Blueberry buckle is a delicious treat with many options. We discussed its main and optional ingredients, plus substitutions for dietary needs. I shared step-by-step instructions to guide you through baking. With tips for mixing, choosing blueberries, and baking, you can create the best texture. Explore variations like gluten-free and vegan options. Lastly, storing and reheating methods keep your buckle fresh longer. Enjoy this delightful dessert and make it your own!](https://toastedrecipes.com/wp-content/uploads/2025/05/855f8887-2fd1-43c8-a6ba-7956bcd36028.webp)
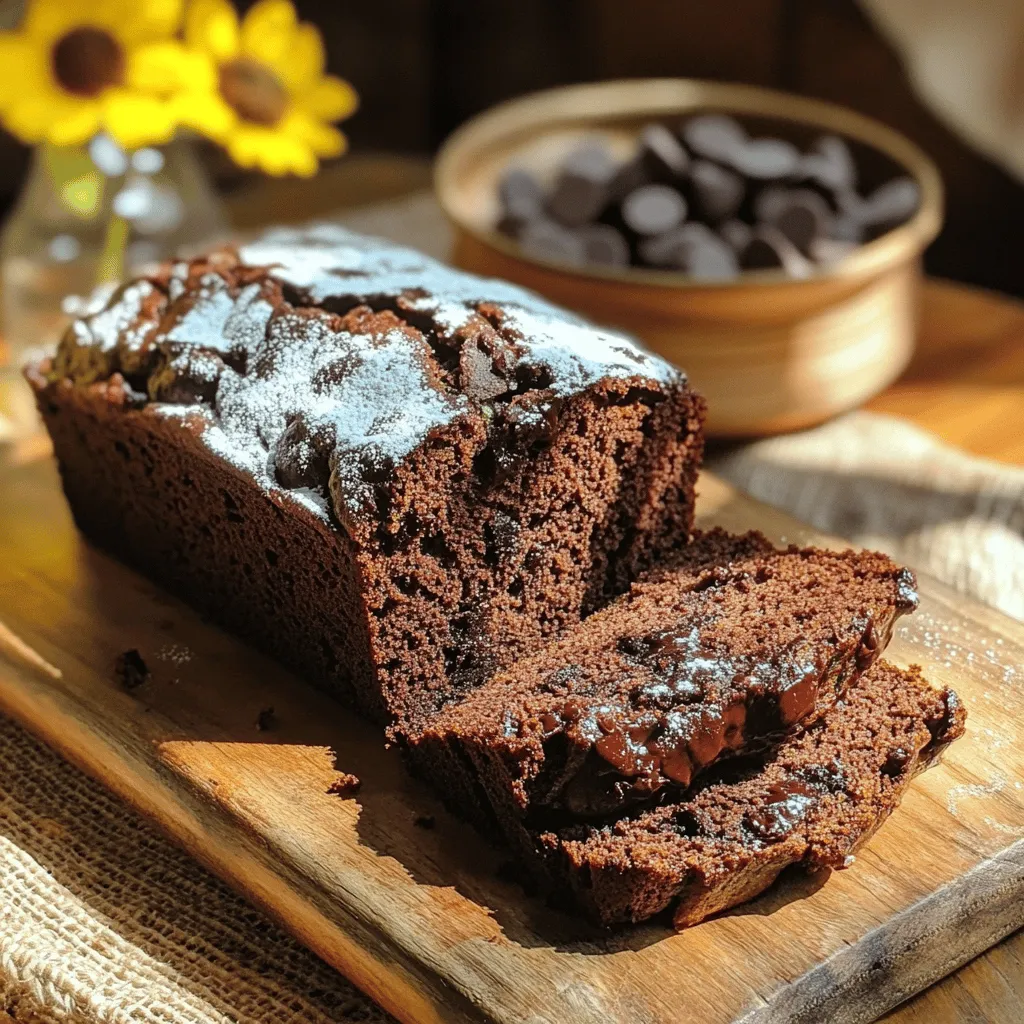
. In this post, we explored how to make delicious Korean BBQ meatballs. We covered key ingredients, from ground beef and pork to flavor enhancers like gochujang. I shared step-by-step instructions for preparing, baking, and making a spicy mayo dip. Remember to mix well and choose the right meat for best results. Try variations based on your taste, and store leftovers properly. Enjoy these meatballs with your favorite sides for a tasty meal!](https://toastedrecipes.com/wp-content/uploads/2025/05/598aba45-0438-44ce-8981-7d7e0f9aefc4.webp)
NEW RECIPES
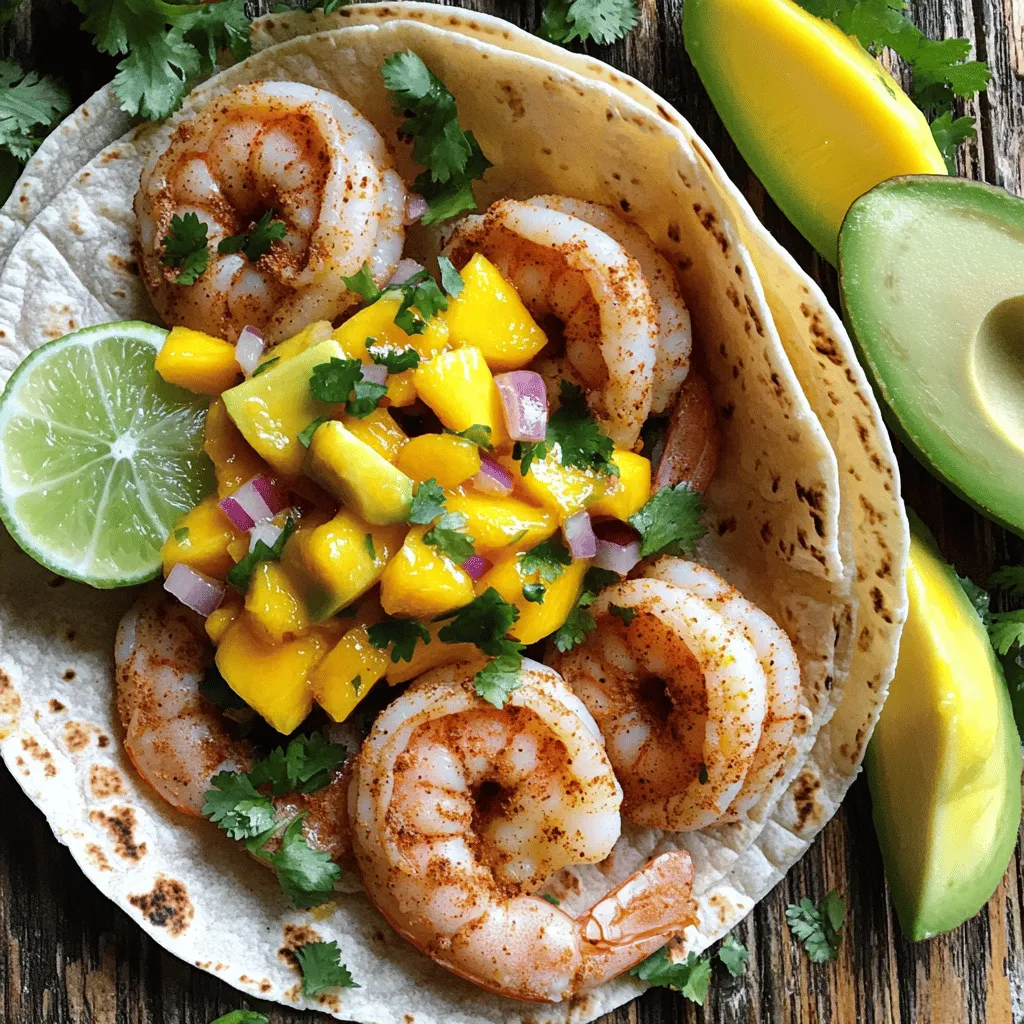
Spicy Shrimp Tacos with Mango Salsa Delightful Recipe
Dive into a burst of flavors with my Spicy Shrimp Tacos topped with refreshing Mango Salsa! This quick and easy recipe brings together perfectly marinated

Kielbasa Potato Soup Hearty and Comforting Recipe
Are you ready to warm your soul with a bowl of hearty Kielbasa Potato Soup? This comforting recipe packs rich flavors and filling ingredients that
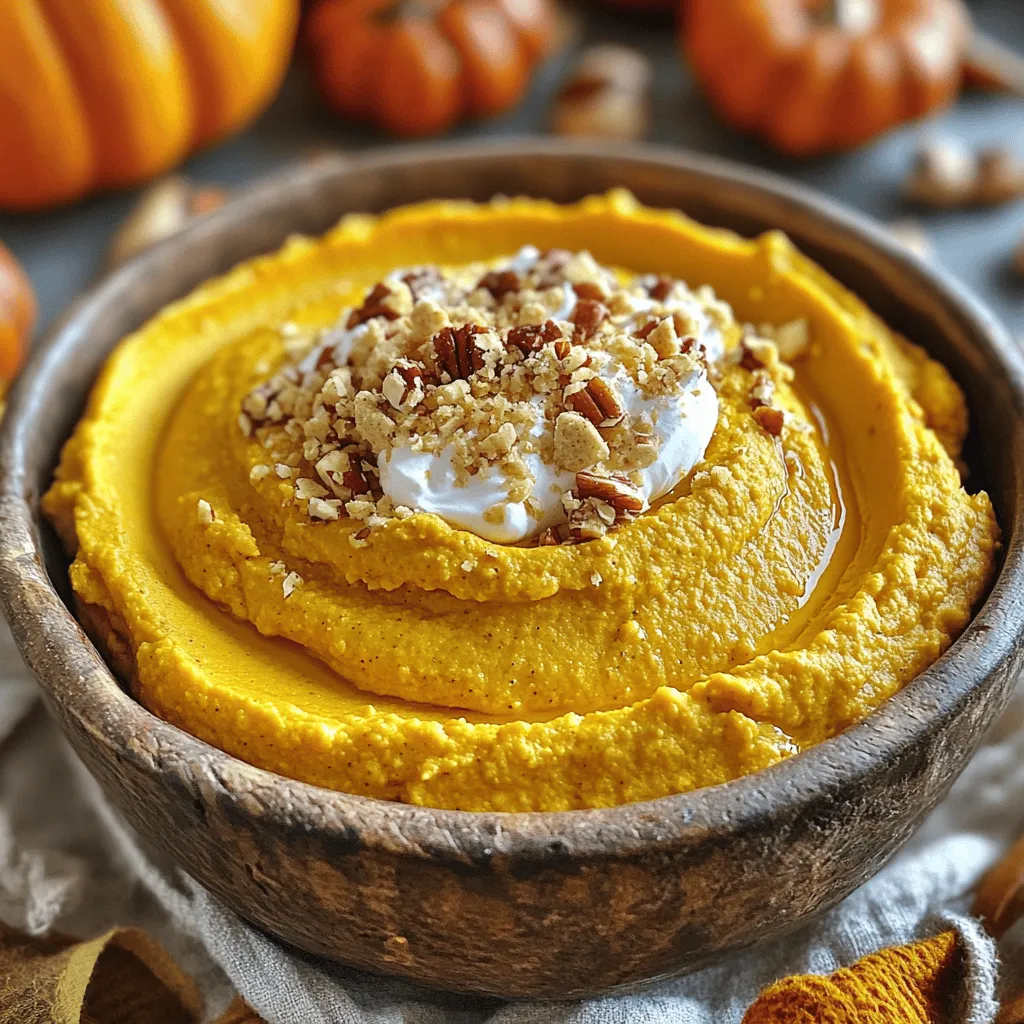
Vegan Pumpkin Fluff Dip Creamy and Delicious Treat
Looking for a creamy, sweet treat this fall? You’ve found it! My Vegan Pumpkin Fluff Dip is easy to make and full of flavor. With
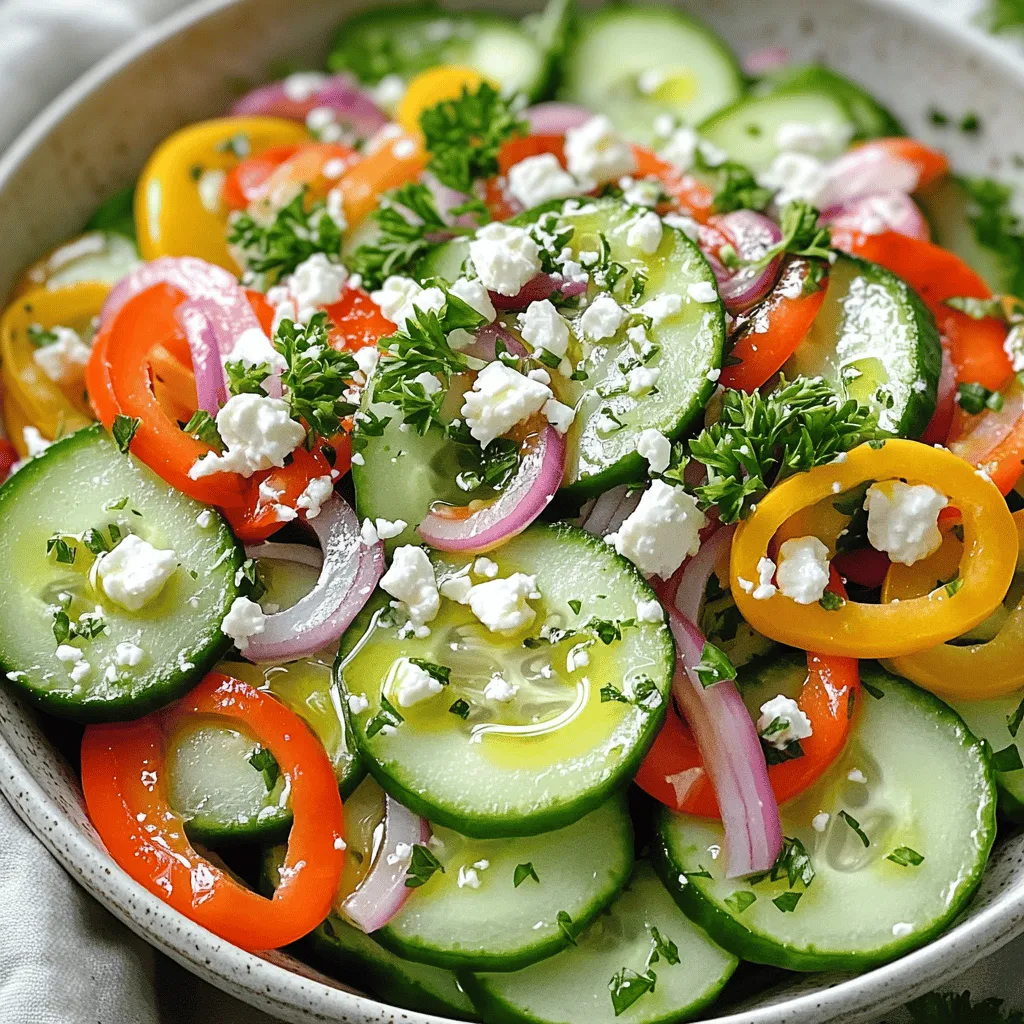
Cucumber and Sweet Pepper Salad Fresh and Tasty Dish
Looking for a fresh and tasty dish that’s packed with flavor? This Cucumber and Sweet Pepper Salad is the perfect choice! With its vibrant colors

Slow Cooker Chicken Noodle Soup Simple Comfort Bowl
When the chill sets in, there’s nothing like a warm bowl of Slow Cooker Chicken Noodle Soup. This simple comfort dish combines tender chicken, fresh

Chocolate Pumpkin Cupcakes Irresistible Fall Treat
Get ready to dive into the cozy flavors of fall with my Chocolate Pumpkin Cupcakes! These cupcakes blend rich chocolate with the warm essence of
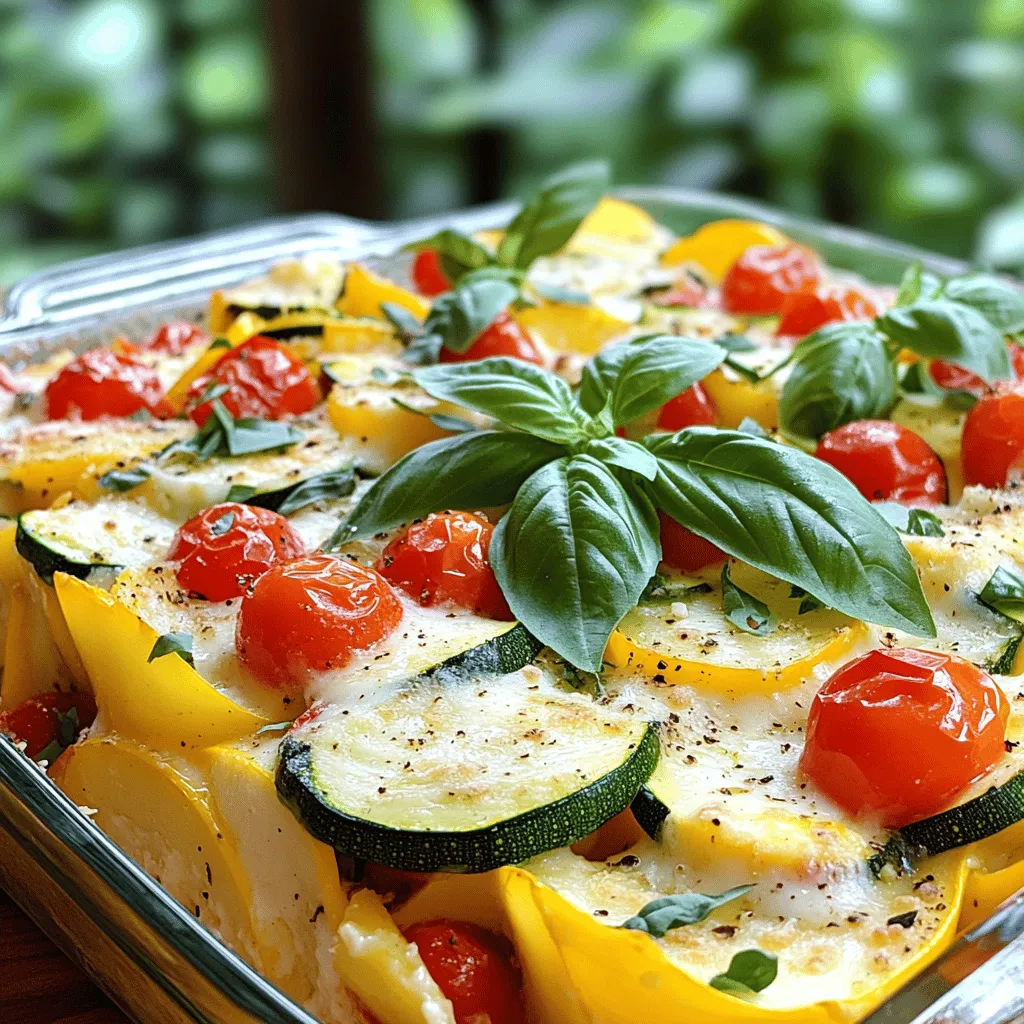
Summer Veggie Gratin Flavorful and Satisfying Dish
Are you ready to savor the flavors of summer? Dive into this Summer Veggie Gratin recipe, a colorful and satisfying dish packed with fresh veggies
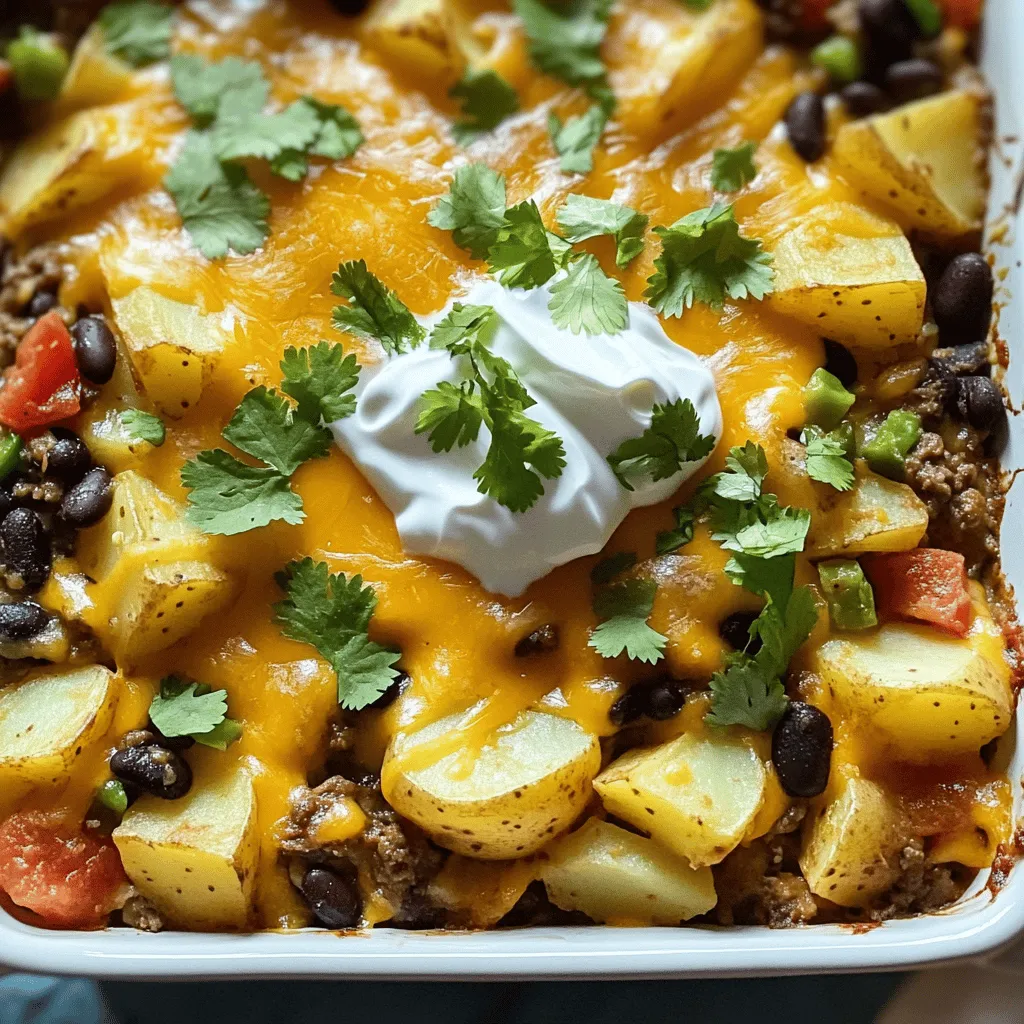
Crockpot Beefy Potato Taco Casserole Delight
Looking for a comforting meal that’s easy to make? You’re in the right place! My Crockpot Beefy Potato Taco Casserole Delight combines hearty ground beef,